8-inch Qifeng cake.
(91972 views)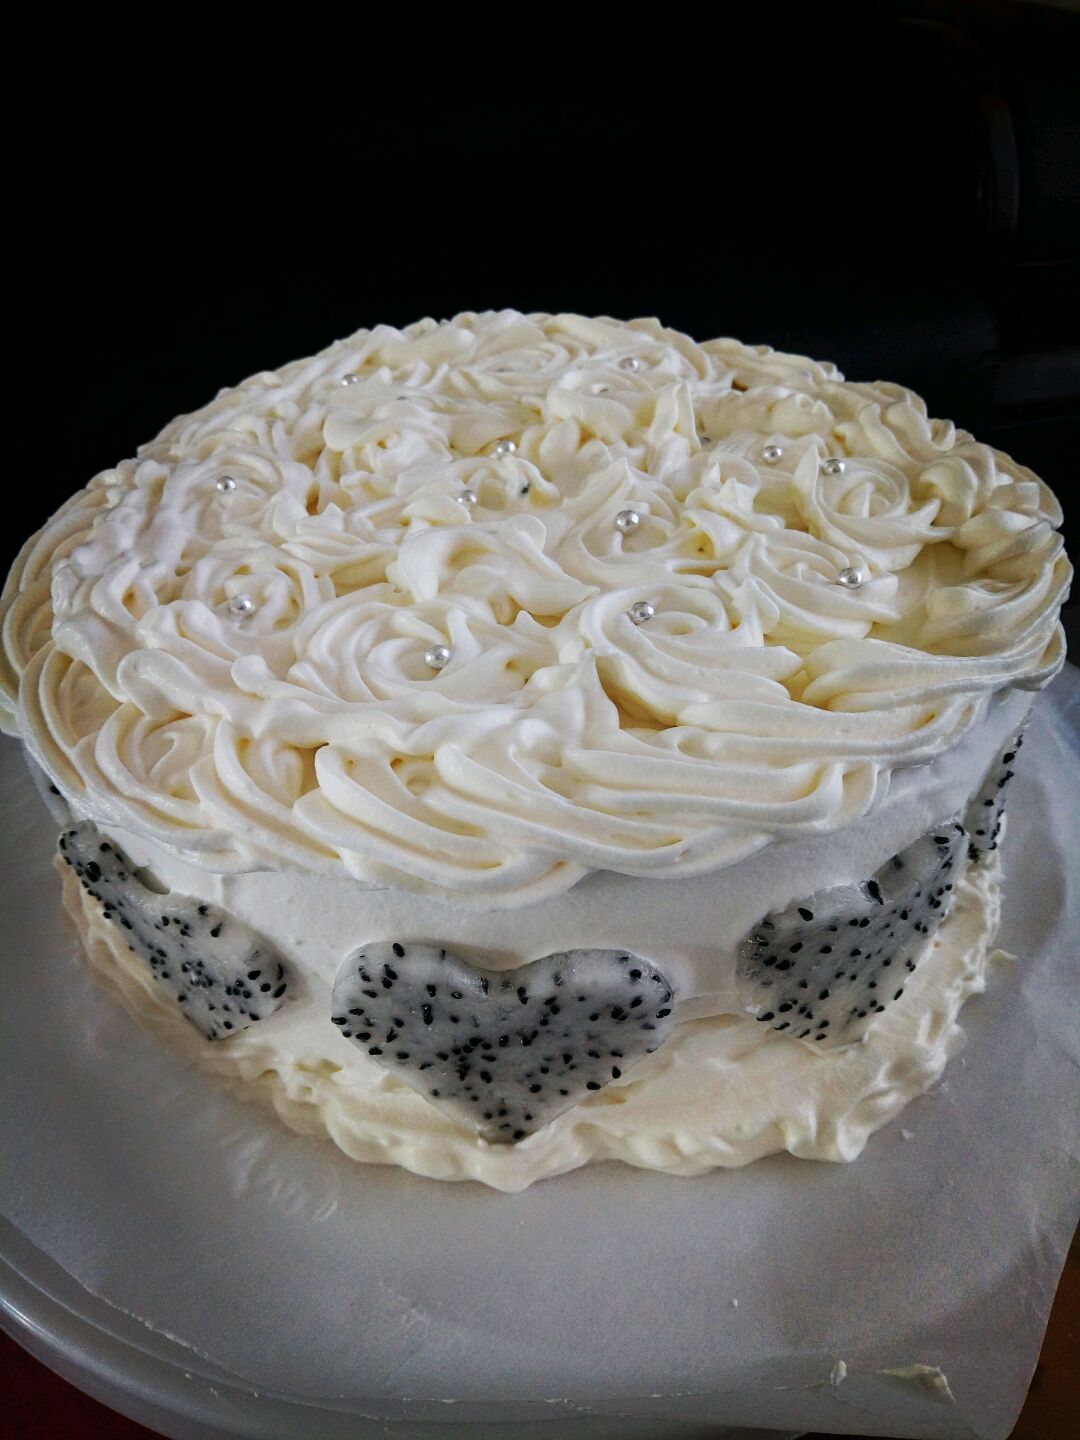
Do it yourself. Food is clean and peaceful. ha-ha. The cake can be bleached beautifully without any baking powder.
Cooking ingredients
Cooking Steps

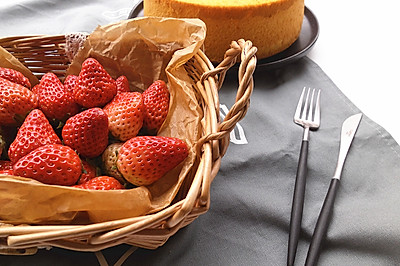
Step1:Let's have a family portrait first.

Step2:Separate the yolk from the whites. (the egg white bowl must be free of water and oil

Step3:Add 20 grams of sugar to the yolk and stir well.

Step4:Then add corn oil and stir well.

Step5:Add in the milk and stir well.

Step6:Finally, add flour. (flour must be sifted before adding

Step7:After adding flour, stir until smooth and free of particles. Then put it aside. Start beating the egg white.

Step8:Add sugar to the egg white in three times. First, open the middle part of the egg beater and beat until the fish eye bubble is filled with the first sugar.

Step9:After a while, add the second sugar. Almost the third sugar.

Step10:This is when the egg white is beaten to a dry foaming state. Can stand a chopstic

Step11:Select a part of the protein and add it to the yolk mixture. Cut it in a crisscross way and mix well. (preheat the oven at 150 ℃ for 10 minutes.

Step12:Pour all the yolk liquid that has just been stirred into the egg white. It's also a cross cut.

Step13:Finally pour it into the 8-inch mold. Lift it up and shake it twice. Shake the bubbles out

Step14:After preheating, adjust the oven to 130 ℃ and put in the cake liquid for 55 minutes.

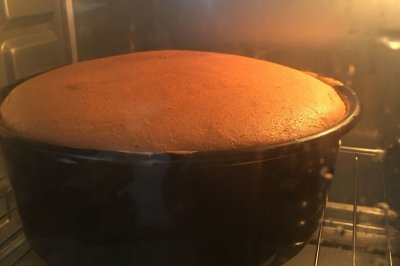
Step15:It's just what it looks like after more than 40 minutes.

Step16:After 55 minutes, turn to 150 degrees. When the cake is retracted, it will not collapse. Just bake for 20 minutes. (set the temperature according to your oven

Step17:Shake it twice on the table after it's out of the oven. Turn it upside down immediately. Wait until it's cool before demoulding.

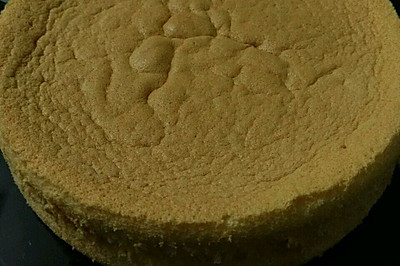
Step18:This is what it looks like after demoulding. No waist down.

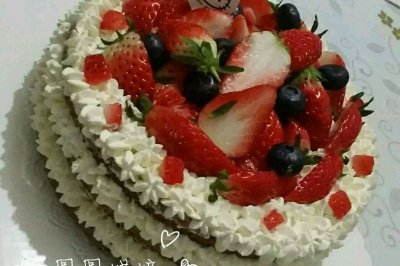
Step19:When it's cool, it's free to play. I'm layering it with cream.

Step20:It's a finished product. Isn't it beautiful.

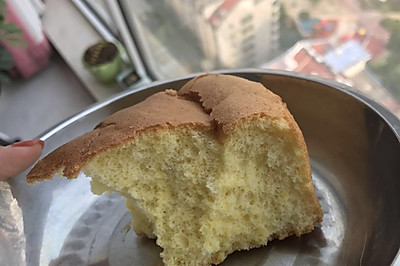
Step21:Cut it ope

Step22:It's OK. Ha h
Cooking tips:I use low-temperature baking, so that the surface of the cake will not crack or collapse. There are skills in making delicious dishes.
 Chinese Food