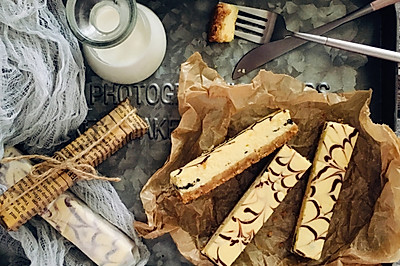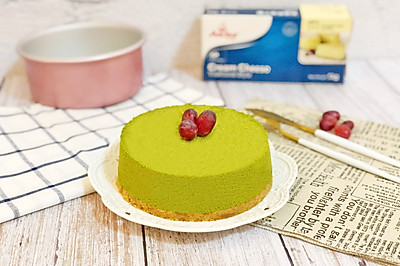
Marble heavy Cheesecake
(65268 views)
This formula is the quantity of 6-inch mold. The smaller one is used for eggs. If the 8-inch one is made, all the materials will be doubled. Three large eggs are used for eggs.
Cooking ingredients
Cooking Steps

Step1:Half a pack of Oreo biscuits. Crush them with a rolling pin in a stronger fresh-keeping bag. I usually use peanut chocolate filling or chocolate filling Oreo. No filling. Just crush. But it's better not to use the original light sweet one. I think that filling is too sweet.

Step2:No butter is put on the bottom of the biscuit made by the lazy man. Use a small amount of milk or drinking water directly. Put a small spoon and crumble the biscuit. It's better to have a little viscosity. Never put too much. You can use a small spoon and a spoon to add. So the bottom of the biscuit won't be too oily or too crumbly. It's only for baking cakes. If it's frozen cheese or mousse, it's better to mix it with butter honestly.

Step3:Wrap the tin paper at the bottom of the 6-inch round mousse ring. Pour the biscuits in evenly. Use a spoon to compact them. Set aside.

Step4:Cream cheese softened in water. Stir by hand until smooth

Step5:Add sugar and mix well

Step6:The whole egg liquid is added in several times. I usually knock in an egg directly. There is basically no case that I can't mix it well.

Step7:Add vanilla flavor. Hand pump during mixing. It's not electri

Step8:Add corn starch. Mix well

Step9:Add sour cream. Mix well

Step10:Add cream and mix well

Step11:Add lemon juice and mix well. Pour into the mould

Step12:Leave a little bit of cheese paste in the basin. In fact, it's enough to leave the one that can't be scraped clean on the basin. Add a little bit of chocolate sauce. It's used to draw patterns

Step13:I usually use a small spoon to spread it on the surface of the cake like this. It's ok if I use a mounting bag. It's more convenient to use a spoon. This one doesn't need to be too heavy. If it's too heavy, it's easy to crack

Step14:First draw a big spiral. Then use chopsticks. Follow the direction of the big spiral. Circle by circle.

Step15:I drew a rough example. If you don't understand it, you can study it again. First draw a big black spiral. Then use chopsticks to draw a small spiral in the direction of the red arrow.

Step16:If you want to be square, there is another way to draw patterns. First draw a straight line. Then draw a small fork down on the straight line. It's ok if you want to be free.

Step17:When you prepare the cheese paste, you can preheat the oven. Place the baking tray at the bottom of the oven. Fill it with water. Then place the baking net on the last second layer. Place the cake on the baking ne
Cooking tips:The baking temperature of heavy cheese cake should not be too high. The surface of high temperature cheese cake will have heavy color and dark yellow color, which will affect the effect of the finished product. So in the baking process, observe at any time. If the surface starts to color, or even the surface of the cake is bubbling, it means the temperature is high. At this time, you should lower the temperature. When the time is up, wear insulating gloves and shake the mold to see if there is a little shake in the middle of the cheese. It is normal to have a little shake. At this time, close the oven door, use the water and the remaining temperature of the oven, and simmer for a while, instead of prolonging the baking time, so as to prevent over coloring and over baking. Water proof baking. Many people bake the mold by wrapping multi-layer tin paper and sitting in hot water directly. It's OK, too. But I'm always afraid of water leakage. I always bake it in this way. OK. The other is about sour cream. I usually mix it with 35 grams of light cream. Add 5 grams of lemon juice. Light cream and lemon juice
 Chinese Food