Happy heart-shaped red velvet cake in winter
(99748 views)
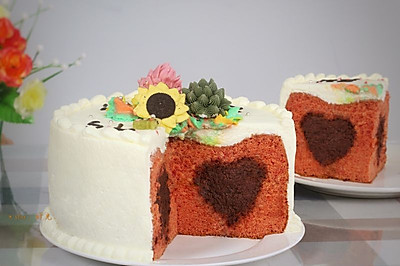
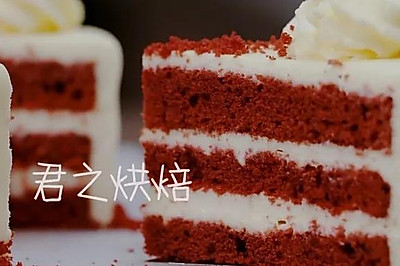
When I saw the heart-shaped mold of the chef, I came up with the idea of making a red heart with this mold ~ catching up with Christmas. I made the red velvet I like to eat in the scene. Just decorate it. It's very festive atmosphere ~ this mold is non mucous. There's no pressure when demoulding. The concave convex design at the bottom is very good. There's no need to specially concave the shape. The cake itself is very beautiful ~ also Easy to decorate ~ the quantity given in the square is 5 eggs. Normal 8-inch square. Although this mold is 8-inch, it is enough to use 4 eggs. In order to open the light for my little four, I used 5 eggs ~ just the amount of a heart-shaped mold + a little four mold~-
Cooking ingredients
Cooking Steps

Step1:Prepare all material

Step2:Monascus powder, cocoa powder, low powder, mix and sift twic

Step3:Separate the eggs. Add sugar and salt into the yolk. Mix wel

Step4:Add corn oil and stir wel

Step5:Add water and stir until it is emulsified. It's a long process. I stirred it for about four or five minutes

Step6:Add the powder mixture. Stir until it is free of particles. Stir in zigzag shape. Do not circle the mixture to avoid the paste from getting cramped

Step7:Stirred stat

Step8:Pour a few drops of lemon juice into the protein. Add sugar into the protein three times. Beat the protein to the state of fine hook. PS. I'm worried about the cracking of the cake ~ so I didn't reach the dry foaming stage with small sharp corners

Step9:Take one third of the cream and put it into the yolk paste. Mix wel

Step10:Pour into the remaining protein cream. Stir evenly by turning or cuttin

Step11:Put into the mold. Shake out bubble

Step12:Put it in the middle layer of the preheated oven. Heat it up and down for 160 ° 10 minutes, then turn it to 150 ° 45 minutes. The temperature depends on your oven temper. My temperature is for reference only.

Step13:Let it cool when it's out of the oven, because I don't use mucous membrane. There's no need to back button it. I didn't take a picture of the decoration part after cooling. Beat the cream to 78 and distribute it. Put it into the mounting bag. Squeeze out the small flowers on the side of the cake ~ spread the cream on the top of the cake. Make strawberry snowman and put it on it ~ some extra cakes. After drying, sieve them to the surface of the cake for decoration

Step14:Finished product drawin

Step15:Finished product drawin

Step16:Finished product drawin

Step17:Finished product drawin
Cooking tips:There are skills in making delicious dishes.
 Chinese Food
