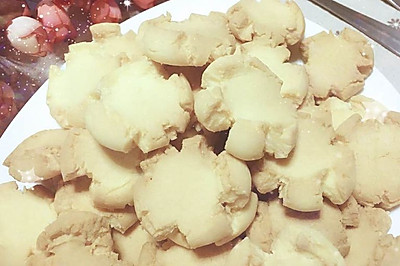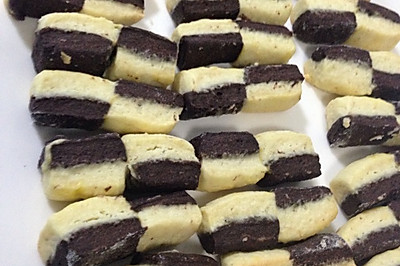
Perfect baking recipe, fashionable and versatile delicious two-color chessboard biscuit
(99996 views)
There are such people in life. Their clothes, backpacks, shoes and so on are all checked. Yes, they are checked. Love lattice. Because it's fresh. Because it's changeable. Also because it's never out of date. So, here comes the question. As a senior lattice control food, will you also prefer lattice on the food? The answer is - yes. So today's checkerboard. You must not miss it.
Cooking ingredients
Cooking Steps

Step1:Prepare material

Step2:Butter softened at room temperature. Stir well with sugar powder. Do not beat

Step3:Add the egg liquid in several times. Continue to stir evenly

Step4:Add sifted low gluten flour and mix well to form a dough

Step5:Follow the above steps. Finally add cocoa powder to make chocolate dough

Step6:Relax the two dough films for about 30 minutes. The surface is dry and easy to operate

Step7:Roll both dough into a rectangle about 1cm thick

Step8:Brush a layer of egg liquid on the chocolate dough. Cover the other dough tightly and put it in the refrigerator to harden

Step9:After hardening, cut into 1cm long strips as follows, brush with egg liquid as adhesive, and the two colors are alternately bonded together

Step10:Brush the dough with egg liquid. Wrap the checkerboard shaped dough on the dough

Step11:Remove the extra dough and refrigerate it for about 30 minutes

Step12:Cut the frozen dough into 0.5cm biscuits, put them into the oven with the temperature of 180 ° to the upper tube and 170 ° to the lower tube and bake for about 20 minutes. Take them out when they are cooked

Step13:Final produc
Cooking tips:The process of making two-color chessboard biscuits is relatively simple, and the relative process is a little complicated. But in order to make the homemade biscuits more beautiful and distinctive, the trouble is not much. No butter. It can keep the biscuit in good shape during baking. You can also omit steps 9 and 10 to make naked chessboard biscuits. You can also fold two more layers in step 8 to make a 4 * 4 large chessboard biscuit. There are skills in making delicious dishes.
 Chinese Food


