[steamed coconut milk bun]
(758929 views)![[steamed coconut milk bun]](https://cp1.douguo.com/upload/caiku/d/5/3/yuan_d5a79dff878b9fdc3a8cb21a5211f023.jpg)
The recipe matches itself. Component 20cmX20cm one set
Cooking ingredients
Cooking Steps

Step1:After the oil method knead until out of the film. The latter oil method is to mix and knead all dough materials except butter, and then add butter to knead them until they come out of the film. The high powder I bought this time seems to have poor water absorption. You can consider increasing the amount of coconut mil

Step2:The first fermentation to press down a hole in the middle will not shrink or sin

Step3:Divided into nine preparations. Take a flat and lon

Step4:Roll up. Do each one in tur

Step5:Put the two ends of the rolled dough down to form a ball

Step6:The second fermentation in the mould was 1.5 times the size. I didn't have a deep baking tray ~ so I used a movable bottom mould. Because I'm afraid of leakage, so I put tin foil on i

Step7:The reserved 100g coconut milk should be brushed to the surface first. Pour the rest into the dough gap and bake in the preheated 180 ℃ oven for 25 minutes. I underestimated the expansion ability of these small dough = = when I went to see it in the middle of the way, it was almost pushed to the heating tube, and the color was too deep. So please also add tin paper in time

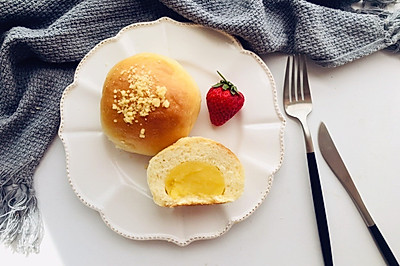
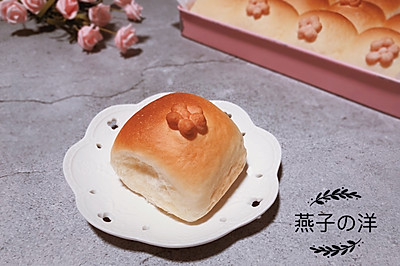
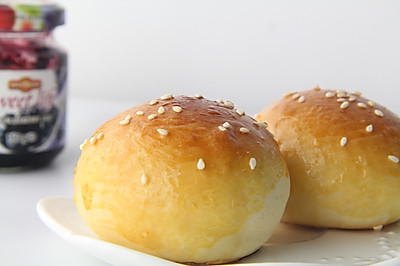
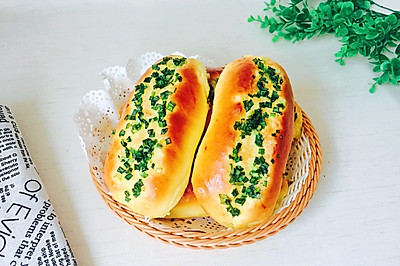
Step8:Finished product

Step9:Finished product

Step10:After baking, the coconut milk in the plate is basically completely absorbed. The dough is moist and will not be wet. There's a little bit of coconut curd but it's not wet at all. Maybe it's because I put it all night to take photos. Even after baking, coconut milk has been absorbed. In a word, it's not like the feeling of wet, soft and prone with cooked bread and milk. It's very moist and tastes good
Cooking tips:There are skills in making delicious dishes.
 Chinese Food


