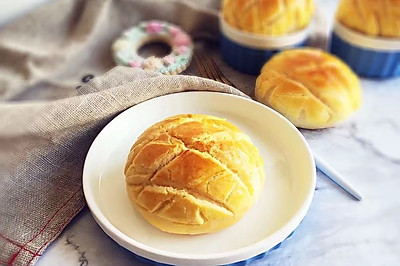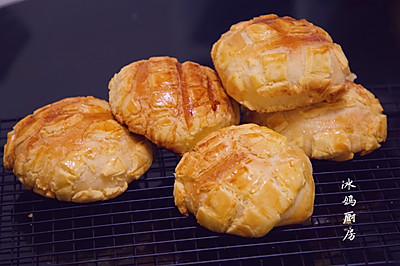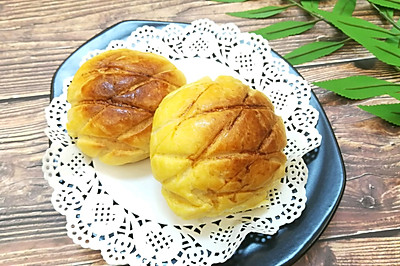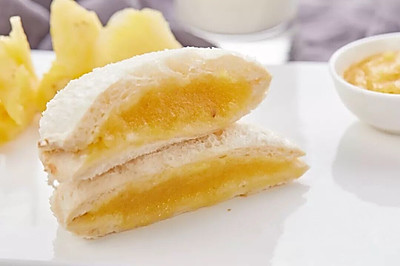
Ice fire pineapple oil (with pineapple bag method)
(81095 views)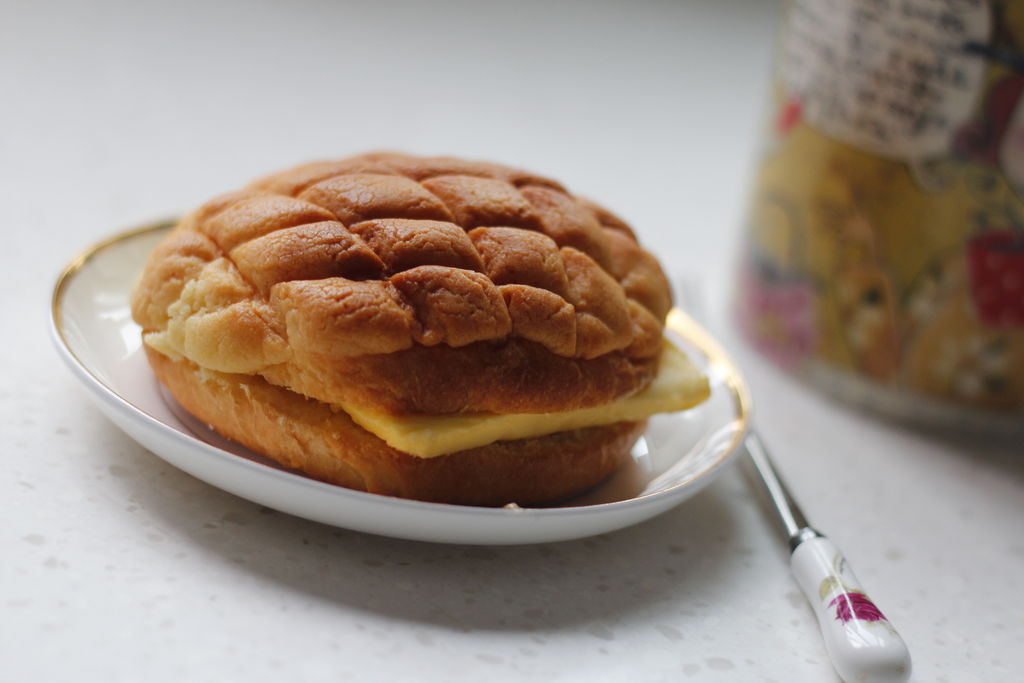
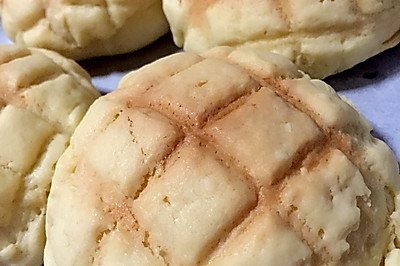
The first bread is for pineapple. I've made many kinds of biscuits and cakes. I didn't have the courage to try bread until I saw the pineapple bag teaching video from Jun Zhi. I'm determined to try it. Hand kneading is really a physical work. It makes you sweat. But I still think it's worth seeing the finished product. Grandma is full of praise. She says it's thicker than what she sells in the shop. This time, we didn't choose the right yeast. We used the low sugar yeast which is suitable for making steamed bread. So it's not very good. We should use the high sugar yeast to make bread. We must pay attention to this. -
Cooking ingredients
Cooking Steps

Step1:The main ingredient is the bread body material, and the auxiliary ingredient is the pineapple skin material. First, mix the dry materials such as high powder, low powder, yeast, milk powder, salt and sugar. Stir with your fingers. Then add water and egg liquid. Knead into doug

Step2:The dough will be sticky. Sprinkle more flour on the chopping board and start to knead. You can use the scraper. This is the process of dough. It takes time and effort. Be patient. The dough will become more and more smooth and elastic after kneadin

Step3:When the dough is kneaded and slowly spread by hand, it can form a relatively fragile fil

Step4:Add the softened butter. Continue kneading. Mix the butter and dough completely. This step also needs patience

Step5:When the dough is kneaded to produce a film with even light transmission, it is called dough expansion stage

Step6:Knead the dough into a round shape. Put it into a large bowl and cover with plastic wrap for the first fermentation. Ferment at 25 ℃ for about 1 hour

Step7:You can start preparing pineapple peel while waiting for the dough to ferment. The auxiliary material is pineapple skin material. Add powdered sugar and milk powder to the softened butter. Whisk with egg beater until ligh

Step8:Pour the egg mixture into the beaten butter twice. Mix well each time

Step9:Sift in low powder. Mix well with scrape

Step10:Take the pineapple peel out of the bowl. Because it's sticky, you should dip some flour on your hands and the chopping board. Cut the pineapple skin into 4 parts. Cover with plastic wrap and set asid

Step11:Check the fermentation condition of the dough after 1 hour. The dough is about 2.5 times the size before fermentation. Dip some dry flour with your finger. Poke it into the dough. Take out your finger. If the small hole poked out does not shrink or collapse, it means the dough has been fermented

Step12:Use your hands to press the dough flat to exhaust the air. Take the dough out of the bowl and put it on the chopping board. Continue to press the dough flat to exhaust the air. Cut into even quarters with a scrape

Step13:Knead the cut dough into a circle. Put it on the cutting board and cover it with plastic wrap. Let's wake up in the middle for 15 minutes

Step14:15 minutes after waking up, I began to do dough shaping. Put some flour on the palm of your hand. Take a piece of pineapple skin dough, rub it round and then flatten it. Take a piece of dough and gently put it on the pineapple skin. Use your right hand to squeeze it from the outside to the insid

Step15:

Step16:

Step17:

Step18:

Step19:

Step20:
Cooking tips:If you don't think it's intuitive just to look at the pictures, please watch the pineapple bag teaching video from Jun Zhi. It's very detailed and in place. There are skills in cooking and delicious food.
 Chinese Food