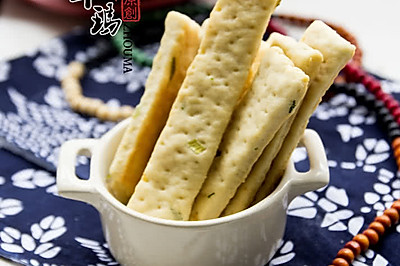
Scallion soda biscuit
(84289 views)I have a special feeling for soda biscuits. I like the fragrance mixed with chives. My father-in-law's stomach is not very good, so I always buy some from the supermarket when I go home. I've been infatuated with homemade snacks recently. I'm looking for some homemade snacks for my family. They are pure handwork, without special additives, nutritious and healthy. My father-in-law is old, so I don't want him to eat more sugar. So in this baking soda biscuit, I use honey instead of granulated sugar. Sweet friends can choose to add twice the amount of honey granulated sugar. And I've done a lot of things at one time. Friends who think it's a big quantity can halve my quantity. Or half again. And then it starts
Cooking ingredients
Cooking Steps

Step1:Prepare raw materials as required. Milk should be heated to no more than 30 ℃. Dissolve yeast in warm milk. Allow to dissolve completel

Step2:Butter softens. I use microwave oven to melt it into liquid state for 2min. It's easy to stir it fully (more butter can be melted here. It's used to brush the baking tray. It's anti baking adhesion

Step3:Put the low gluten flour, sugar, salt and baking soda into a large container basin with noodles. Mix well with a hand beater

Step4:Put the dissolved yeast milk and liquid butter into the mixed flour respectivel

Step5:Mixing with scrape

Step6:Then use your hands to knead the dough. The amount is large. If it is inconvenient to knead in the basin, you can move it to the dough pad and continue kneading until it reaches the dough

Step7:Press the dough into the scallion. Continue rubbin

Step8:Knead until the scallion is completely integrated with the dough. Cover with fresh-keeping film. Place at room temperature for about 30min

Step9:30 minutes later, take off the plastic wrap. After rubbing, cut off a small piece (I do a lot here. It's divided into three pieces. The amount of each piece is two yards of baking plate. Two plates at a time / three times

Step10:Roll with a rolling pin to form a 2mm thick ski

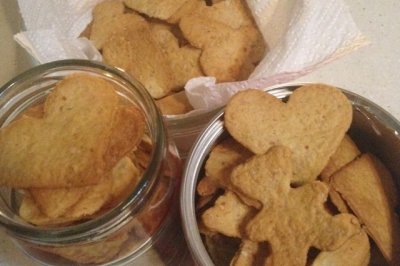
Step11:Press out biscuits of different shapes with moul

Step12:Remove the leftover material and rub it again press

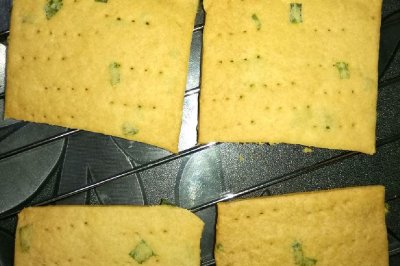
Step13:Move the small biscuit skin one by one to the buttered baking tray. Use a toothpick to insert a small hole in the biscuit (according to the size of the biscuit, insert more holes for the big ones, and insert less holes for the small ones. It's good for fermenting and exhausting gas and avoiding expansion)

Step14:After the two baking pans are full of sockets, preheat the oven. 170 ℃, heat up and down for 18 min; when the oven time is 13 min, put two baking pans in, one on top and one on bottom. Change the position again in the middle (when there is 6 min left), which is conducive to full and even heating

Step15:The baking soda biscuits out of the oven are tender. When they are cool, they are crispy and delicious. They are sealed with a fresh-keeping box or food bag. They are divided into several parts

Step16:After putting the baking tray into the oven, prepare the next oven. Different shapes. Whatever you wan

Step17:Is it adored
Cooking tips:There are skills in making delicious dishes.
 Chinese Food


