Pica pica Picchu fruit
(86657 views)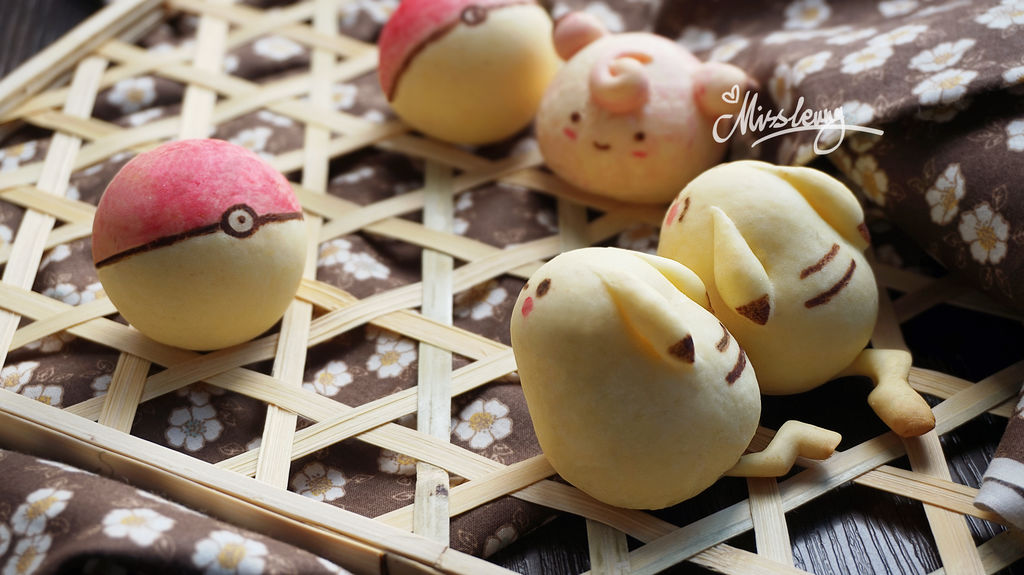
My appearance Association.. So I found this kind of cute fruit burning. In fact, it only took a little more effort in plastic surgery. It is still quite simple. I took this shape to my classmates, and I fell in love with it. I believe that the children will like it better. The recipe is my own. It has been changed. It won't be so sticky, and then I didn't see the crack after I finished it. It's important to see if the students who especially like to eat sweet can have a look. If I reduce the amount of condensed milk in the original formula, it won't be particularly sweet. I add low-fat milk
Cooking ingredients
Cooking Steps

Step1:First, mix condensed milk, milk and egg yolk evenly. It is suggested that most of the milk can be added first and then kneaded into dough. After all, different brands of flour have different water absorption

Step2:Sift in the mixed powde

Step3:Knead into dough. Cover with plastic wrap and refrigerate for 30 minutes. My recipe here won't be particularly sticky. It doesn't need to be operated by assistant powder. If it is sticky, it can be operated by hand powder. The dough should not be too dry. Otherwise, it will crack when baking ~ the hand powder should not be too Doha

Step4:Dough of 20g ~ here I knead 10 small dough. But I used one of them as the body part of picachu

Step5:Pack the stuffing. Rub it with tiger's mouth. The filling is optional. I used 10g for the weight here. You can also use 15g. It depends on your personal preference ~ of course, it's hard to pack it with too much stuffing

Step6:First make the most basic Picchu's body with the tiger's mouth, then rub it into Picchu's ears and tail with other dough and stick it on the bod

Step7:Use water to turn a small amount of cocoa powder. Draw picachu's patterns and facial features with toothpicks. You can also use melted chocolate after baking. But I think cocoa powder is better for painting

Step8:In the same way, the spirit ball comes out. Add water to mix the red pigment

Step9:Preheat the oven to 160 degrees and heat it up and down. Bake the middle layer for 15 minutes. [the temperature of the oven here should be determined according to the conditions of each oven. In the last few minutes, observe the coloring before the oven ~ to avoid too deep coloring.

Step10:Finished products ~ two pickups are chatting with Pipi

Step11:Finished product
Cooking tips:1. Milk can be added first and then kneaded into dough. After all, different brands of flour have different water absorption ~ 2. The dough should not be too dry. Otherwise, it will crack when baking ~ there are skills in making delicious dishes.
 Chinese Food