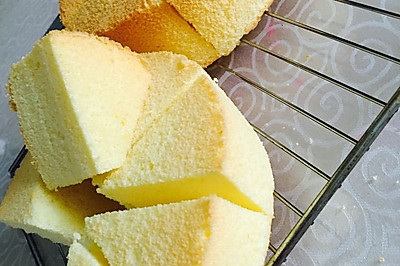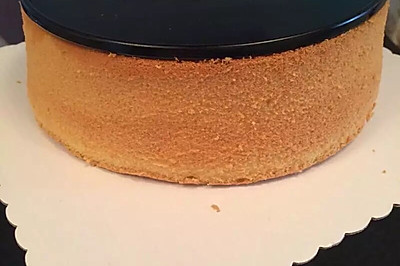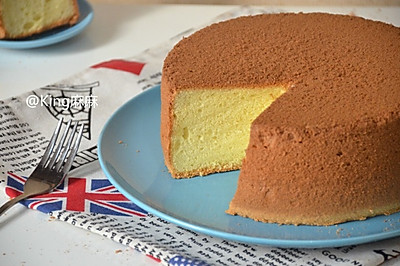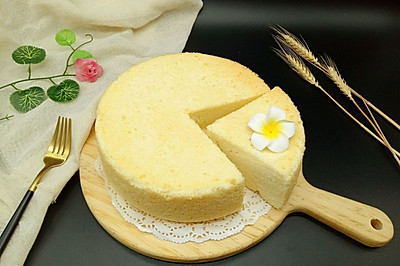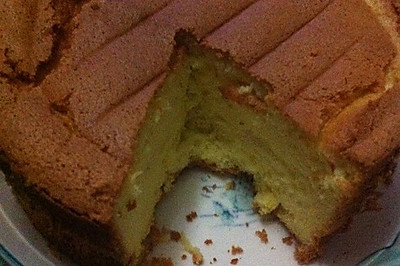
Qifeng cake is not mad
(90155 views)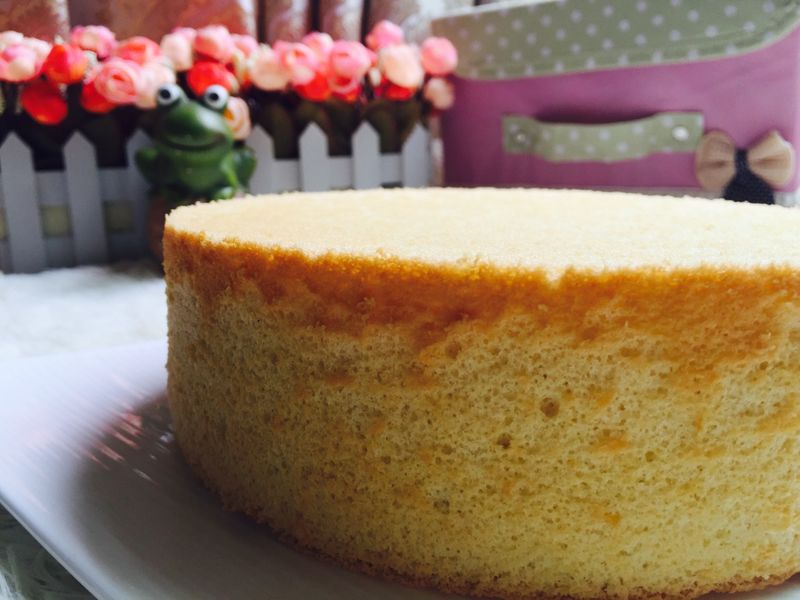
This time, I've photographed all the previous work one by one. I haven't photographed them before. I've skipped them. I've photographed all the steps that can be photographed this time. The steps are a bit cumbersome. But it's a reference for novices. This is to make 8-inch quantity. If you make 6-inch quantity, you can reduce it accordingly. And the container for making Qifeng cake should be oil-free and water-free.
Cooking ingredients
Cooking Steps

Step1:Prepare 5 fresh refrigerated eggs (6 small ones

Step2:Prepare all materials in advanc

Step3:Add oil and pure milk to the yol

Step4:Drop 4 drops of lemon juice into the egg whit

Step5:Beat the egg white with a beate

Step6:Change to third gear and continue to play after playing fin

Step7:Whisk into fine bubbles and add suga

Step8:Add a third of the sugar. Continue with the third pas

Step9:Keep adding sugar when you feel sof

Step10:Add the remaining 1 / 2 of the sugar and continue to beat with the eggbeater in third gea

Step11:Use a scraper to scrape out the protein cream splashed on the wall edge of the containe

Step12:This step is the key to making a fine and soft protein cream. Then continue to pas

Step13:Pour in the remaining sugar and cornstarch and continue to bea

Step14:Finally, use a scraper to scrape in the protein cream on the edg

Step15:Then continue to beat until the protein cream is greasy and smooth. It's good to feel it's blocking

Step16:Then let it stand for 2 or 3 minute

Step17:Now use these two or three minutes to prepare the yolk paste. Mix the yolk, oil and pure milk evenl

Step18:Add low gluten flour. Mix evenly with a scraper

Step19:Stir until it is smooth and free of particles. Do not over stir to make it firm

Step20:Mix and observe the protein cream. It's still as greasy as befor

Step21:Take 1 / 2 of the protein cream to the yolk past

Step22:Use a scraper to cut and mix from the middle upward

Step23:Like the lines in the picture. Don't circle. It's easy to defoaming

Step24:Then pour the yolk paste into the remaining cream and continue to sti

Step25:Stir evenly until there is no whit

Step26:Pour it into the 8-inch mold at a height of 20cm (about 7, 8 minutes full). This height has shaken off the big air bubble

Step27:So at the last 10 cm position, shake it twice. Don't shake it too many times. Two times is enough. If you shake it too many times, air will enter into the bottom and bubbles will disappear

Step28:Preheat the oven and put it in the middle of the oven at 190 ℃ for 80 minutes (personal oven is different. Control by yourself

Step29:In 10 minute

Step30:In 20 minute

Step31:In 30 minute

Step32:40 minutes later. Ful

Step33:In 60 minutes. Then bake at 160 degrees Celsiu

Step34:After 80 minutes, you can reach in with toothpick to see if it's fully cooked. My oven has been baking for 80 minutes before it's fully cooked

Step35:After the toothpick is remove

Step36:

Step37:

Step38:

Step39:

Step40:

Step41:

Step42:
Cooking tips:My 8-inch Qifeng cake has been baked in my oven for 80 minutes. It's a long time. The baking time depends on my oven. My oven can only say that it's too gentle. So it's very hot for a long time. Generally, the oven is controlled at 165 ℃ for 40 minutes, which should be good for cooking.
 Chinese Food