Cantonese pineapple moon cake (detailed filling method)
(96221 views)
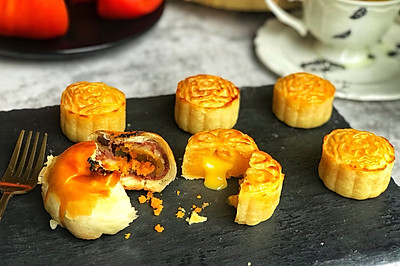
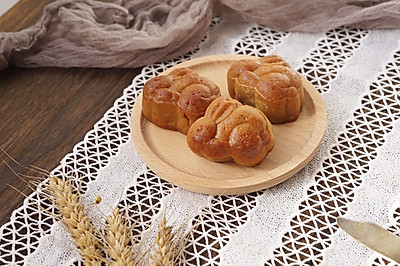
The Mid Autumn Festival is coming. Food circle, friends circle, all kinds of moon cakes are drying. I also come to join the party. Continue to love the cantonese moon cake. The filling process is really troublesome. But after the finished product, you will feel that all the hard work is worth it. It's delicious. This is how to eat. If the filling ratio is 15-35, then the amount of the crust can be 50g, 16 pieces of moon cake. Sometimes I can also make the ratio of 17-33. You can mix it according to your own likes and needs. -
Cooking ingredients
Cooking Steps

Step1:I asked the seller to peel these two pineapples. I weighed 1300 grams of meat at home. Cut the pieces with a knife. If you don't care about cutting, use the cooking machine to beat it. Remember not to beat it too much. If you break it, the filling will be reduced and it's hard to stir.

Step2:Squeeze out the juice with gauze.

Step3:The state of being squeezed. A little stir fry saves time.

Step4:Melt butter in a saucepan over low heat.

Step5:Put in the pineapple.

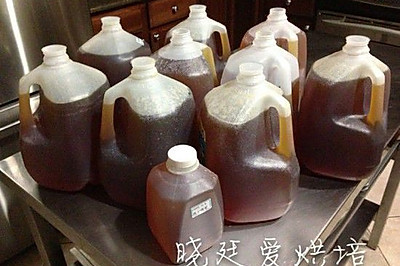
Step6:It can also be white sugar. This amount can be put according to the sweetness you like. Melt the rock sugar completely. Add in the maltose syrup.

Step7:Continue to stir fry. There is already a sense of transparency.

Step8:Continue to stir fry the stuffing a little harder. Time is not sure to master the hardness of filling. I fired for about half an hour.

Step9:430 grams of pineapple stuffing.

Step10:Let's make the moon cake skin. 80g of conversion syrup, 40g of peanut oil and 2G of Jianshui. Pour them into the basin.

Step11:Milk powder 10 g. medium gluten flour 120 g mix.

Step12:Knead into dough. Cover with plastic wrap and let stand for more than 1 hour.

Step13:The dough is divided into 15 grams of small dosage. The pineapple filling is divided into 35 grams. I make 50 grams of moon cakes.

Step14:Take a piece of skin and flatten it with your palm.

Step15:Pack the stuffing. The left hand turns. The right hand tiger mouth slowly pushes upward to close.

Step16:All in turn.

Step17:Sprinkle some flour on the inside of the mooncake mold and pour it out.

Step18:Roll a thin layer of flour on the surface of the dough. Don't use too much flour. There will be white frost on the surface after baking. Install into the mold. Press the ball down with your hand.

Step19:Press down the bucket against the chopping board. Try to keep your balance.

Step20:Push it out. Put it in the baking tray. If it is not a gold plate, oil paper should be laid.

Step21:Preheat the oven 160 degrees in advance. All prepared moon cake embryos. Spray water on the surface with a watering can.

Step22:Put into the middle layer of the preheated oven. Bake for 5 minutes.

Step23:Take out the slightly shaped moon cake embryo. Brush the yolk liquid. Mix the yolk I used with a little water. It says that there should be no more egg laying liquid. Just dip the brush in the egg liquid and scrape it off with the edge of the bowl. Then rub it on the moon cake twice. After brushing, there should be no excess egg liquid on the moon cake. In this way, the color and pattern of the baked moon cake will be beautiful and clea

Step24:

Step25:

Step26:
Cooking tips:1. If maltose is not available, it can be changed into malt or other syrup. Stir fry the whole process in low or low heat. Don't hurry and take your time. You can control the sweetness by yourself. If you like sweet and sour, you can put less ice sugar. 2. about the baking time. The temperature of my oven is too high. So I bake it at 160 ℃. If the temperature of your oven is normal or too low, adjust it according to the situation. In a word, focus on baking. Do not bake it at too high temperature. The color of the moon cake is too heavy and it is not beautiful. There are skills in making delicious dishes.
 Chinese Food


