Zero failure six inch Qifeng cake
(104641 views)
I've done it many times, but I haven't failed to master the skills. You can not be mad by Qi Feng-
Cooking ingredients
Cooking Steps

Step1:Get all the ingredients ready. I'm making two 6 inches. I need twice as many ingredients as the recipe. (2 6-inch formulas are equal to 8-inch formulas, which are 8-inch Qifeng formulas. You can convert them flexibly.

Step2:Separate the egg white... Don't break the yolk. Otherwise, the protein will not be easy to kill

Step3:My native egg. It'll be yellow

Step4:Add milk. Corn oi

Step5:Manual eggbeater. Mix well. About one part for more than one hour. There must be no separation. Mix well

Step6:Then weigh in the low powde

Step7:Sift (don't be lazy. You have to sift, or there will be small pieces of it that are not delicate

Step8:Use the hand eggbeater. Mix the zigzags. No particles can be seen. It's just smooth. You can't draw a circle. It will get cramped. (you can preheat the oven at this time. It's about 140 ℃. 15 minutes

Step9:Egg whit

Step10:Squeeze a few drops of lemon juice. It doesn't matter if you squeeze a few more drops. It's deodorizing

Step11:Add 1 / 3 sugar powde

Step12:Slow down for 2 minute

Step13:After adding sugar powder, whisk it at high speed. When it is wet foaming, add sugar powder for the third tim

Step14:It's good to have dry foamin

Step15:Judge whether the egg whites are well beaten or not. Lift up the egg basin. Buckle it upside down. It's ok if it doesn't slide. This step is the most important. The egg whites are well beaten. It's basically successful

Step16:Take 1 / 3 of the protein and put it into the yolk paste. Mix up and down. Mix wel

Step17:It's better to mix with a silica gel shovel. It's still clean

Step18:Well mixe

Step19:Pour into the albumen basin. Continue mixing. Turn up and down. Do not circl

Step20:That's good. I can't see the protein

Step21:Pour into 6-inch mold. Shake out bubble

Step22:Put it in the preheated oven. The last two layers. Bake for about 50 minutes at 140 ℃ (my oven is about 7 ℃). Here's what it looks like for 20 minutes... Watch it in the last few minutes. Color it.

Step23:Take it out. Shake out the heat. Buckle it upside down

Step24:Back button with bowl. There will be no mark. Back button. No collapse at al

Step25:After cooling. Demoulding. Gently pull the edge with your hand

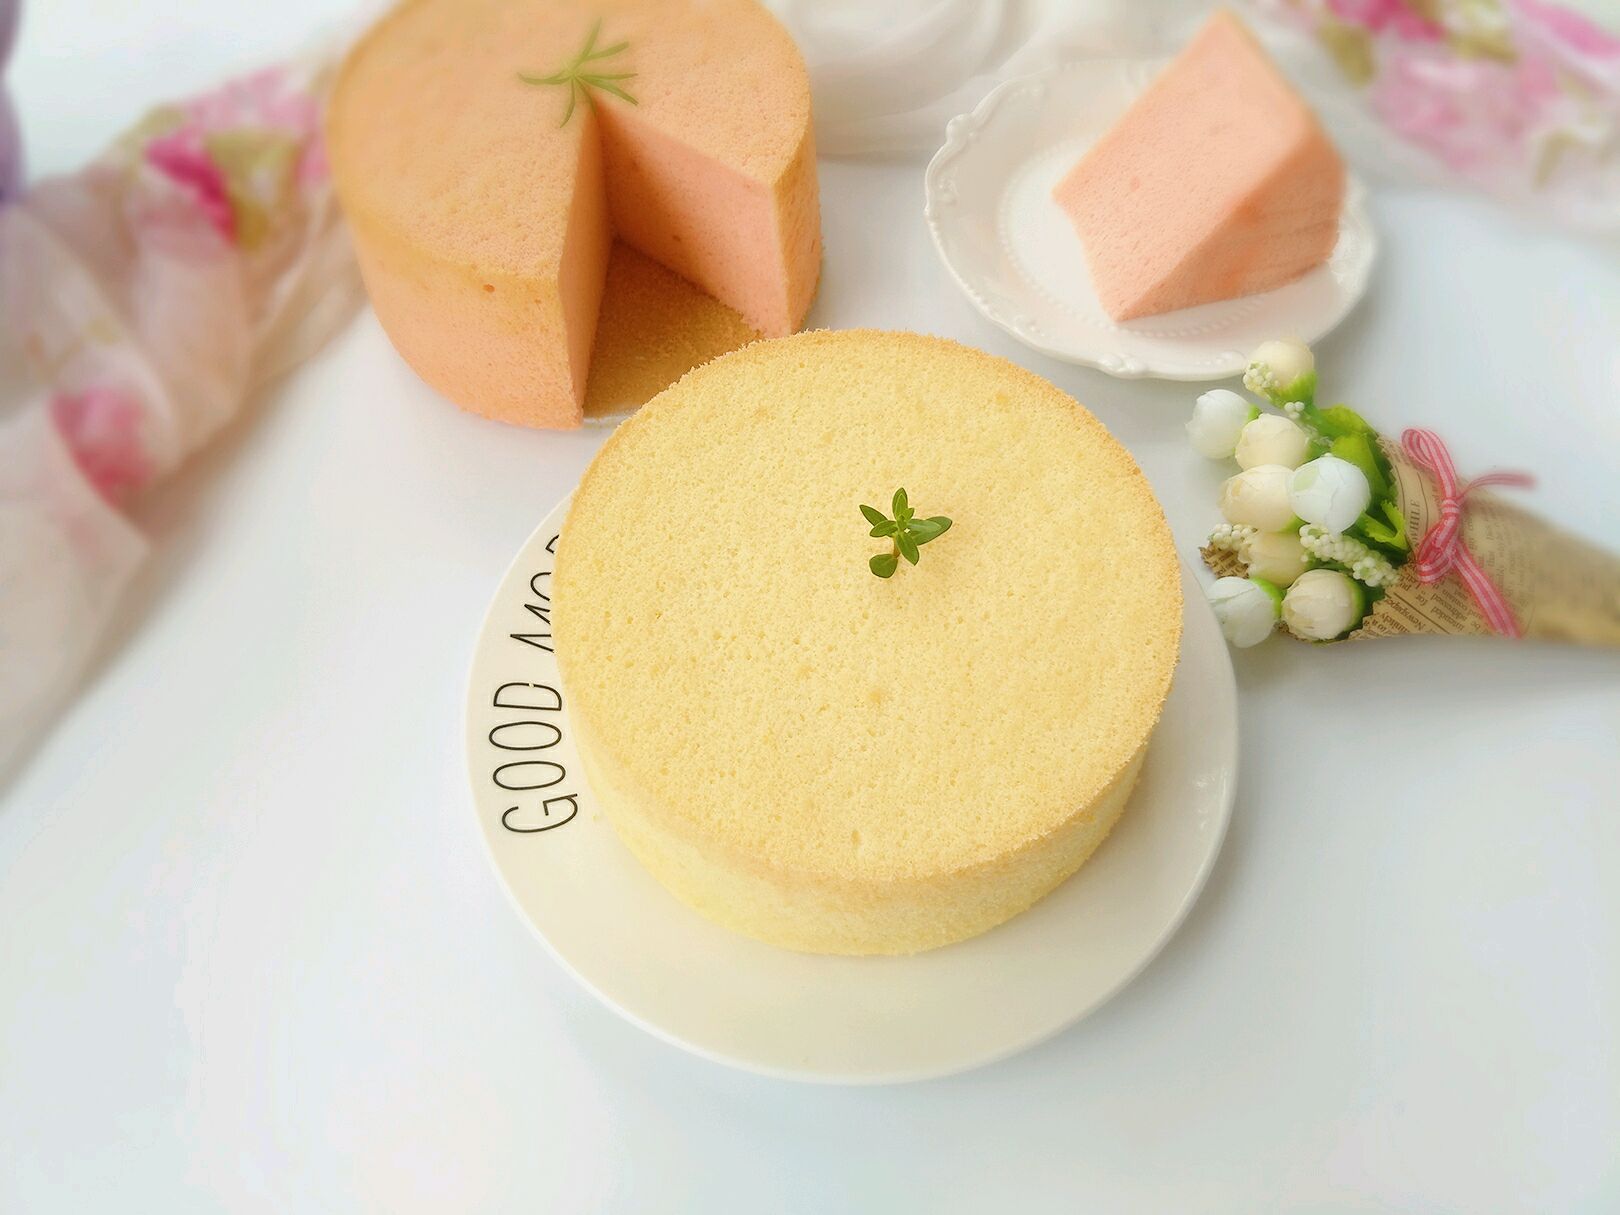
Step26:Another two. The other one is a little red velvet. It looks good with pink powder

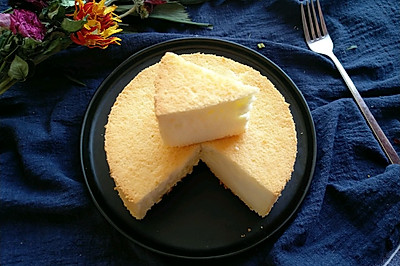
Step27:Look. It's good to climb. It's very elastic. It's super delicious
Cooking tips:It's easier to beat the egg beater than the cooking stick when selecting fresh eggs. It's basically successful. The oven temperature is adjusted according to your own oven temper. There are skills for cooking and delicious food when the temperature is no more than 150 ℃.
 Chinese Food


