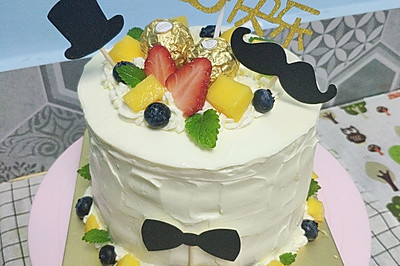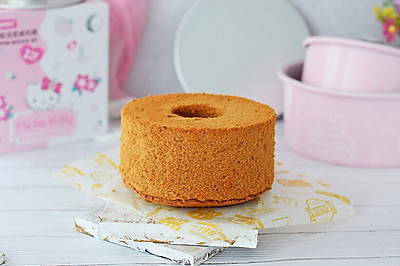
6-inch Qifeng cake
(105076 views)
When I was a child, I always liked to eat cakes, and I always dreamed that one day I could eat Qi Feng made by myself.
Cooking ingredients
Cooking Steps

Step1:Get the materials ready. As shown in the figur

Step2:Pour 10 grams of fine sugar, 25 grams of pure milk and 25 grams of corn oil into a bowl without water and stir well to make it emulsified. As shown in the figur

Step3:Add the sifted low gluten flour (45g) twice and mix it up and down evenly. Do not agitate the transition. As shown in the figur

Step4:Separate the yolk from the egg white. Add the yolk one by one and stir it evenly (I'm mixing the yolk one by one, and so on). As shown in the figur

Step5:Put the egg white into a vessel without water or oil. First add the sugar and use the electric eggbeater to beat until the remaining two times of foaming. Add the sugar and beat until it is dry (the sugar is divided into three times in total). As shown in the figure belo

Step6:At this time, preheat the oven 180 degrees for 5 minutes, take out 1 / 3 of the protein cream and add it to the egg yolk paste. Mix it up and down (turn over from the bottom). Take the remaining 2 / 3 of the protein cream in the same way (the same three times), as shown in the figur

Step7:Finally, put in a 6-inch cake mold, smooth it and shake it 2 times (shake out the bubbles inside), put it on the bottom of the oven (my oven is small), bake it at 110 degrees for 50 minutes (do not open the oven halfway), and then bake it at 130 degrees for 15 minutes to color it

Step8:After baking, take it out and shake it for 2 times, turn it upside down and cool it in the mold (remember to cool it down

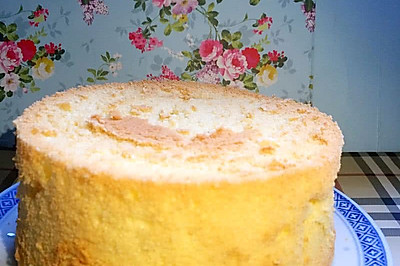
Step9:Finished product drawin
Cooking tips:It can be opened after being roasted at 110 ℃ for 50 minutes. Insert a toothpick to see if the temperature of each oven is different. You can adjust the temperature according to your own oven. You have skills to cook delicious food.
 Chinese Food


