Red bean moon cake
(107586 views)
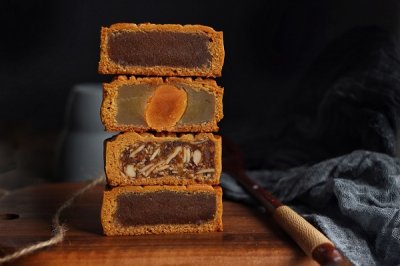
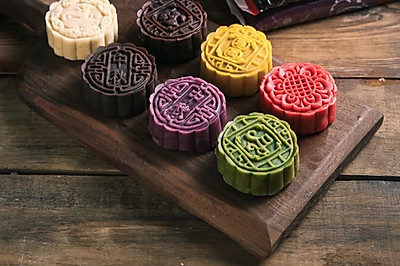
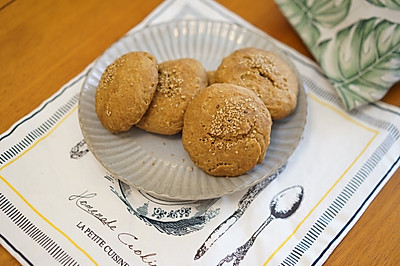
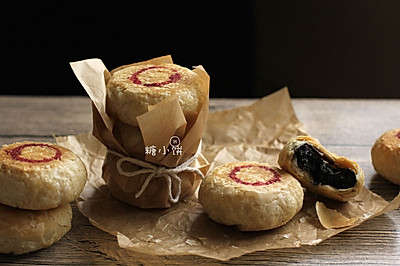
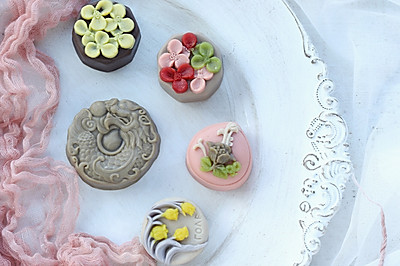
Tomorrow is the Mid Autumn Festival. Hurry to make the last moon cake for your family. Made several times of moon cakes. The most popular one is red bean cake. This time I made the simplest red bean cake directly. The red bean paste stuffing inside is also made by oneself. It's especially soft, waxy and sweet. The family said it was better than what they sold outside.
Cooking ingredients
Cooking Steps

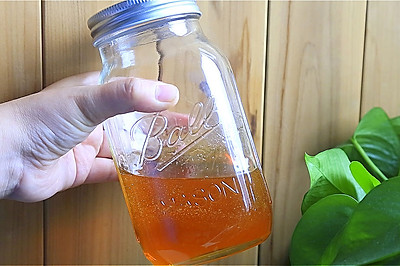
Step1:First of all, we will make Jianshui - 1g of edible alkali and 4G of clear water to mix evenly. We can also buy ready-made Jianshui directly.

Step2:Use an electronic scale to weigh 140 grams of conversion syrup. 50 grams of corn oil. 4 grams of water.

Step3:Stir well with hand pump. Let the conversion syrup, corn oil and water mix well for standby.

Step4:Sift in the medium gluten powder and knead it into a smooth dough. It's a little sticky. I rubbed it with disposable gloves

Step5:Cover with plastic wrap and leave at room temperature for about 2 hours. The rest time should not be too long. Two and a half hours is the best. If the wake-up time is not enough or the wake-up time is too long, mooncakes are easy to release feet.

Step6:The dough woke up and began to make mooncakes. Today, I used a 75g moon cake mold. It was divided into 30g skin and 45g stuffing. It was kneaded into smooth balls.

Step7:The moon cake mold should be cleaned and dried in advance. Sprinkle a little corn starch in it, and then knock it gently. Knock out the extra corn starch in it. It will be easy to demould when making moon cake.

Step8:Take a dough and knead it.

Step9:Put the mashed bean paste filling in the middle of the dough.

Step10:Gently push upward. Wrap the bean paste with tiger mouth. Tighten the place where you close your mouth.

Step11:Roll the wrapped ball around the cornstarch.

Step12:Then gently knead it into an oval shape.

Step13:Put it in the moon cake mold. Press it with your hand. Press it flat.

Step14:Press the mold to make the moon cake embryo shape. Then lift the mold upward. Then a moon cake is ready.

Step15:Do it all well. Spray a little water if you feel the skin is a little dry. (preheat the oven 200 degrees in advance for 10 minutes.) Remember that the oven must be preheated in advance. Because the mooncakes need to be baked in high temperature and set quickly after entering the oven. The temperature is too low. It is easy to cause the side of the mooncakes to bulge, which is often called the bulge waist.

Step16:Put it in the middle layer of the preheated oven and bake for 5 minutes at 190 ℃.

Step17:At this time, let's prepare the yolk water - the yolk plus a quarter of the protein plus 15 grams of water and stir evenly. Filter again. Brush the moon cake later.

Step18:Take out the baking tray after baking for five minutes. Brush the wall of the bowl with a fine brush. Then brush a thin layer of egg yolk water on the surface of the moon cake. Don't brush too much. Otherwis

Step19:

Step20:

Step21:

Step22:

Step23:

Step24:

Step25:

Step26:

Step27:

Step28:

Step29:

Step30:

Step31:

Step32:

Step33:

Step34:

Step35:

Step36:
Cooking tips:The temperature and time of the oven are for reference only. Adjust the temperature and time of the oven properly. There are skills in making delicious dishes.
 Chinese Food