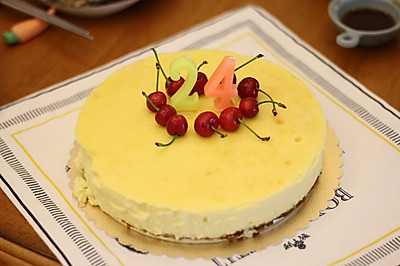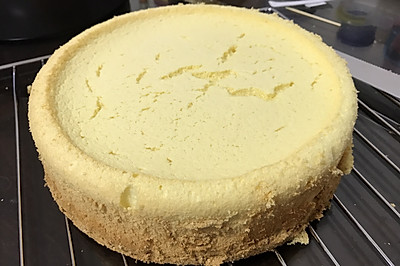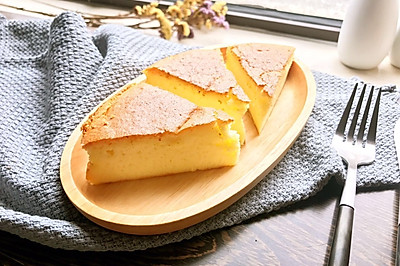
No added 10 inch / 8 inch Qifeng cake
(114585 views)
I only make Qifeng cake all the time. Although it's troublesome, I enjoy the process very much. At the beginning, I heard that Qifeng cake is difficult to make. It's difficult to succeed. But as long as I pay attention to my heart and taboo, there's no failure. After so long, I'll share the list carefully today. I hope to help the pot friends who love baking well. Here is the amount of 10 inch cake. If you want to make 8 inch cake, you can reduce the amount by half. The next time you make a cake, you can add all kinds of favorite ingredients as you need to make different Qifeng.
Cooking ingredients
Cooking Steps

Step1:Beat the egg to pour out the egg white. Slow down. Avoid pouring out the yolk. If there is yolk in the egg white, it will affect the egg white. The bowl for putting the egg white should be free of oil and water.

Step2:After the egg white and yolk are separated, if the egg white has an egg shell, remove it with chopsticks.

Step3:Beat the yolk slightly. Add 40g sugar and mix wel

Step4:Add 80g oil. Continue mixing and blendin

Step5:Add 80g milk. Continue to mix (it must be put in oil and mix well before adding milk in the right order

Step6:Add cake flour (low gluten flour) and sift to make it easier to mi

Step7:Turn the scraper up and down and grind it evenly. Mix until there is no granular paste.

Step8:Beat the egg white until it is thick and add 1 / 3 sugar (in addition to summer, preheat the egg basin in hot water in other seasons. It is easier to beat the egg white in warm water. Squeezing some fresh lemon juice will reduce the smell of egg

Step9:When the egg white is finely foamed, add the remaining 1 / 2 sugar and continue to bea

Step10:Pour in the remaining white sugar when you get the texture. Mix it up and continue to beat

Step11:A successful egg beater has a sharp point when it is lifted. When the egg beater is upright, the egg beater will not flow down. The success of cake depends on the egg white.

Step12:Add a small half of the protein cream to the batter. Mix it up and down gently

Step13:Pour the batter into a large basin. Continue to mix it up and down evenly. The action should be light. Do not mix it to avoid defoaming.

Step14:This material can be made into one 10 inch or two 8 inch. I made an 8-inch and a 6-inch cake. The rest was poured into the mold to make a small cake.

Step15:Preheat the oven at 160 ℃ for 45 minutes. Put the cake in the lower layer. The small mold cake can be taken out in 20 minutes. Each oven has different suggestions. Observe the situation in the last 10 minutes and get out of the pot. Use chopsticks to poke it from the middle to see if the chopsticks stick or not.

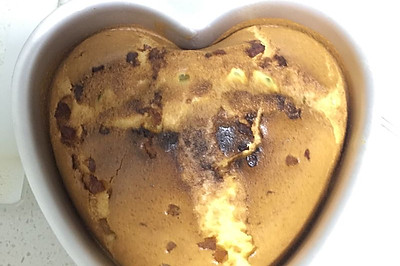
Step16:This is a baked mold cak

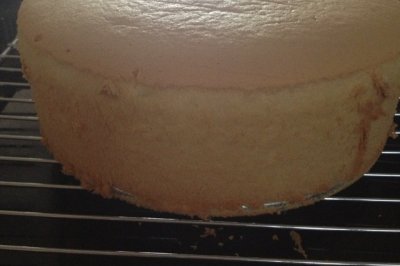
Step17:The baked cake should be taken out immediately and turned over to air. If you don't turn over the cake, you will stay

Step18:When the mold is ready for demoulding after cooling, press it around the cake by hand to demoul

Step19:It can be eaten directly. It can also be used as a birthday cake for standby. The cake is refrigerated overnight. It tastes better after the tide returns than the one just baked.

Step20:Fruit in the middle. Cream o

Step21:
Cooking tips:1. The bowl of egg white should be free of oil and water. 2. When mixing the batter, first mix the oil with milk. 3. Bake the batter. Take it out immediately, turn it upside down and cool it. 4. The egg white must be mixed well according to the rules. 5. The batter should not be too long and the dishes should be delicious.
 Chinese Food
