Super simple staff
(115226 views)
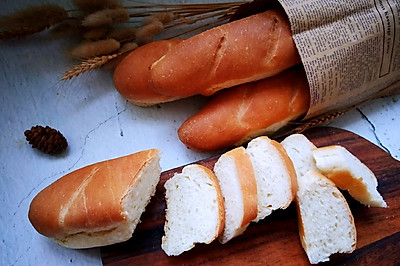
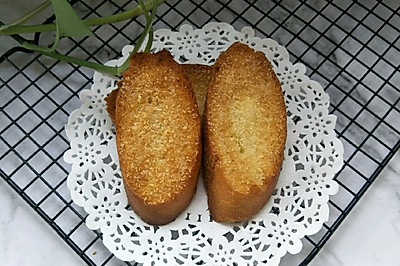
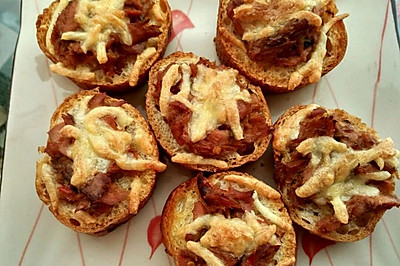
Because I've been traveling for several days, I eat Western food. The European bag before the meal is very delicious. So I quickly made it when I went home. The mold is ready-made. So I made the stick first and added some mixed spices. It's delicious. The charm of this kind of bread is that the skin is crunchy, but the heart is chewy. So it can't stop eating. The most important thing is low sugar and low oil. Simple operation. If you don't have a mold or just want to make one or two sticks, divide the square by five to get the amount of sticks. The method is the same. If you follow my steps completely. If you can understand my grassroots language description, you will not fail. It's not that kind of classic stick. But it's not too bad. I don't know exactly what it's called
Cooking ingredients
Cooking Steps

Step1:I don't have the special flour for the staff. I use the high gluten flour in my home. Put all the materials in the mixing barrel. Put the yeast and Sugar Salt separately. Add the ice water to delay the fermentation. The ice water can be added according to the water absorption of the flour.

Step2:Knead until the surface is smooth. You can pull off the thick film. I use a blender to knead for 30 minutes. The dough is sticky. It is different from the dough used for making sweet packets. Then sprinkle the mixed spices (pepper 53%, red pepper, carrot, parsnip, coriander, onion, salt, etc.). Don't add it too early. It will crush all the spices.

Step3:Fold and press the dough with a scraper and put it in a basin for the first basic fermentation. (that is, cover the plastic film and ferment at room temperature. Don't rush to start the fermentation function. This slowly fermented bread is free of its taste and charm. I've done it. What should I do? It's almost fermented when I think of it. Nothing will be delayed.

Step4:Ferment to twice the siz

Step5:No need to exhaust. Directly split into five parts. About 162 grams each. If you stick your hands, you can use hand powder to operate

Step6:Roll the dough into a rectangle and thin at the same tim

Step7:Roll up from the bottom. Tighten the surface. Knead the joint

Step8:That's what it looks like. It doesn't pinch. It may burst during fermentation and baking

Step9:Do not put the rolled bread embryo into the mould in a hurry. Do the others in turn. Let the dough relax again

Step10:Then take the first one and rub it long again. Place it in the mould one by one. Tighten the mould. The purpose of using the mould is to prevent the bread embryo from going out of shape

Step11:Brush a layer of olive oil or vegetable oil on the surface. Use a sharp knife to cut the edge. Be sure to use a sharp knife. If my knife doesn't cut quickly, it won't cut at all

Step12:Put the second fermentation directly into the oven. Wait until the embryo is twice as big. It takes about 40 minutes

Step13:Preheat the oven for 220 degrees. Put an empty baking tray in the bottom of the baking mesh. When the temperature reaches, put the bread embryo into the oven. Pour a cup of hot water into the empty baking tray below. Because the baking tray is hot, there will be steam. Immediately close the door and bake. After ten minutes, the baking tray will change downward. The bread color will be the same. Bake for ten minutes. Take out the baking tray with hot water and bake for five minutes Almost.

Step14:

Step15:
Cooking tips:After baking, take it out and put it on the airing net. Let it cool by ventilation. The successful staff is a hard shell with crisp outer layer, soft inner part and big and small pores. There are skills in making delicious dishes.
 Chinese Food


