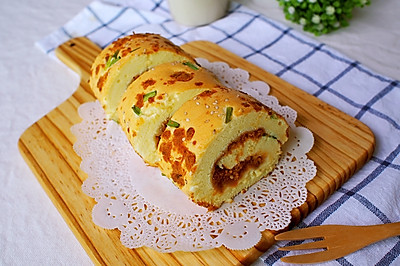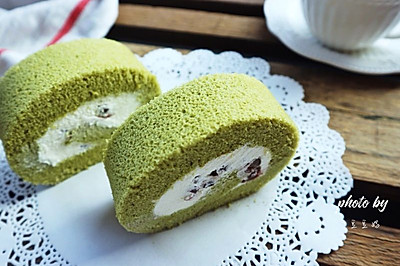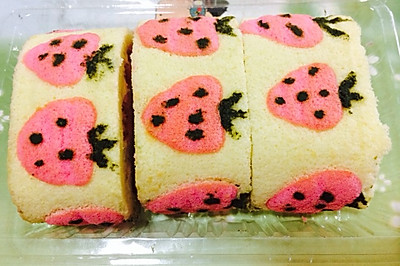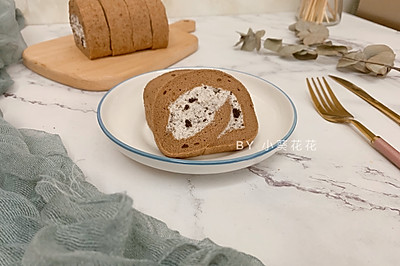
Chiba cake roll
(135152 views)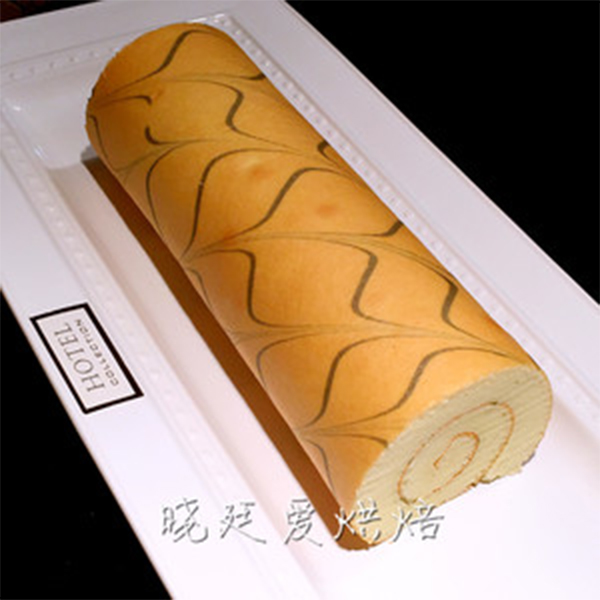
My demonstration process chart is double. Two rolls are produced at a time. Don't ask me what brand of baking pan I made. Because you have to have a large oven to put down this 40x60 commercial baking pan. I'll reduce the amount of the recipe. You can use a 28x28 gold pan to operate. To make a dry leaf pattern cake roll, you must pay attention to the fact that the skin must be baked thick enough. In this way, the skin will not fall off during the rolling process. But it can't be too dry. Or it will crack when rolled up. This degree needs to be pinched by yourself. I've added the roll method video to this one. No cream or fruit. The same way. Only when the cake roll is tight, it will look full. This needs practice very much. You will learn it slowly.
Cooking ingredients
Cooking Steps

Step1:First of all, we mix the liquid part and add the sifted low powder. Here we use the post egg method. Personally, the biggest advantage of this method is that there is less pimples in the batter.

Step2:Divide the eggs and stir in the yolk. Set asid

Step3:In pursuit of delicacy, you can sift the yolk paste again. The sieve used here is not the one used to sift soybean milk. This is called coarse lattice. The batter is easy to sift with a scraper

Step4:Protein frost -1. put 5 proteins in a slightly larger egg dish. Use electric egg whisk to form a blister state. Add 2. sugar to the 1/3 protein (60 grams of sugar). Rotate the medium to high speed until the fine foam is added. Then add the sugar of 1/3. Turn to the high speed and continue to play the texture of the grain. 3., add the remaining sugar. Continue to fight to the state of dry foaming. That is when the egg whisk is raised. Hou. The protein can pull out a short upright sharp angl

Step5:After the yolk paste is stirred, take 1 / 3 of the protein cream and put it into the yolk paste plate. Use a rubber scraper to stir evenly; then take 1 / 3 of the protein cream and put it into the yolk paste plate. Use a rubber scraper to stir evenly

Step6:Finally, pour all the batter in the yolk paste plate into the remaining albumen cream plate. Mix well until it is smooth, fine and free of particles

Step7:Pour it into the baking tray which has been paved with high-temperature oilcloth. Keep a certain height and fall down in a waterfall way to help the natural rupture of the blister. Then use a scraper to paste the surface gently at an angle of 45 ° with a flat paste

Step8:Save two tablespoons of batter. Use a little bit of melanin or a little bamboo charcoal powder (it's super black. Just remember a little). Why not suggest cocoa powder. Cocoa powder is alkaline and will dry the batter. Then the batter proportion changes. The line will crack. Put it into the flower mounting bag. Remember not to cut too big. The line will be thick. It's not beautiful.

Step9:Diagonal straight parallel stripes

Step10:It is recommended to use the chopstick cable. The toothpick is not good-looking. The arrow represents the direction. Insert the chopsticks into the batter and pull in the direction. The lines will appear.

Step11:Baking temperature - just for your reference. The oven is different, the temperature and time are different. But the principle is to color it. The skin has a certain hardness. 180 ° 1820 minutes. It can be opene

Step12:

Step13:

Step14:

Step15:
Cooking tips:There are skills in making delicious dishes.
 Chinese Food
