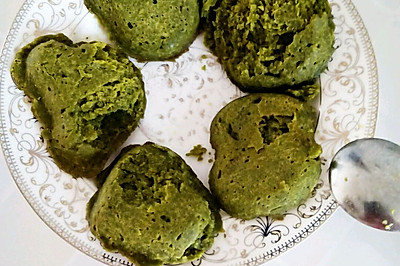
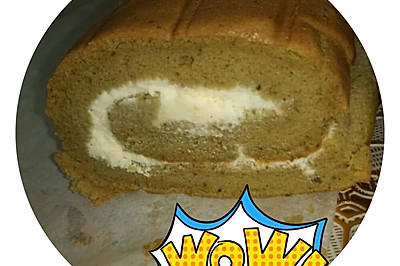
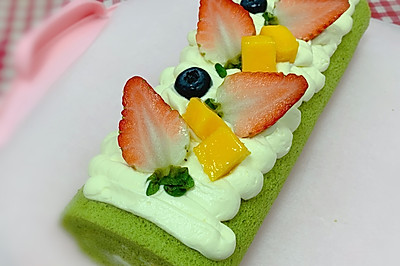
Matcha whirlwind cake roll
(155255 views)If you want to make cocoa flavor, you can change it into 10g cocoa powder + 20g boiled water. I have broadcasted the whole process of making this roll on my microblog. You can have a look if you need it.
Cooking ingredients
Cooking Steps

Step1:Make preparations first. Sift low gluten flour on both sides (60 mesh sieve) in advance.
Step2:Pour 30g of boiling water into 6G of Matcha powder. Stir until it is fine and free of particles
Step3:To make egg yolk paste. The protein can be refrigerated first.
Step4:Mix the two evenly with the egg.
Step5:Add the sifted low powder. Draw a word with the egg and stir. Mix until there is no dry powder.
Step6:The mixed batter is as shown in the figure. Now I like to make Qifeng's yolk paste by post egg method. The cake is more delicate.
Step7:Then add in the yolk. Draw a word with the egg and stir well.
Step8:If there are granules, you can press them with a scraper to get a fine granular yolk paste.
Step9:Start making the protein cream. Take the protein out of the refrigerator. Stir it into fish eye follicles at high speed. Then add 1 / 3 of sugar.
Step10:Beat with electric beater until volume doubled. Add 1 / 3 sugar.
Step11:Continue to beat until you can pull out the hook. Add the remaining sugar. Continue to beat.
Step12:High speed beating to the state of wet foaming, as shown in the figure below
Step13:Start mixing ~ preheat the oven first. The upper and lower tubes are 180 degrees.
Step14:Then pour all the batter into the remaining protein cream. Mix well.
Step15:The batter is delicate and glossy.
Step16:Then paste out 150g cake and put it in another clean container.
Step17:Add the tea paste just made. Mix well.
Step18:Pour it into the flower mounting bag.
Step19:First pour the original cake paste into the baking tray. Level with a scraper.
Step20:Then squeeze the Matcha cake paste on it. The process must be gentle.
Step21:Smooth it gently with a scraper after squeezing.
Step22:Wear disposable gloves on your hands. Use your index finger to poke the cake paste. Pay attention to the end of the poke. Draw S-shape from the starting position. Don't break it in the middle. Just like the snake game. Draw the end at a time.
Step23:I drew a picture. It's easy for you to understand
Step24:Then it's at a 90 degree angle. Draw the texture vertically again.
Step25:Smooth the surface with a scraper, because it's a positive roll. It's a little smooth and good-looking
Step26:Then put it into the middle layer of the preheated oven. The upper and lower tubes are 160 degrees. Bake for 25 minutes. Take it out immediately after baking. Put it on the baking net to cool.
Step27:A little bi
Step28:
Step29:
Step30:
Step31:
Step32:
Step33:
Cooking tips:There are skills in making delicious dishes.