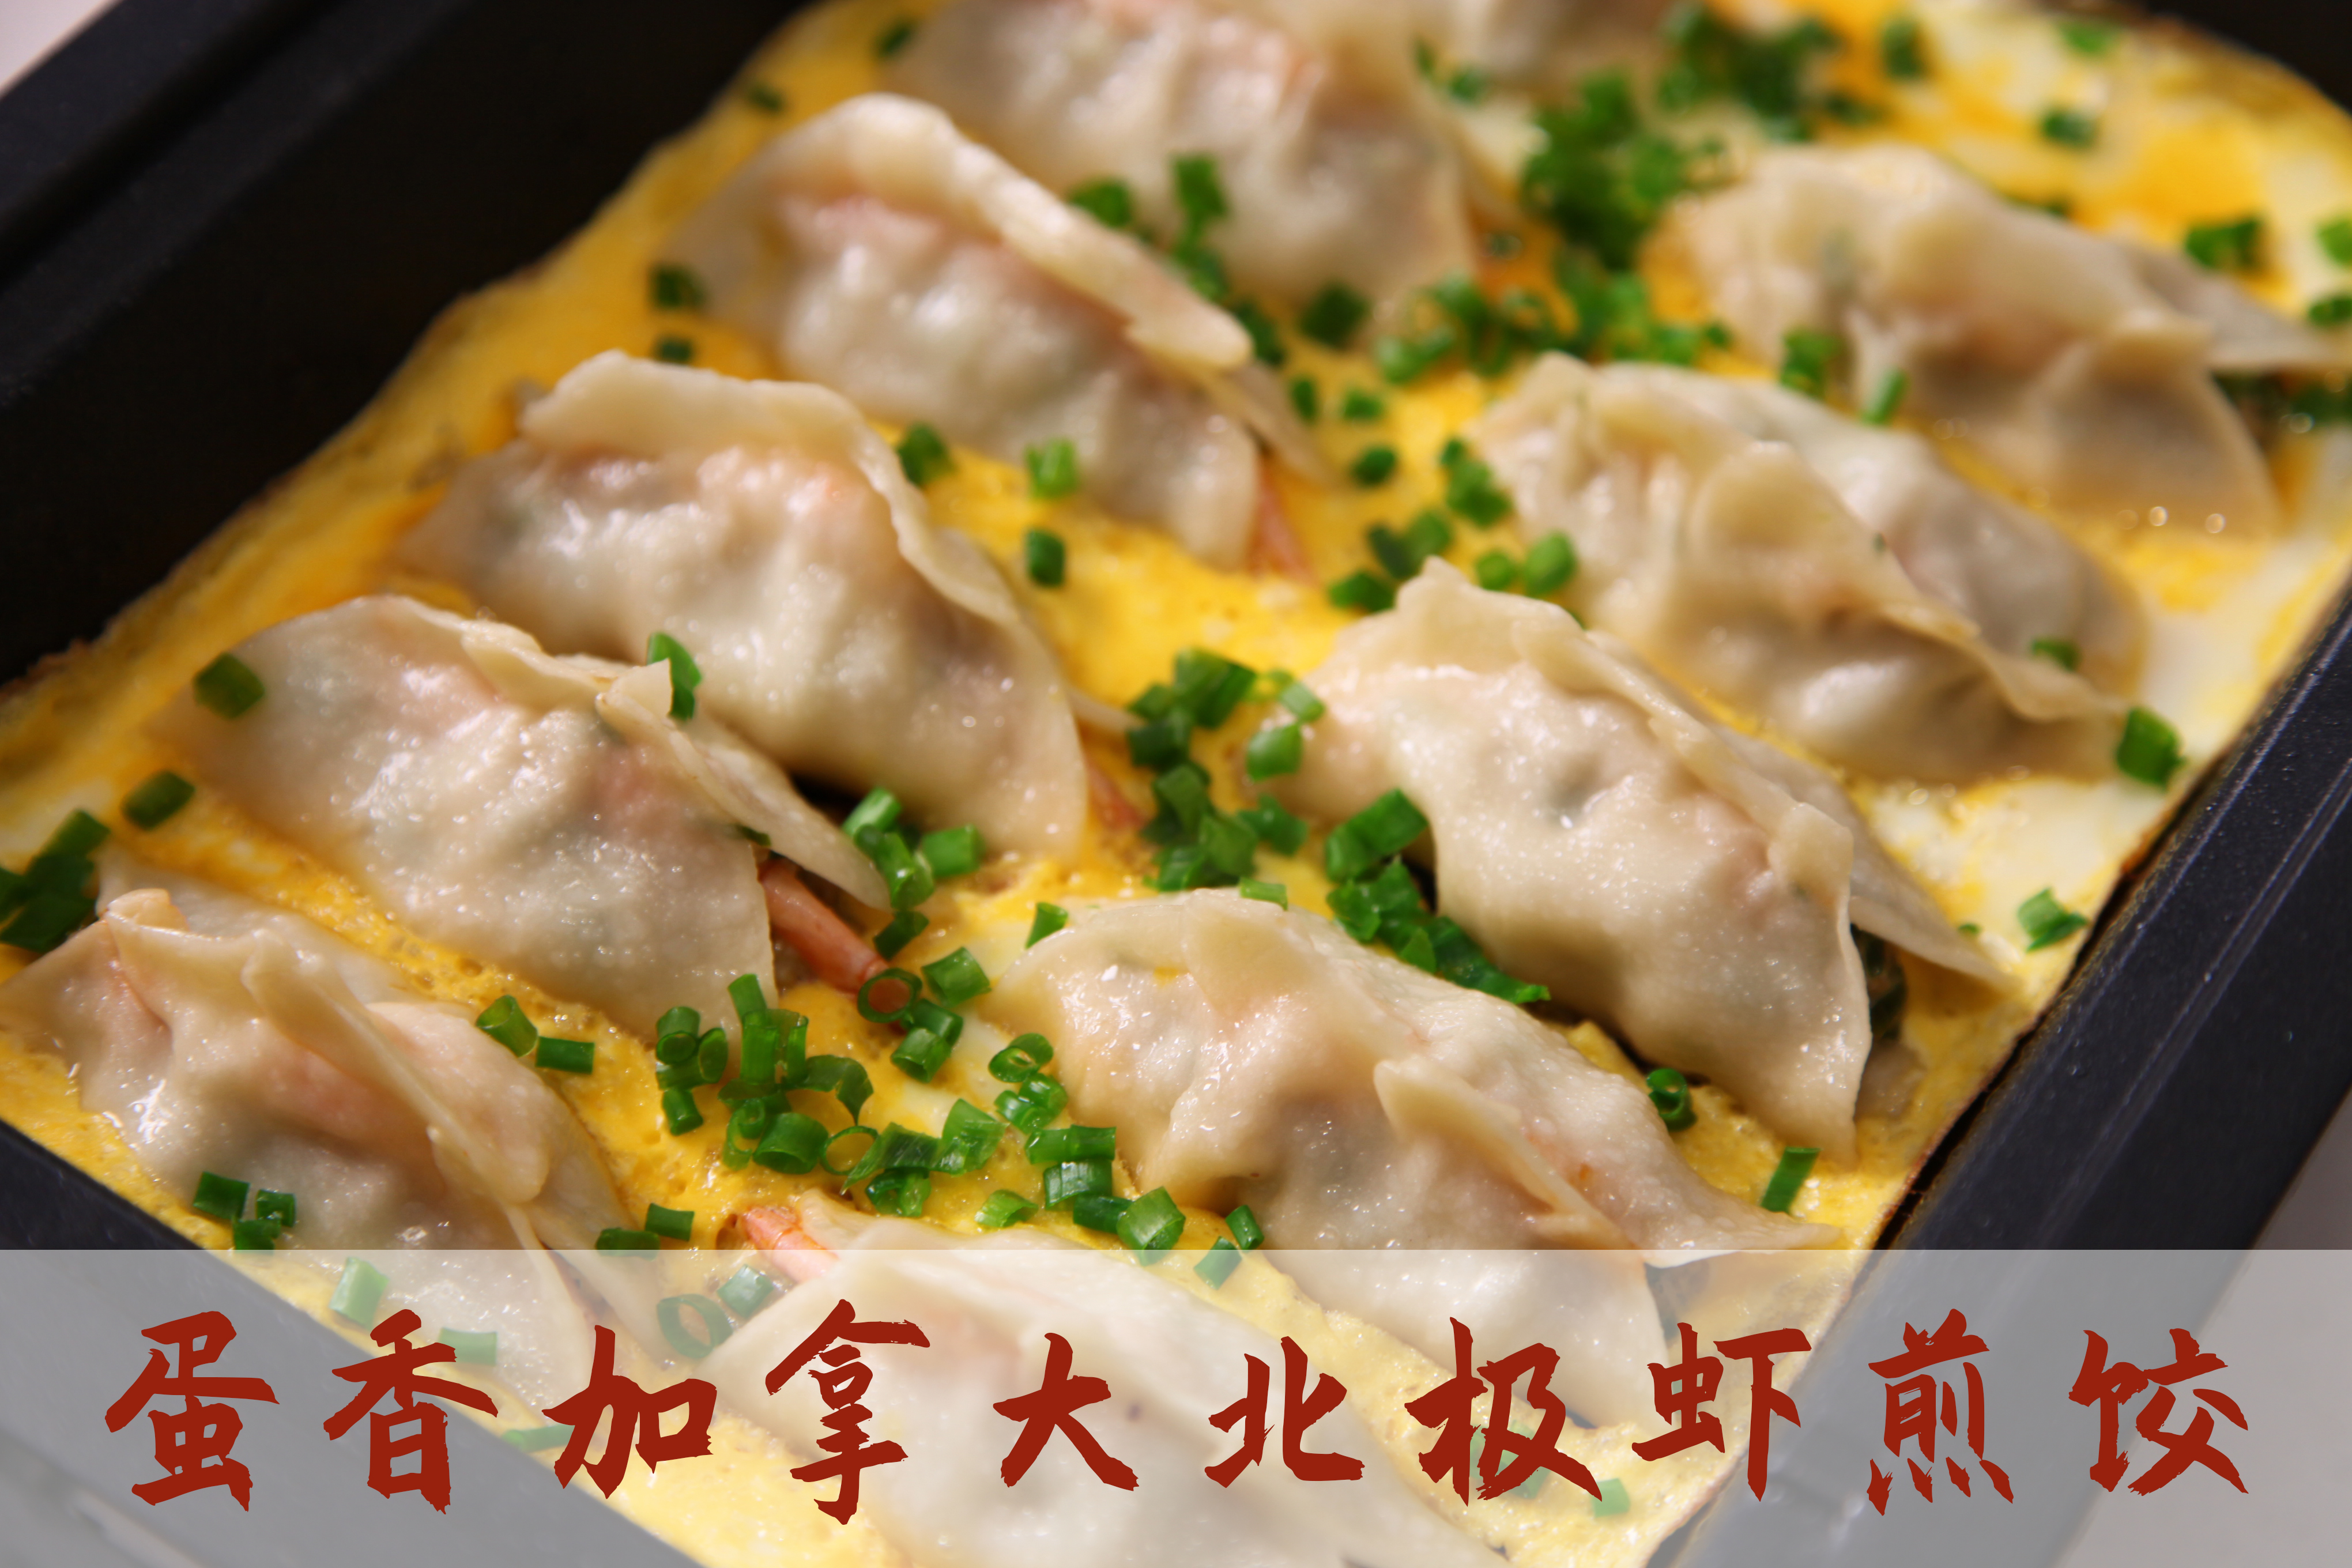
Fried dumplings with shrimp in the North Pole
(159593 views)
Fried dumplings are often made at home. But today's one is egg flavored Canadian Arctic shrimp fried dumpling. We put a wild Canadian Arctic shrimp with Phoenix Tail in it when we make every dumpling. It makes the dumpling a bit more playful. Add the egg liquid when you are about to leave the pot. Sprinkle with shallot. Not only increase nutrition, but also taste better~~~
Cooking ingredients
Cooking Steps

Step1:With the development of Canadian Arctic shrimp in the domestic market, more and more consumers know the origin and product knowledge of this kind of shrimp. Today, let's talk about the nutrition knowledge of Canadian Arctic shrimp. The content of magnesium, calcium and iron in Canadian Arctic shrimp is 1-1.8 times higher than that in common cultured South American shrimp, and the content of vitamin E, B1 and B2 is 1.5-2.2 times higher than that in cultured South American shrimp. In addition, Canada's Arctic shrimp has the same omega-3 content as salmon, and the price is much cheaper than salmon.

Step2:After thawing the Arctic shrimps at room temperature, we will peel part of them into shrimps. Part of them will be peeled into anchovies. We need to keep the shrimps' tails. We will put them in when we make fried dumplings.

Step3:Chop the shrimps. Mix them with the pork stuffing. Season with 2G salt, 1.5msp soy sauce and 1.0msp sesame oil. Mix well.

Step4:Pour the chopped scallion, ginger and leek into the basin. Mix well to make the final dumpling filling.

Step5:In the middle of the dumpling skin, put the dumpling stuffing into an oval shape. Put a phoenix tail shrimp on the stuffing.

Step6:Knead the dumpling skin to the top. The two ends are not sealed.

Step7:Hot oil in the frying pan. Put on the dumplings. After 2 minutes, pour in 1 / 3 bowl of water. Cover the pan and stew the dumplings.

Step8:When we hear the crackling sound in the pan, it means that the fried dumplings are almost ready.

Step9:When the water evaporates and dries up, the two eggs are knocked into the bowl and broken up. Pour them into the pot. Let each fried dumpling have egg liquid around it.

Step10:Wait for the egg to solidify and shape slightly. Sprinkle with chopped green onion.

Step11:Fry until the egg is fully formed.
Cooking tips:There are skills in making delicious dishes.
 Chinese Food


