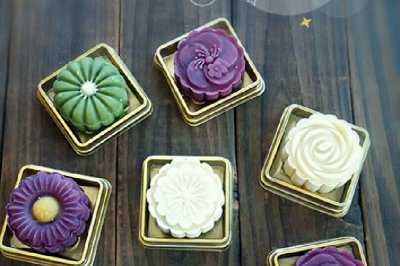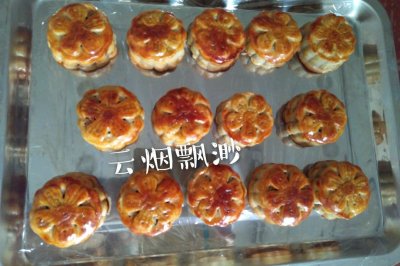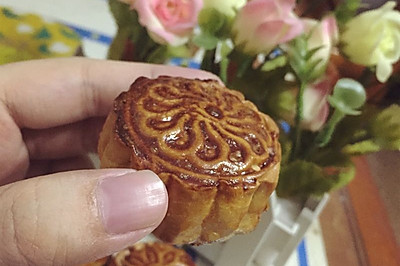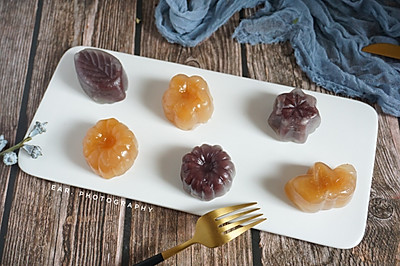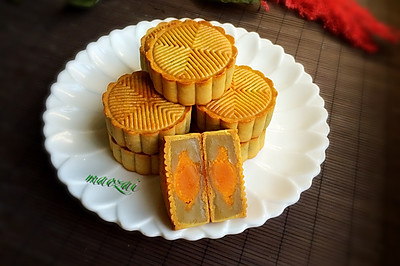
Dousha moon cake
(447417 views)75g mold. 8 recipes. It is said that the custom of eating moon cakes began in Tang Dynasty. In the Northern Song Dynasty, this kind of cake was called palace cake. It was popular in the palace, but it also spread to the people. At that time, it was commonly known as small cake and Moon Group. Later, it became a circle, which implied a happy reunion. There are many kinds of moon cakes in China. Traditionally, they are divided into four categories: Cantonese, Jiangsu, Beijing and Yunnan. According to the origin, it can be divided into Beijing style moon cake, Guangzhou style moon cake, Soviet style moon cake, table style moon cake, Yunnan style moon cake, Hong Kong style moon cake, tide style moon cake, Hui style moon cake, Qu style moon cake, Qin style moon cake, Jin style moon cake, and even Japanese style. In terms of taste, it has sweet, salty, salty, sweet and spicy taste; in terms of filling, it has sweet osmanthus moon cake, dried plum moon cake, Wuren, Dousha, rose, lotus seed, crystal sugar, etc , white fruit, meat pine, black sesame, ham moon cake, yolk moon cake, etc.; according to the cake skin, there are pulp skin, sugar skin, crisp skin, cream skin, etc.; from the modeling, there are smooth and smooth
Cooking ingredients
Cooking Steps

Step1:Mix the syrup and water. Mix well. It will take about 2 minutes until there are many small bubbles.

Step2:Pour in the peanut oil and continue to stir. The stirring time is about 2 minutes. Stir until emulsification occurs. The mixture will become very thick.

Step3:Sift in medium gluten flour. Mix well. Then refrigerate for an hour and a half. Be careful not to rub the flour with your hands to avoid gluten. If you don't have medium gluten flour at home, you can replace it with ordinary flour at home. It doesn't matter. I tried it. You can use it at ease.

Step4:Use the dough to stand for this period of time. Divide the bean paste stuffing into 50g each. Divide into 8 parts for standby.

Step5:Take out the dough and weigh out 25g each. It can be divided into 8 parts. Round the dough for use. Press the dough flat. Make it as thin as possible in the middle and thick on both sides. Then put the filling in the middle of the dough. Use tiger's mouth to push the sides inward. Pay attention not to expose the filling. Wrap it well and make it round. This process can be slow. Patient. In fact, it's very good. As long as the action is slow, there will be no mistakes.

Step6:Oil the bottom and all around of the mooncake mold. Put the wrapped mooncake dough in and press it directly on the baking tray.

Step7:Press the mooncakes evenly on the baking tray.

Step8:Preheat the oven 180 degrees. Bake at 180 degrees for 5 minutes. Take out the moon cake. Brush a thin layer of whole egg liquid on it. Remember that it must be a thin layer. Don't brush too much. Then bake at 180 degrees for 15 minutes.

Step9:The baked mooncakes can't be eaten right away, because they are hard. After they are cooled, put them into a sealed box and return the oil. Put them for about 2-3 days. When they are soft, they can be eaten. The surface of the returned moon cake is glossy and beautiful.
Cooking tips:More precautions. Please look at the super detailed version of the egg yolk red lotus moon cake I sent before. I have summed up all the problems I have encountered there. There are skills in making delicious dishes.
 Chinese Food