Light Cheesecake
(90264 views)
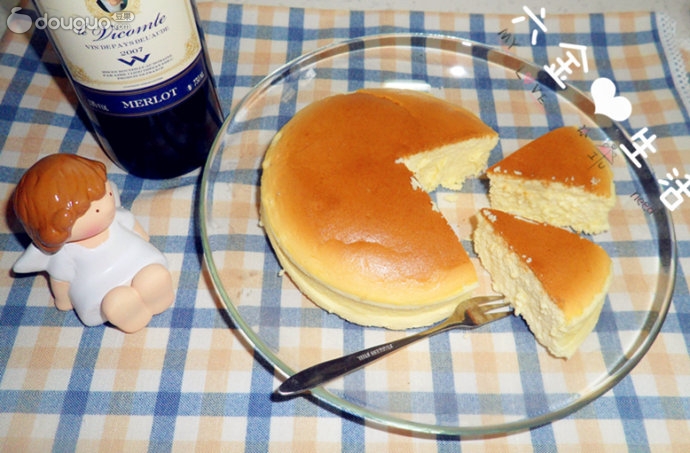
There was such a messy time. I wanted to eat cheesecake every day. Every time I bought it from the West Point house, I would eat it and hate why I didn't make it myself. Why I didn't make it myself. Now I finally do it myself. It's really a little fresh. It's delicious.
Cooking ingredients
Cooking Steps

Step1:The formula of mold release oil comes from a gentle teacher - liquid butter one, salad oil two, a small amount of high powder. Removing any mold means that there is no pressure in my 30L oven. 150 degrees. The lower layer is baked for an hou

Step2:Preparation work-1. Cut the oil paper into the bottom shape of the mold. Pave it well. 2. Brush the mold with release oil around the mold. 3. Weigh the cream cheese, light cream and yoghurt. Mix them with the blender to form a delicate state

Step3:Yellow cheese paste production stage - 1. Add egg yolk into cheese paste 2. Mix 1 well 3. Weigh the low powder. Sift 4. Add 3 and make a copy evenly. Put the plastic wrap on it and refrigerate it for a while. Start looking for the protein to be sen

Step4:Protein beating and mixing stage-1. Weigh the sugar and prepare to beat the protein. 2. Beat the protein to the wet foaming stage, forming a small hook state. 34. Copy the protein and egg yolk cheese paste to form the final cheese paste

Step5:Baking stage - 1. Add water to the baking tray. I added more than 2cm. Pour the cheese paste into the mould and put it into the preheated oven carefully. Don't sprinkle the water everywhere. 2. Bake with water for 60 minutes. 3. The surface of the finished product just tested is curved. Then there are several cracks. Jun's blog says it's normal. Place it and cool it in normal temperature before demoulding. 4. This is the appearance after cooling to normal temperature. It's good for demoulding and a little retracted. These are normal phenomen

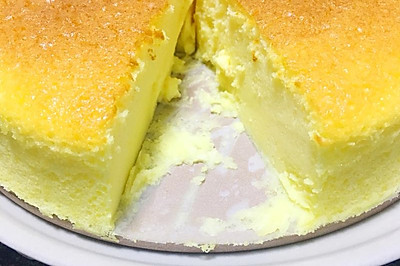
Step6:Preservation stage - after cooling and demoulding, it was refrigerated overnight. Cut it the next day and you can eat it. It tastes great.
Cooking tips:There are skills in making delicious dishes.
 Chinese Food


