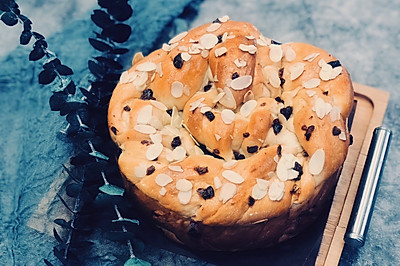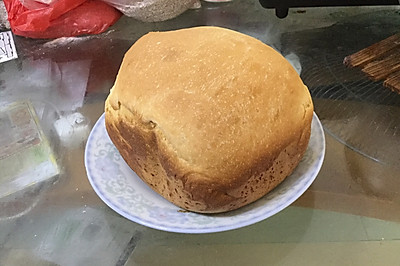
Shredded bread with bean sauce
(88389 views)
Two days ago, I sent out a recipe for a jujube cake. It was made of high gluten flour. On the same day, I made two jujube cakes by hand. However, I changed the high gluten flour into ordinary medium gluten flour, which is the rich and strong wheat flour we often buy. As a result, the finished product is very soft and delicious after two days. It seems that I don't need to buy high gluten flour to make this kind of bread later. Why do I call it hand tearing? Because it can't cut. It's very soft. It can only be eaten by tearing. Haha. It's a little different from the traditional bread with a lot of oil. This time I changed it to Dousha filling and made it again. Dousha is also my own oil-free low sugar version. There is a post in the diary. You can check it if you need.
Cooking ingredients
Cooking Steps

Step1:Put 230g milk, 60g egg liquid, 30g milk powder, 400g medium gluten flour, 40g sugar, 2G salt and 5g yeast into the bread machine barrel in tur

Step2:First use chopsticks to stir, so as to avoid too much flour when the mixing leaves of the bread machine rotate

Step3:The first 20 minutes of the bread machine quick noodle program. It can be seen that it was very sticky at the beginning

Step4:After the first dough procedure, take a piece of dough and pull out the thick film

Step5:Add olive oil. Start the second dough process. After that, the dough surface is very smooth. Ferment in the bread barrel to twice the size

Step6:About an hour and a half. Fermentation is complete (without power to the toaster)

Step7:The fermented dough is divided into six equal sized dough after exhausting. Knead and stand for 20 minutes

Step8:Take out one of them. Exhaust and rub it into a long shape. Roll it out with a rolling pin

Step9:Put the bean paste stuffing on. I prepared 270g of bean paste stuffing in total. I divided it into six parts, one for each dough

Step10:Wrap it up. Close it up

Step11:Finish six in turn. Wrap up the bean paste stuffing

Step12:Three into a braid shape. Pay attention. Don't make it too tight. Leave room for fermentation

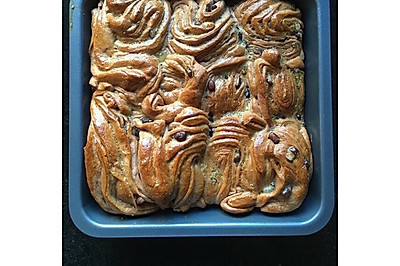
Step13:Put the braided braids in the mold. This is a 9-inch small toast mold. Put it in the oven. Put a plate of hot water on the bottom for secondary fermentation

Step14:Fermentation is complete. It took me 45 minutes

Step15:Oven 165 degrees. Heat up and down. Lower layer. Bake for 28 minutes

Step16:Brush a layer of honey water after coming out of the oven. The color immediately brightens up

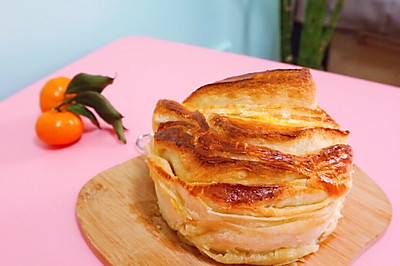
Step17:Tear it to see if the drawing effect is good. Rich flour can be used to make bread drops. I looked at the powder packaging bag. The protein content of this flour is 9.0. It's full of bean paste filling. It makes the bread heavy. It tastes good.

Step18:After the bread is cooled, it must be packed and sealed. If it can be eaten in two or three days, it's better to keep it at room temperature. If you can't eat it for a long time and a half, you can pack it and seal it, then put it in the refrigerator and freeze it. Before eating, you can take it out and defrost it at room temperature. This kind of bread is very good for breakfast. It can be reheated in the oven. It can be roasted at 150 ℃ for 5 minutes. It's tender inside and outside. It can also be eaten directly. It's not heated. It's soft to tea
Cooking tips:Note: when braiding, it should not be too tight. It is better to loosen the braid. The liquid content of bread is relatively large. Although the formula is ready-made, the liquid content of the same formula will increase or decrease in different flour use because the flour used by each person is different and the water absorption is different. It is suggested to reserve about 10g of liquid first. After kneading other materials into dough, add the reserved liquid appropriately according to the situation The same is true for liquid, oven temperature and time. The temperature and time of each oven will be different. The temperature and time listed here are only displayed on my oven. As for other ovens, they need to be adjusted by themselves. There are skills in making delicious dishes.
 Chinese Food


