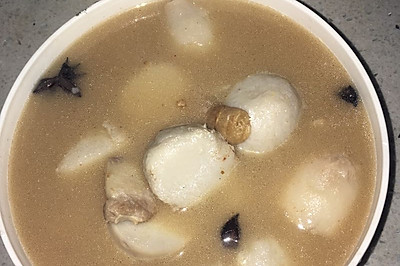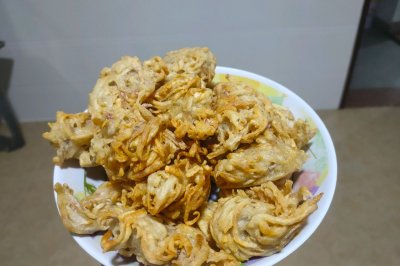
Taro crispy
(97665 views)
The taro bought by my husband hasn't been eaten for a long time. I'm afraid it's broken. I improved it according to the way of mung bean cake to make this taro cake. Don't drop it if it's delicious.
Cooking ingredients
Cooking Steps

Step1:First make the stuffing. Cut the taro into small pieces and steam for half an hour in a bow

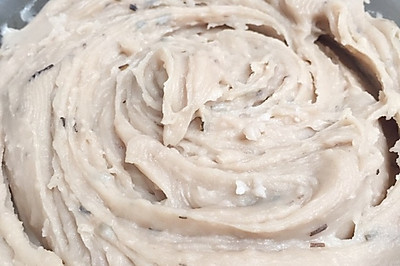
Step2:Put a proper amount of salt into the pot, while crushing the taro and stirring the salt to make mud. If it's too dry, you can add some milk or water (because it's your own food, so I put milk). If it's not dry, you don't need to put anything in it

Step3:Put some vegetable oil in the pot. Then put the taro puree into the pot and stir fry it. Stir while pressing. Use a small fire. Don't fry until there is no particle in the taro puree. Put it in a bowl and cool it for standby

Step4:Make the pastry. Mix the low gluten flour, lard, salt and milk (because it's my own food, so I put the milk. It's OK to put the water) together evenly. Cover the plastic wrap and put it aside for 20 minutes

Step5:It's OK to make butter, mix low gluten flour and lard together. It's very simple.

Step6:Take out the Xingfa good pastry and divide it into 10 parts on average. Divide the butter into 10 parts on average. Rub the dough and put it in place

Step7:Squas

Step8:Flatten the pastry with your hands. Use a rolling pin. Wrap the butter in. Pay attention. Don't show the butte

Step9:Wrap up the pastry and put it dow

Step10:Take a pastry wrapped in butter and flatten it. Use a rolling pin to roll a long strip

Step11:Roll up from botto

Step12:Roll u

Step13:Roll it up and then roll it up. It's about 3mm thick. Roll it up again

Step14:Cut through the middl

Step15:Cut dow

Step16:Squas

Step17:Cut from the middle with a knife. Split in two. The cut is facing down. After flattening, use a rolling pin to flatte

Step18:Put in taro paste and wrap it. Note that the cut surface is insid

Step19:Put some oil on the baking pan. Put it on the pan

Step20:Brush some egg liquid on it. Put it on the oven. Heat it up to 150 degrees. Put it down to 170 degrees. Bake it for 20 minutes. Then brush the egg liquid again. Bake it for another 10 minutes. Put it out of the oven

Step21:My egg liquid is not evenly brushed. It will look better if it is more evenly brushed

Step22:I smell it. It's really crispy. Don't forget the delicious food.

Step23:It's drooling.

Step24:It's super simple. Hurry up and try it on your own
Cooking tips:There are skills in making delicious dishes.
 Chinese Food