Beautiful, fun and easy to do
(105715 views)
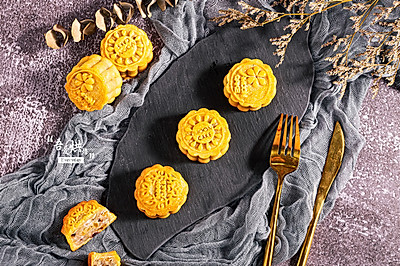
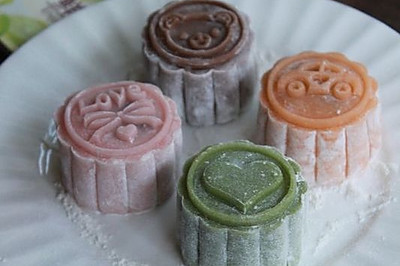
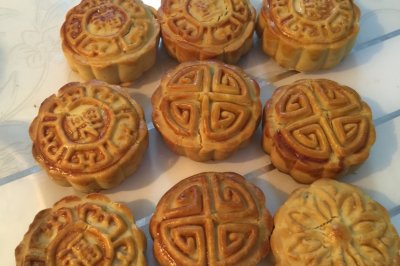
The first two months of the Mid Autumn Festival are the time to prepare for moon cake materials. Good looking mold, delicious filling and easy to use conversion syrup. I have to buy a lot. Maybe last year, Cantonese mooncakes were made too much and hurt a little. In any case, I can't mention making cantonese moon cakes this year. I happened to get some finished taoshanpi and moon cake stuffing. And the moon cake mold that my good friend gave me last year hasn't been started. Do what you say. Roll up your sleeves and play. It's not so much making moon cakes as playing. Choose the color you like. Choose the filling you like. It's done humming like a craft class when I was a kid. It's very handy. It's especially suitable for making with children. As for stuffing matching, it is suggested to choose some fresh, sour and sweet flavors. If you want to add some fruit blocks, you can also go in. But you should not be greedy for adding fruit blocks. The water content is too large, 1 is to shorten the shelf life. 2 is to make the stuffing too wet. Mooncake is not
Cooking ingredients
Cooking Steps

Step1:This is the flake. We need to take it out separately. Sprinkle the flour and then knock out the extra flour. Don't stick too much flour on the flower. Or it will dry up after bakin

Step2:Let's see. If you want a thin skin and a big filling, you can divide it according to 15g / piece of skin and 35g / piece of filling. If you are worried about making a bag for the first time, you can skin 20g / filling 30g. All in all, it's 50 grams of skin and stuffing. If you make cantonese moon cakes, the ratio of skin and filling should not be greater than 2-3.. At the bottom, you can see that I pulled out a little skin by myself. It's for making patterns on flower piece

Step3:Take a small amount of peach mountain skin of different colors. Press it thin on the flower piece where you like. Do not press too much too thick greedily. Otherwise, when the moon cake is finally pressed out, it will be squeezed into other colors. It will not look good when mixed togethe

Step4:Take a peach mountain skin and press it flat on the palm of your hand. This is the way shown in the figure. The thumb of one hand and the other four fingers hold the skin and stuffing. The other hand tightens the circle with the tiger mout

Step5:There must be no cracks on the surface of the wrapped mooncake. If there is a crack, wipe and smooth the surrounding skin like a crack.

Step6:The mold barrel is also sprinkled with flour. Roll the mold to evenly distribute the flour on the mold wall. Then knock off the excess flour. Put in the flower pieces. Tighten. Load the moon cake blanks we knea

Step7:Prepare a non stick baking tray. If there is no non stick baking tray, you can lay a piece of tin paper. Matte face up. Last year, in the practice class of moon cake, I found that some students can't use moon cake mold. This time I found a picture of last year to show you. There are two small ears on the mould. It can hold our fingers. After pressing the whole mould on the baking tray, first press it down until it doesn't move. Then push your thumb down. Lift your index finger and middle finger up. When the moon cake is rolled out, you can relax and fall naturally. Never push the mooncakes down when they are still a little high from the baking tray. Otherwise, it is easy to knock down 1 and deform 2, which is uneve

Step8:Find an operation chart of last year's students. You can refer to the following 1. Press down until it doesn't move (don't use special force, or you will press the moon cake skin out of the mold) 2. Push down and lift up at the same tim

Step9:

Step10:

Step11:

Step12:
Cooking tips:There are skills in making delicious dishes.
 Chinese Food


