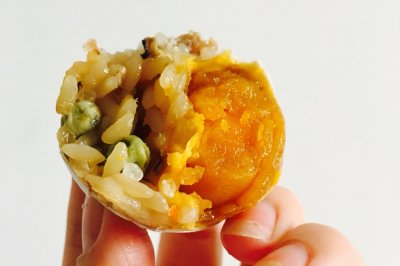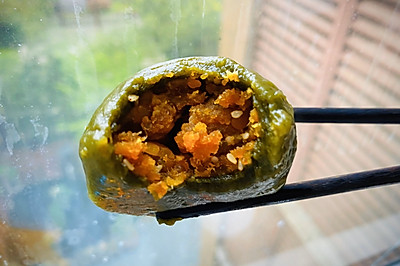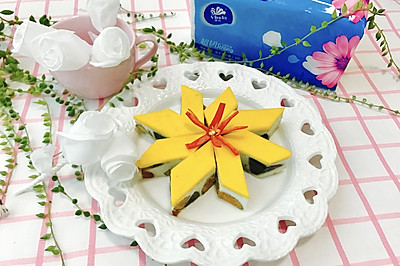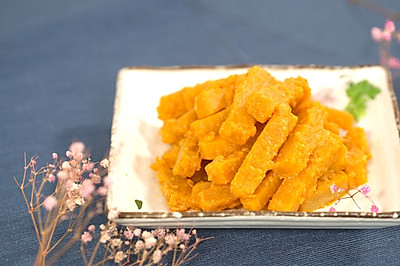
Classic egg yolk crisp with high beauty
(107944 views)
An egg yolk crisp. In the cold late autumn. It's enough to warm her. KitchenAid helps you capture your heart easily. With the red Ka. Bring you a warm winter. The warmest moment is to send the specially made egg yolk crispy to her mouth. Look at her opening her lips slightly. Take a bite. The layers of crispy skin crack in her mouth. Then there is the slight sweetness of red bean sand. Then there is the salty fragrance of duck egg yolk. Her mouth brims with a warm and satisfied smile. My heart is like a pot of honey pouring. Then the sweetness spreads. A crispy yolk warms her heart, her warm smile gives me a warm winter. Yolk crisp is also a classic snack. The process is not difficult. But how to make yolk crisp with high color value? There are some tips. Among them, the most important thing is the production of the water and oil skin. If the water and oil skin are not rubbed in place, it will break the crispy and exposed stuffing or the skin will break in the later baking process. But with the help of Ka, it will be completely liberated
Cooking ingredients
Cooking Steps

Step1:First, make the water and oil skin (step 19) - weigh out 350g of medium gluten flour, which is the ordinary flour used at ordinary times, and put it in the flour basin. Of course, high gluten flour is easier to knead to the full stage. That is to say, it can pull out a very strong and tough film. But for Chinese snacks, the finished product made of medium gluten flour tastes more crisp.

Step2:Add 60g white sugar. 160g water.

Step3:First use chopsticks to stir the flour into floccules. Then use your hands to mix the flour. Otherwise, you will stick to many surfaces on your fingers directly. It's hard to stick.

Step4:Use your hands to knead the dough into a ball. In addition to adding water and butter, you should not add too much water. Otherwise, if you knead the butter in the back, the dough will be too soft. It is not conducive to rolling and other operations in the back. Of course, according to the different flour used by different families, you can add or subtract 10g water to adjust slightly. At this time, the dough should be a little hard.

Step5:It's very painful to knead the dough when it's hard. At this time, please ask kitchen helper KitchenAid to come out and help. It's easy to knead a dough less than 600g with 8qt Ka.

Step6:After five minutes of kneading, the dough will become very smooth and not so hard. At this time, the dough can pull out a thick film. At the stage of dough expansion.

Step7:Add the butter softened in advance to the dough. At the beginning, you can use your hands and rub the butter as soon as possible to blend into the dough. This can improve the efficiency of the chef. Otherwise, because the 8qt machine is relatively large. 600g dough is too few for it. It can only lie on the bottom of the machine. Plus the butter is relatively smooth. The mixing hook of the machine can't always hook the dough. It idles there. If you use a smaller machine or more dough, the problem doesn't exist.

Step8:Eight minutes, two gears. Two minutes, one gear. The dough will be kneaded so smooth. Ka's efficiency is very high. If you knead it by hand, you can knead it like this. It only takes a lot of effort. And it will take a long time.

Step9:The good performance of water and oil skin is that you can pull out a large piece of solid film by hand. Even if there is a hole, the hole is smooth. So far, the water and oil skin is ready.

Step10:Make oil agai

Step11:

Step12:

Step13:

Step14:

Step15:

Step16:

Step17:

Step18:

Step19:

Step20:

Step21:

Step22:

Step23:

Step24:

Step25:

Step26:

Step27:

Step28:

Step29:

Step30:

Step31:

Step32:

Step33:

Step34:

Step35:

Step36:

Step37:

Step38:

Step39:

Step40:

Step41:

Step42:

Step43:

Step44:

Step45:

Step46:

Step47:

Step48:

Step49:

Step50:

Step51:
Cooking tips:The points that need to be noticed are detailed in the corresponding steps. Here are a few terms to explain. It's convenient to understand - 1. Water and oil skin - as the name implies. It's flour plus water and oil and dough. 2. Pastry - dough made of flour and grease. 3. Pastry - also known as open pastry and wrap pastry. The pastry is wrapped with tare. The pastry is formed by rolling, rolling and stacking. It is divided into big package pastry and small package pastry. 4. Big package of pastry - wrap the pastry directly with the tare, just like big package of pastry. Then roll it out and fold it several times. Roll it into a roll and lower the dosage. The advantages are fast speed and high efficiency. The disadvantages are uneven pastry and low quality. 5. Pastry - the pastry and pastry should be prepared separately. Then they should be operated one by one. The pastry should be wrapped with the pastry. Then two rolls of pastry should be folded three times to form the pastry. The advantages of the pastry are even, smooth and not easy to crack. Of course, it is more labor-intensive, slow and low efficiency.
 Chinese Food
