Low calorie hand-made bread for weight loss in summer
(170744 views)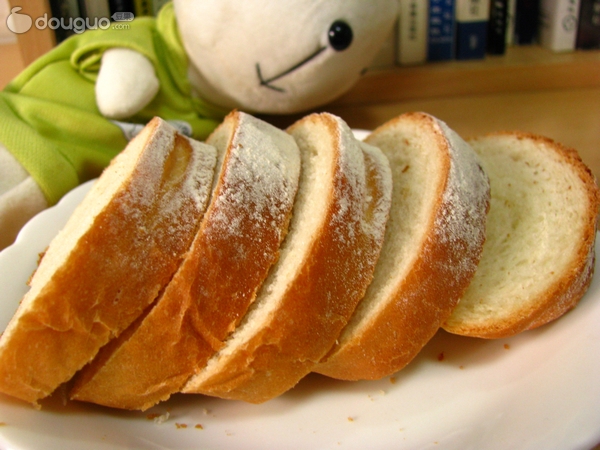
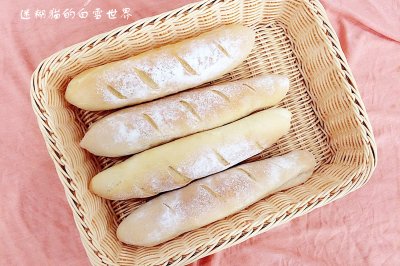
I've gained a lot of weight in one winter. I'm not very brave to make desserts recently. Toast has always been an essential food for my breakfast. But considering the safety, I can make it by myself. The taste of this bread is similar to that of French stick, low oil, low sugar and low calorie. However, making handmade bread is definitely a personal job. It's much more complicated than making cakes (of course, if you use a bread machine, I don't say it). Anyway, making this one Bread is also for weight loss. Kneading is all for exercise.
Cooking ingredients
Cooking Steps

Step1:The yeast is boiled with 60g warm water. Other raw materials are mixed evenly. Yeast water and flour are used. Add the remaining 60g water to make dough. The dough is much softer than the flour we usually make for steamed bread. At first, it will be very sticky. If we keep rubbing it, it will slowly become non sticky.

Step2:The biggest difficulty of hand-made bread is to knead the dough. Knead the dough hard until it can be spread into a transparent film. Then, if it is extended or poked with fingers, it will break into irregular holes. (at this time, you can add nuts you like, such as raisins, chopped walnuts, etc. there is no ready-made one at home, so you make white bread.

Step3:

Step4:The yeast is boiled with 60g warm water, other raw materials are mixed evenly, yeast water and flour are used, and the remaining 60g water is added. Compared with the dough, it is much softer. At the beginning, it will be very sticky. Don't add too much dry powder, and it will become no longer sticky after rubbing

Step5:Put the dough in the container, cover with plastic film, and start the first fermentation. The dough is twice as big as the original. The hole poked by the finger is not retracted, and the surrounding surface is not sunken.

Step6:Take out the dough, squeeze out the air, divide it into two parts, knead it into circles, cover with plastic wrap, and wake up for 15 minutes.

Step7:Wake up the face. Roll it into a long oval shape. Roll it up from the small end. Roll it up and close the mouth at both ends until it is olive shaped. Put it down on the baking tray. The interval between the two dough is larger.

Step8:Put the baking tray into the oven. Put a bowl of boiling water under the baking tray. Close the oven door. The second fermentation starts. The dough is twice the original dough. About 40 minutes. In the meantime, change the boiling water once. Keep the temperature and humidity in the oven.

Step9:Sprinkle some dry flour on the germinated embryo. Put it into the preheated oven. The middle layer is 190 degrees. 1520 minutes. Bake until the skin is brown red.

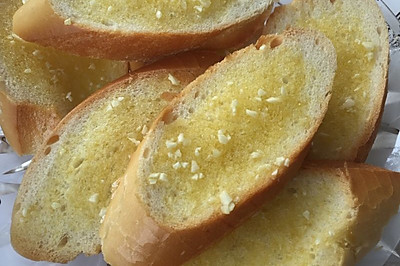
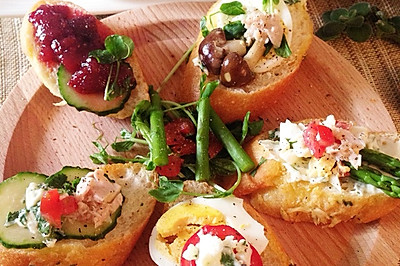
Step10:When the toasted bread falls to the warm temperature at room temperature, cut it into thick slices. It's the same if you like to eat directly. It's easy to eat. Ha ha. Slice it and spread it with cheese or peanut butter. I'm hesitating to make a bottle of peanut butter recently. But it's really fat. Better cheese.
Cooking tips:This bread is based on your recipe. The amount of water depends on the water absorption of flour. Add it a little bit. Try to use vegetable oil with light taste. Peanut oil is not recommended. The baking temperature should also be slightly adjusted according to the oven temperature of each family. Jun's prescription is 200 degrees. Considering that the temperature of my comrades Glanz is always on the high side, it has been lowered a little. There are skills in making delicious dishes.
 Chinese Food