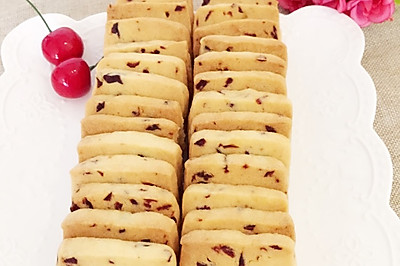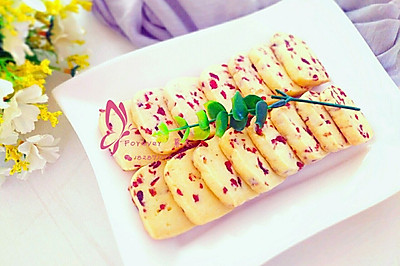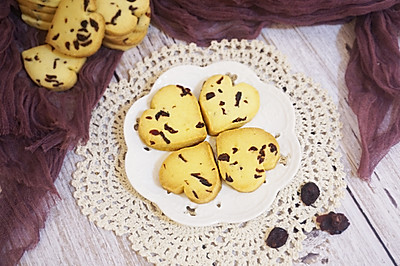
Cranberry biscuit
(154627 views)I was too young to take the oven with me. Now I'm 3 years old, I'm in a good mood and have time to study all kinds of baking. My son also likes to eat his own clean and sanitary materials and buy some. I also think it's sweet but not very sweet. Too sweet is not good. If you like sweetness, you can add more sugar powder properly and follow the steps to absolutely zero failure. Super delicious Cranberry biscuit is my first time
Cooking ingredients
Cooking Steps

Step1:Prepare ingredient

Step2:Butter softens until chopsticks can be easily inserted

Step3:Put the butter in the bowl and beat with the electric egg beater until smoot

Step4:Sift the sugar powder and add it to the softened butter. Turn it over with a scraper and mix well

Step5:Beat up the eggs and add them to the butter. Mix wel

Step6:Sift and add low gluten flour. Stir with a scraper until you can't see the dry powder (flour and cranberry can't be added together, so there will be dry powder on the surface of cranberry

Step7:If the cranberry is big, chop it up and add it. This step is better to mix it evenly by hand. It's more convenient

Step8:Knead into dough and take it ou

Step9:There are moulds with moulds, just like I shape them by hand. Make them into cuboids or models I like. Make them by myself and eat them at will. Wrap them with plastic wrap and refrigerate them for 1 hour or more, so that they won't break or deform

Step10:Time to refrigerate, take it out and cut it into 0.5-0.7cm thick slice

Step11:Preheat the oven 170 degrees in advance for 10 minutes. Spread silicone paper on the baking tray and put in the cut Cranberry biscuits. Place the tray at intervals or the hair will stick together. Put the middle layer on the baking tray and bake for 20 minutes on the fire

Step12:Bake the finished product picture. It's better to stare at it during the baking process. Each oven is different and some of them forget to preheat. It doesn't matter that there is not enough time to rotate. As long as the surface is slightly yellow, it's almost impossible to bake too much

Step13:Bake the finished product picture. Set the plate casually when you are free. It will be better if you have a little extra temperature after cooling

Step14:It's better to seal up if you can't finish it after it's cool. I'm afraid it'll soften. My small bag can be sealed up to 810 pieces. It's also convenient to take out and serve it as a snack for me
Cooking tips:There are warm and intimate tips in every step. There's no more talk here. I hope everyone can succeed at one time. Cranberry want a little bit more, can not be more than 90 grams cooking delicious skills.
 Chinese Food


