Tiramisu
(79181 views)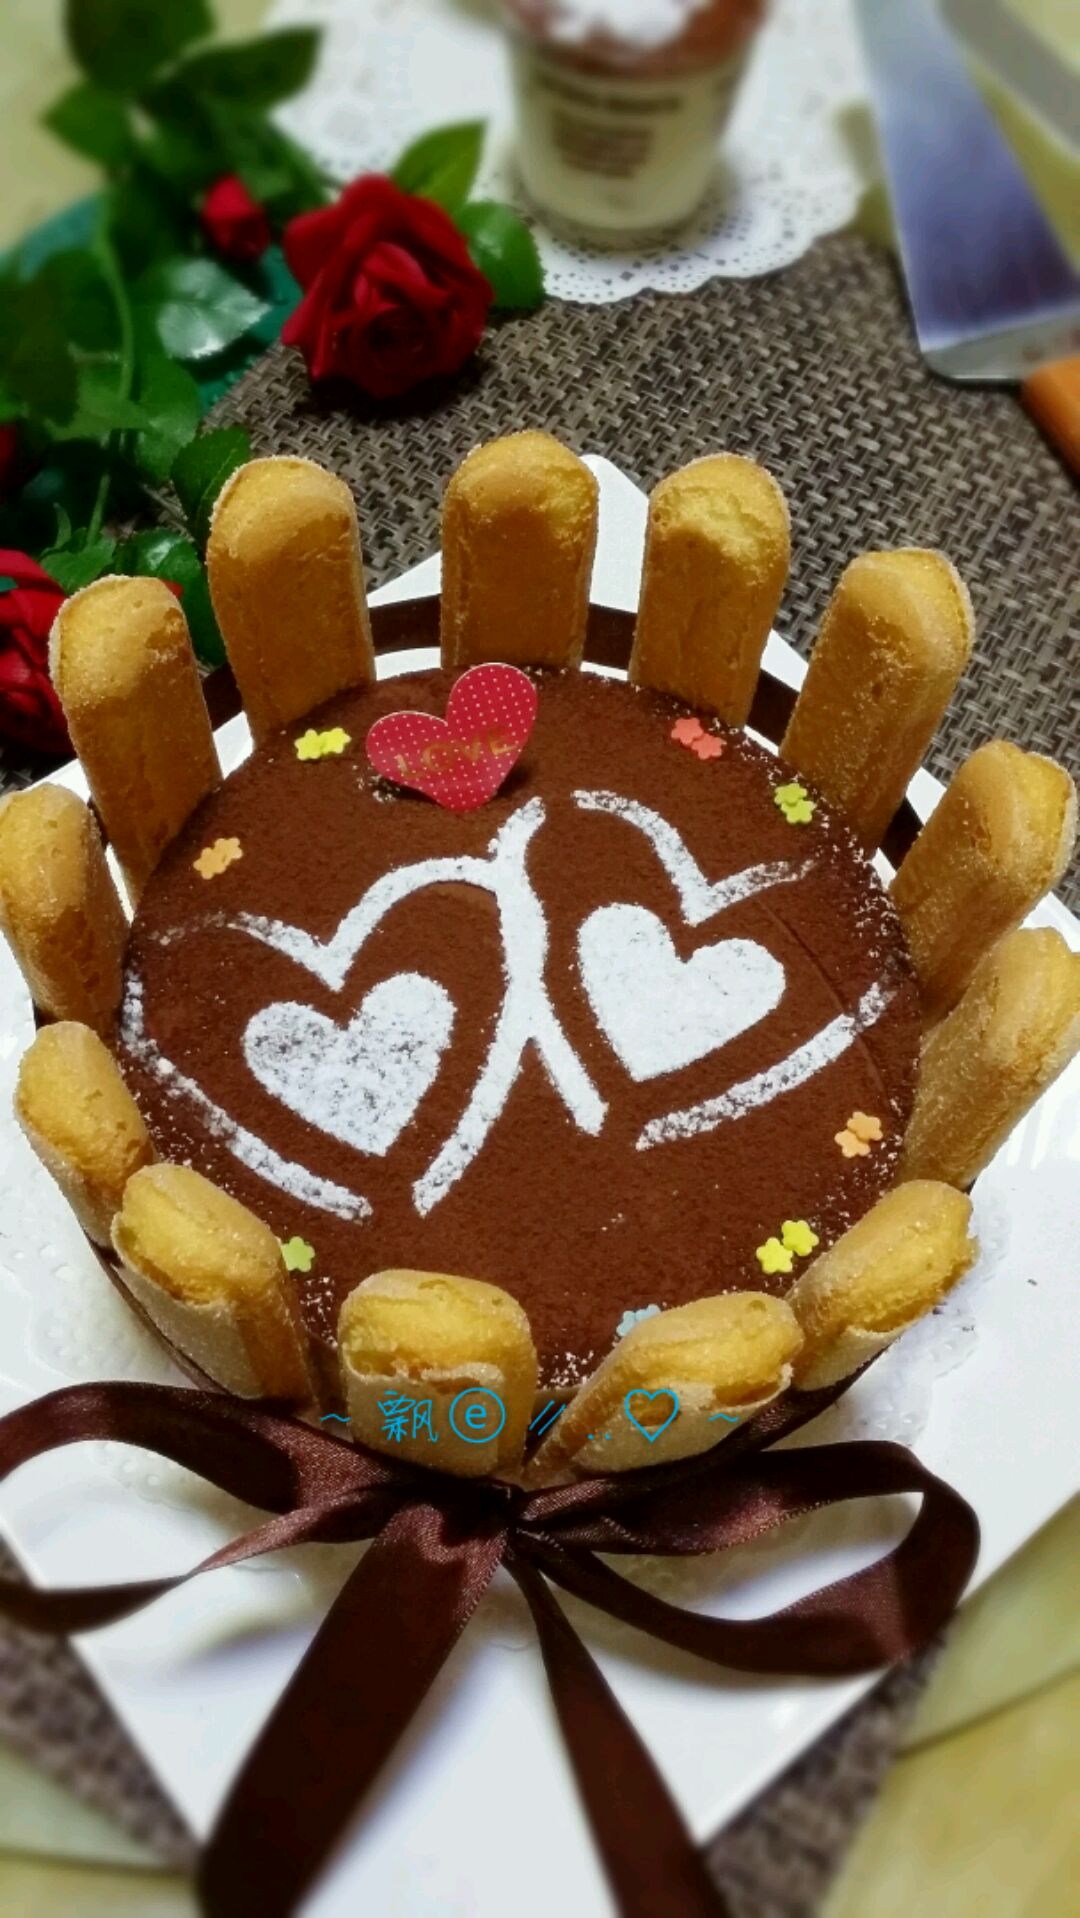
Tiramisu, representing love, is worthy of being the classic in the cake. The sweetness that seeps into the heart brings a little bit of bitterness. And the taste of the coffee wine that makes people float. Every mouthful is like a spring breeze.
Cooking ingredients
Cooking Steps

Step1:Heat 80g of granulated sugar with 80ml of water over low heat until boiling. Turn off the heat.

Step2:Take 2 yolks. Do not use the egg white. Use the beater to beat them up.

Step3:Slowly add the egg yolk into the sugar water. Stir while adding. Beat until paste. Pour the yolk batter into a large basin and cool it for use.

Step4:Use the beater to beat mascarpone cheese at low speed until it is smooth.

Step5:Mix the smooth mascarpone cheese with the cool yolk paste.

Step6:Cut the gilding slices into small pieces and soak them in cold water.

Step7:Drain the water from the gelatine and heat it to a liquid. Add in the mashed mascarpone cheese and mix well.

Step8:Whisk the cream. Seven or eight to distribute. That is, fine lines appear. Then mix the cream and mascarpone cheese. Mix well.

Step9:I'm used to wrapping the bottom with plastic wrap. Put the finger biscuit in the bottom of the cake mould with coffee wine.

Step10:Then pour in the cream cheese paste. It's mainly based on the bottom mold.

Step11:Continue to repeat the operation. Dip the finger biscuit in the coffee wine and place the second layer of finger biscuit in turn.

Step12:Pour over the cream cheese paste. It's mainly made up of 8 parts. Then refrigerate for more than 5 hours or overnight.

Step13:The remaining cream cheese paste just makes two tiramisu cups. This has played a great role in making all kinds of pictures after I decorated the cake. First, I made my mouth water for the two little guys at home.

Step14:When the refrigerator is taken out after cold storage, apply a hot towel on the periphery of the cake mold to demould. Then start to decorate the cake.

Step15:Decorate both cups at the same time. Sift a layer of cocoa powder. Don't be frightened by the cake in the picture above. I use plastic wrap to wrap the movable bottom and put it on the table directly. After decoration, it will not deform.

Step16:Then use the pattern and sift the icing sugar. Whatever pattern you like.

Step17:Put on the finger biscuits. Tie a beautiful butterfly with the ribbon and it's done.

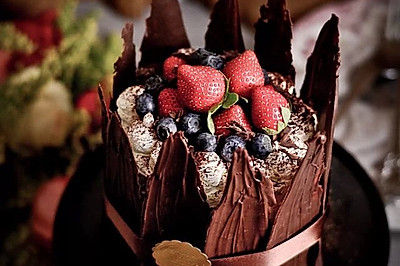
Step18:Finished product (^
Cooking tips:I used a six inch round bottom mold. I used to wrap the bottom mold with plastic wrap. When I took out the decoration, I put it on the plate or cake paper together with the bottom. This way, the cake will not deform when it is decorated and moved. There are skills in making delicious dishes.
 Chinese Food