Tiramisu (hard version) [with finger cookie making method]
(80045 views)![Tiramisu (hard version) [with finger cookie making method]](https://cp1.douguo.com/upload/caiku/2/1/e/yuan_21c2c0fe6ee58ed509c5c4a6f9a1b0de.jpg)
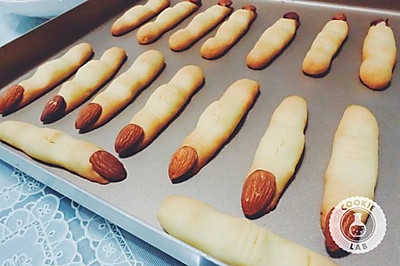
Finally, I tried this classic Italian dessert - tiramisu. It's more suitable for the little friend who has a little baking foundation. It's still Jun's recipe. One time, I succeeded. The only drawback is that I think the internal finger biscuits are less. I can increase the quantity next time. When making this dessert, it happened to be Doraemon's standbyme movie. The classic cartoon image of the post-80s childhood. So I cut a Doraemon's hollowed out picture and made it into a sugar powder sieve. I didn't use the ordinary A4 paper for my experience. So the effect of the sieve was ordinary. Just as you can see, the production steps of tiramisu are complicated. It needs patience~
Cooking ingredients
Cooking Steps

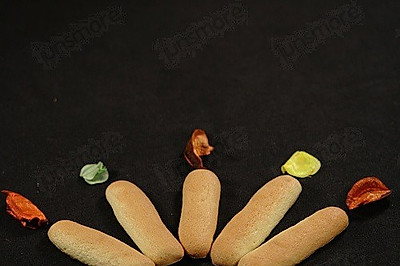
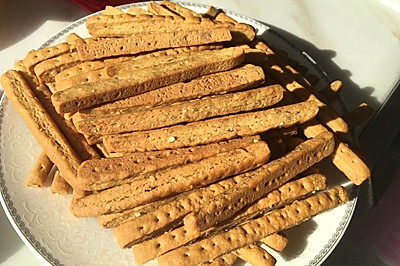
Step1:First, make finger Biscuits (if you are in trouble, you can buy ready-made finger biscuits in the imported food area of the supermarket. Go to step 7 to make tiramisu. I think the finger biscuit I bought is too sweet, so I make it by myself) beat the egg whites with an electric beater until they are rough. Add 30g of fine sugar in three times, and then send it to dry foamin

Step2:Add the remaining 15g of fine sugar to the yolk. Drop in a few drops of vanilla essence. Beat with an electric beater until thick, light and bulky

Step3:Add one half of the protein to the yolk, and then add one half of the sifted flour. Use a scraper to quickly mix up and down. Don't make circles, or it will defoamin

Step4:Repeat the previous step. Pour the remaining protein and low flour into the bowl. Stir well to make a thick batter. At this time, the batter will not have big bubbles. It will not be too thi

Step5:Put the batter into the flower mounting bag. Cut directly or use medium size flower mounting bag. Extrude a long strip on the baking tray. Pay attention to spread oil paper or tin paper on the baking tray. Finger biscuits directly squeezed on the baking tray will stick to the baking tra

Step6:Preheat the oven to 190 degrees. Bake the middle layer for about 10 minutes. Bake until the biscuit surface is slightly golden. And then we can start making tiramis

Step7:Use the electric beater to beat the yolk until it is thick. Put water and sugar in the pot. Heat until boiling, then turn off the heat.

Step8:Then, beat it with an egg beater and slowly pour the egg yolk into the sugar water. After pouring, continue beating for 510 minutes. Try the egg yolk paste at the same temperature as the palm of your hand. Put it aside and cool. At this time, you can cut the gelatin into small pieces and soak them in water to soften them for us

Step9:Put the mascarpone cheese in a bowl. Beat with an eggbeater until smooth

Step10:Mix thoroughly cooled egg yolk paste and mashed mascarpone cheese. Drain off the water from the previously softened gilding tablets. Heat (at a low temperature) to make gilding solution. Cool and pour into the previously mixed cheese past

Step11:Whipped animal cream with electric egg beater until soft foaming, i.e. lines appea

Step12:Mix the cheese paste of step 10 and 11 with whipped cream and mix wel

Step13:Because there's no espresso, use instant coffee instead. 1 / 2 tablespoo

Step14:

Step15:

Step16:

Step17:

Step18:

Step19:

Step20:

Step21:

Step22:
Cooking tips:Mascarpone cheese is the soul of tiramisu. English is mascarpone cheese. Please check your English when you buy it. After tiramisu is made, it must be refrigerated, especially in summer. It will soften when it is put at room temperature. If you want to keep it for a long time, you can put it in the freezer to cook delicious dishes.
 Chinese Food