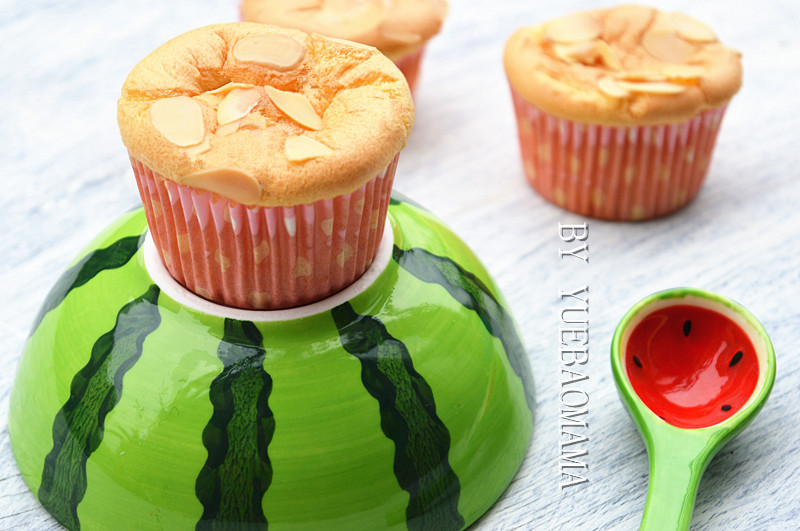
Almond kernel Qifeng Cupcake
(86598 views)
I've always loved Qifeng cake. Some time ago, I baked this almond kernel Qifeng Cupcake in my work. Then I had a lot of friends asking for directions. Today, I'll share my ideas with you... This Qifeng cupcake is slightly modified in the original basic steps. There is no need to add sugar in the batter. Just add all sugar in the protein. It is time-saving and labor-saving. It's very soft and delicate. It's also very suitable for the old and children. My family can kill 4 or 5 reading treasures at a time. okay. Don't talk about it. My friends are all in a hurry. Serve the recipe right away. (*^__^*)
Cooking ingredients
Cooking Steps

Step1:Prepare two stainless steel pots without oil and water. Separate egg yolk and protein separatel

Step2:First add 25g corn oil into the separated yolk (if there is no corn oil at home, it can also be replaced by salad oil). Use the hand beater to stir evenly.

Step3:Add 25g pure milk. Stir well.

Step4:Mix the low gluten flour with the baking powder, and sieve it into the yolk liquid

Step5:Then use the hand beater to stir or cross cut and mix evenly until there is no particle - (never circle. It's easy to get tendons. It affects the taste of the cake

Step6:I'm going to take the most important step. That's the protein. (the success or failure of the egg white will affect the finished cupcake.) first drop the lemon juice into the egg white. (3 drops is enough.) If you don't have lemon juice at home, you can use white vinegar instead.

Step7:First, turn the electric beater to low speed (I use the third gear). Then, when it's like a fisheye bubble, add a third of the fine sugar.

Step8:Continue to use low gear to deliver protein. When the protein becomes thicker, add 1/3 fine sugar and continue beating.

Step9:When you see that the protein becomes thicker and there are lines, add the last third of sugar and continue to beat

Step10:When lifting the electric beater and finding that the protein on the beater can pull out the curved sharp corner, it means that it has reached the wet foaming

Step11:After the wet foaming is achieved, adjust the speed of the electric egg beater from the original low speed to the highest speed. Continue to beat. Until the egg beater is lifted, the two egg beaters are upright, and the short sharp corners will not bend, indicating that the protein has reached the dry foaming, and the beating can be stopped.

Step12:Use a silica gel scraper to put 1 / 3 of the protein into the egg yolk paste. Then quickly mix the egg yolk paste with the protein. (note - do not circle when mixing. Also turn it up and down evenly until the egg white and yolk paste are completely integrated.

Step13:Then pour all the mixed yolk paste into the remaining protein. Mix well in the same way

Step14:Pour the batter into the decoration bag

Step15:Squeeze the batter into the prepared paper cup. Squeeze all the batter in turn. (about 6 or 7 points full

Step16:

Step17:

Step18:

Step19:
Cooking tips:1. The container for protein and egg yolk must be free of oil and water; 2. The protein must be sent to hard foaming; 3. The oven must be preheated in advance; 4. The specific temperature should be adjusted according to the temperament of the oven. There are skills in making delicious dishes.
 Chinese Food


