Finger biscuit
(87692 views)
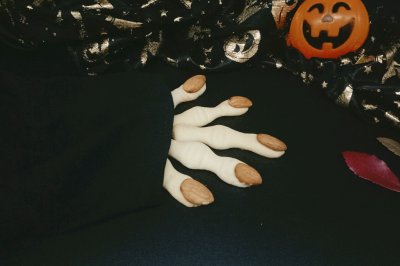
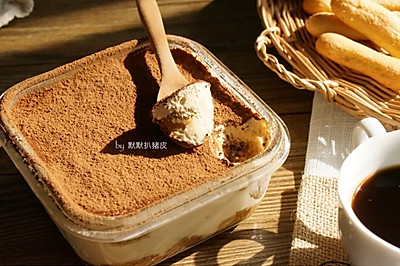
Finger biscuits are called biscuits, but the way and taste are more like sponge cakes. Although I hate the whole eggs of sponge cakes, I can still accept that finger biscuits are divided into eggs. Although finger biscuits are more often used as the sandwich, bottom or edge of cream mousse cake. They are often used when making tiramisu. But it's also very good for children to eat at ordinary times. Because it's completely oil-free and tastes very soft. It can also be eaten by children who have just teething. So occasionally, they will be used as snacks or afternoon tea for my little girl.
Cooking ingredients
Cooking Steps

Step1:Prepare all kinds of material

Step2:Put the egg yolk and protein in a bowl without oil and water; add 10g sugar to the egg yolk

Step3:Add the beater to the cooking stick. Whisk the first gear until it turns white

Step4:Sift in 30g of low gluten flour

Step5:Mix evenly with scraper

Step6:Put the egg white and the remaining sugar in the glass (make sure there is no oil or water in the glass)

Step7:One hit until the egg white is white and frothy

Step8:Change the second gear to beat the egg white to hard foaming

Step9:Can pull out the little triangle standing up

Step10:Put half of the protein in the yolk bowl

Step11:Mix evenly

Step12:Keep the remaining protein in the yolk bowl

Step13:Mix evenly

Step14:Sift in the remaining low gluten flour twice. Mix quickly and carefully

Step15:The batter after mixing will not flow freely and will feel bulky

Step16:Put it in a flower mounting bag

Step17:Cut a hole at the sharp corner of the mounting bag

Step18:Squeeze on the baking tray

Step19:Preheat the oven at 190 degrees. 12 minutes for the middle layer (please refer to the habits of your own oven for specific time and temperature

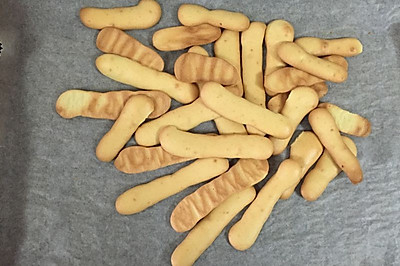
Step20:Just see the surface turn yellow

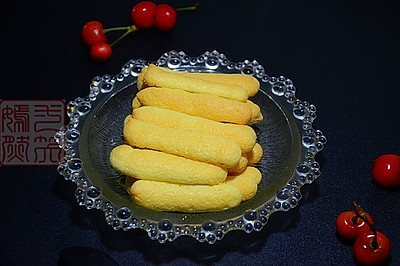
Step21:Finger biscuit is ready. Give it to girl. Girl always asks why it's called finger biscuit. It's too thick.. Ha ha. It's really thick. But it's convenient for children to hold it by hand.. Then she quickly wiped out the left one and the right one..

Step22:Although it looks like a lot of steps, the actual operation is not very complicated. Usually take the children out to play. You can also make some in the fresh-keeping box and take them out to eat.
Cooking tips:Finger biscuits are not suitable for long-term storage after they are cooled. They should be sealed with a fresh-keeping bag or box. In this way, they will not dry and taste better. There are skills in making delicious dishes.
 Chinese Food


