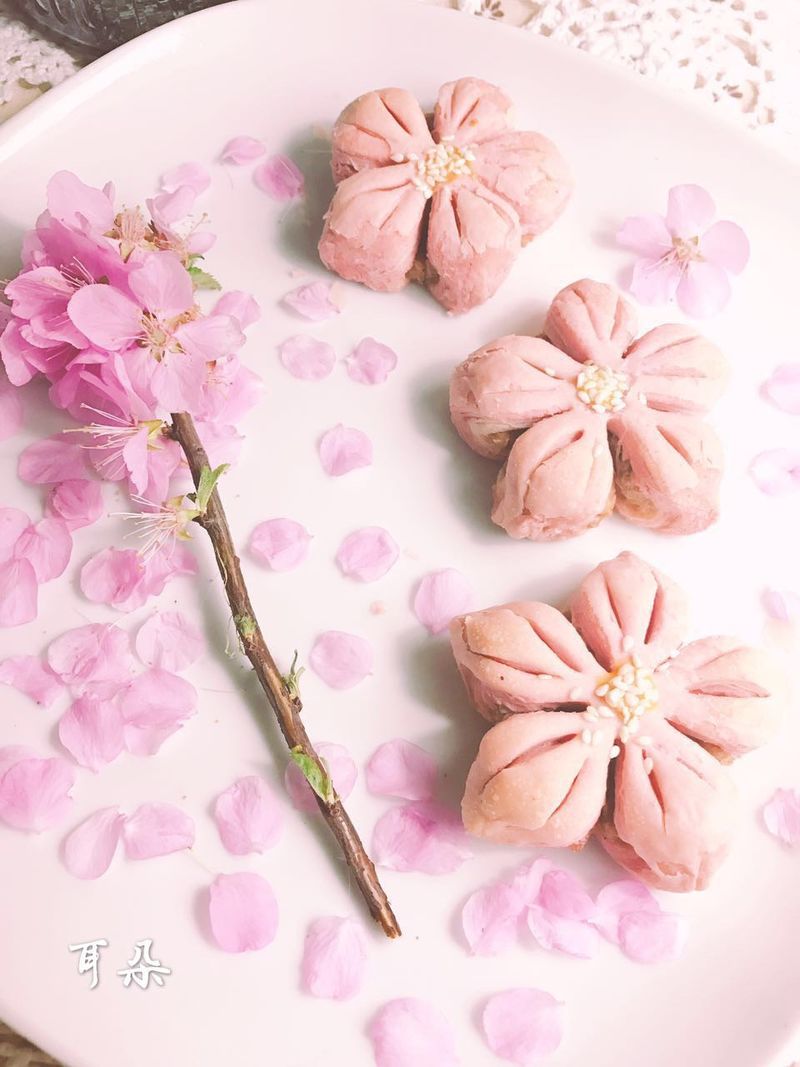
Three lives, three lives, ten li peach blossom cake, romantic high beauty, moon cake of Mid Autumn Festival, Chinese style pastry
(103744 views)
In April, the peach blossom in the mountain temple begins to bloom. I don't know where to turn. Bai Juyi's 32L oven can make 12 dishes. I usually bake two plates. Double all the ingredients. PS - don't dry the skin.
Cooking ingredients
Cooking Steps

Step1:Mix the oil skin material. Knead the belt until it is smooth. Relax the film for 30 minutes. Mix the pastry. Mix to form a ball. Cover with plastic film and relax for 30 minutes. After relaxation, divide the tare into 12 parts and the pastry into 12 parts. Continue to cover the film and relax for a while.

Step2:Fill 15g with a ball. Cover with plastic wrap. Don't dry it.

Step3:Cover the pastry with oil. Rub the ball. There is no photo for this step of peach blossom cake. I borrowed the egg yolk cake.

Step4:Roll it into a tongue. Rub it with the palm of your hand from the bottom. It can roughly roll up 34 times. Roll out the back cover film and relax for 20 minutes. Then repeat the previous step. Roll the surface into a tongue shape. Roll up. Cover the film. Relax for 20 minutes.

Step5:Pick up a face, press it in the middle, roll it into pieces, pack stuffing and rub the ball.

Step6:Roll the ball flat or press it flat. Cut 5 pieces first, and then cut two strokes on each petal. Be careful not to cut it too far in the middle. It's easy to drop petals after baking.

Step7:You can make five petals by pinching each petal. It is better to use scraper to assist when transferring to the baking tray.

Step8:Heat the oven up and down 170 degrees for 10 minutes. Put a little egg yolk and sesame in the middle of the peach blossom cake.

Step9:If you want the peach blossom crisp to be beautiful in color, then you have to keep an eye on the temperature. Each oven has a different temper. It can't be generalized. I used 170 degrees to bake for 10 minutes. I turned up and down 150 degrees to bake for another 10 minutes. Finally, I put on 130 degrees and then put on 150 degrees. I roasted for several minutes. Look at the color if you want it to be beautiful. Don't leave.

Step10:Don't move it out of the oven. Transfer it when it's cold. This is the color of 2G Monascus powder. Below is the color of 3G Monascus powder. You can choose your own color.

Step11:This dish of red koji powder is more. It's dark and beautiful.

Step12:Clic

Step13:Box for friend

Step14:Beautiful
Cooking tips:Medium powder + low powder. I adjust it for the taste. Parents can choose all low gluten flour or all medium gluten flour. But don't use high gluten flour. Come on. Do it There are skills in making delicious dishes.
 Chinese Food


