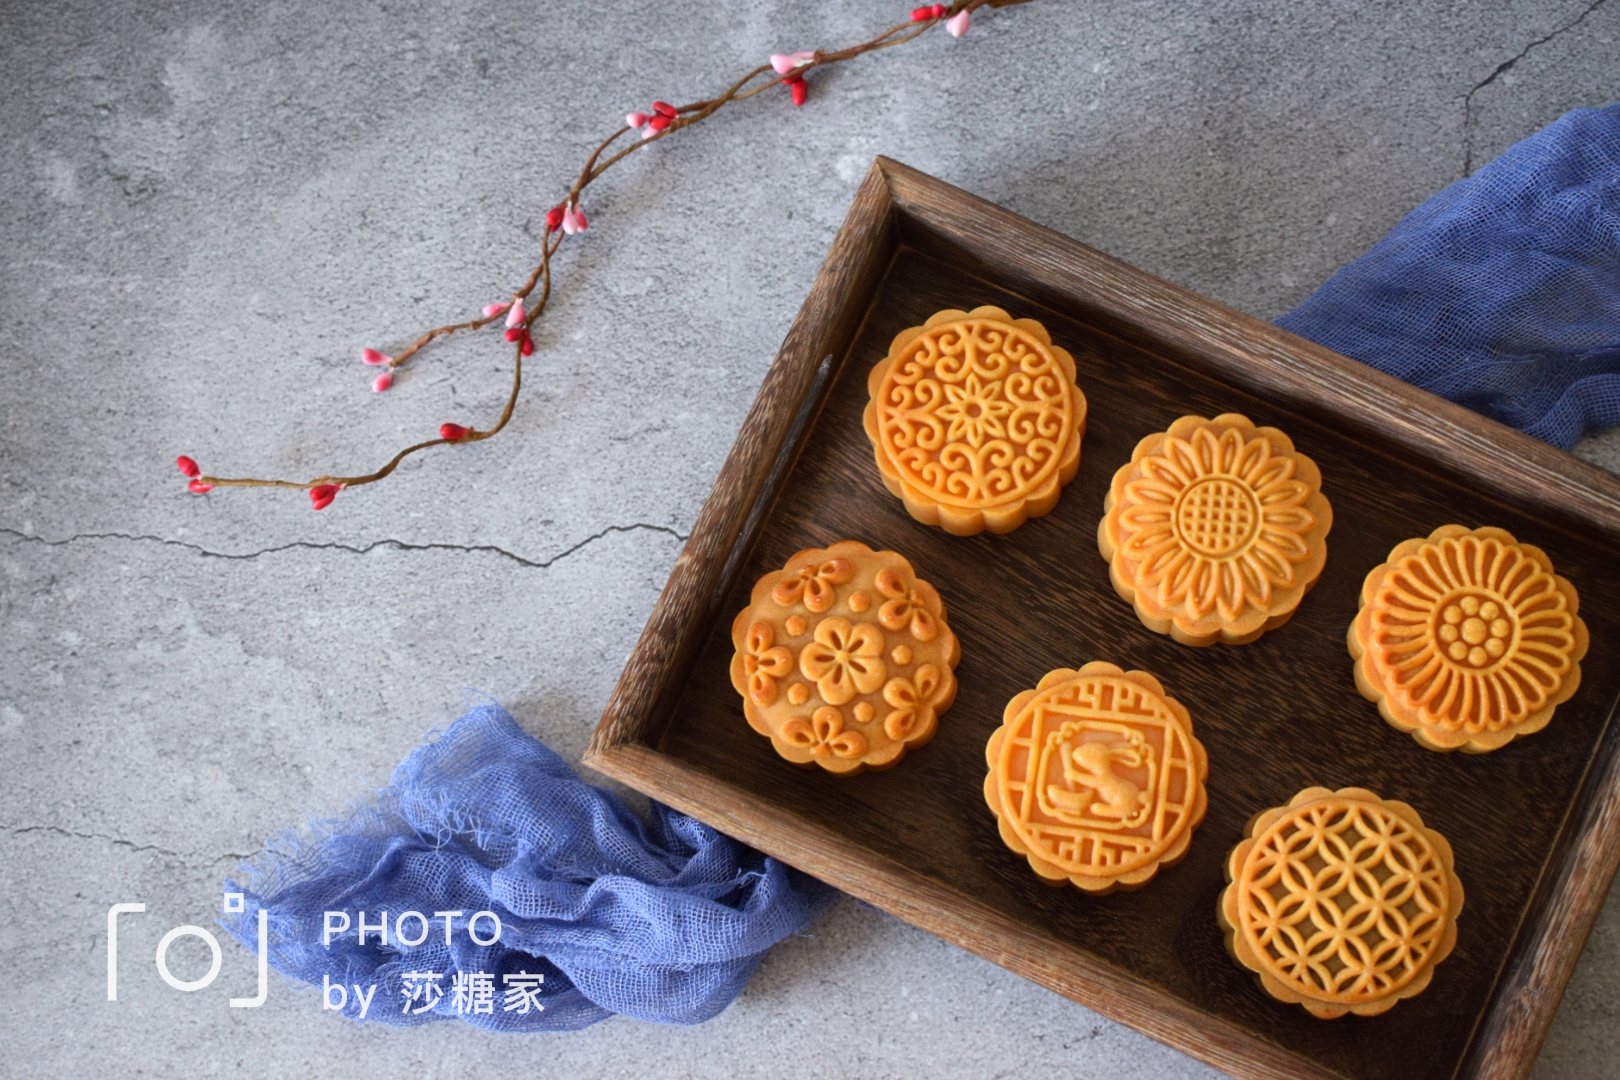
Jinsha milk yellow moon cake
(113403 views)
I like the taste of Jinsha cream. There are exactly 12 Jinsha cream fillings in this recipe. I used 10. I wrapped two bean paste fillings. I put the two Jinsha cream fillings in the refrigerator and frozen them. I'll see if they can be made in a few days. If you can, I will tell you in the comments below.
Cooking ingredients
Cooking Steps

Step1:Steam salted duck egg yolk on the pot (spray some white wine if it is sensitive to fishy smell). Put it into the fresh-keeping bag and roll it into mud with a rolling pin for standby.

Step2:Make the stuffing first. Put 3 eggs and sugar into a clean basin and stir well.

Step3:Pour in milk. After the cream is stirred evenly, sift in low gluten flour, corn starch and milk powder and mix evenly.

Step4:Sift the batter directly into a non stick pan.

Step5:Put in the butter and the pressed duck egg yolk paste. Stir fry the stuffing over low heat. It will set in about 3 minutes. Stir fry for about 34 minutes (see Tips

Step6:Stir fry and cover with plastic wrap to cool.

Step7:Let it cool and divide it into 12 parts, 50 grams each. Cover with plastic wrap.

Step8:Moon cake skin - take a clean basin and put in the conversion syrup and water. Use the hand eggbeater to stir slowly. Stir more to make it even.

Step9:Pour in peanut oil twice, and mix well each time. Stir slowly for about 10 minutes.

Step10:Put in medium gluten flour.

Step11:Put on disposable gloves and knead them into a ball to use (no need to wake up).

Step12:In 12 portions. 25g each.

Step13:Take a portion of the moon cake skin and press it with your hands. Put in a golden cream filling.

Step14:Use tiger's mouth to wrap the stuffing.

Step15:After wrapping, stick a thin layer of medium gluten flour. Pat off the excess dry powder with your hands. Then put it into the 75g moon cake mold in Yangchen.

Step16:Put it on the baking tray and press out the pattern.

Step17:The oven is preheated for 200 minutes. After 10 minutes, spray a layer of water (thin layer) on the moon cake with spray bottle. Then put it into the oven.

Step18:Bake for 5 minutes. Brush with a thin layer of yolk. Continue to bake in the oven.

Step19:Bake for another 8 minutes at 200 degrees (depending on the coloring).

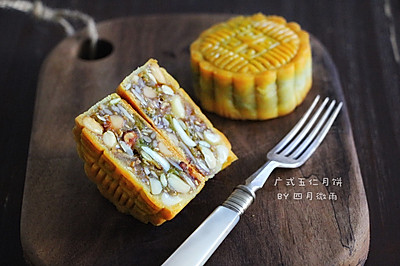
Step20:Cut it.

Step21:Finished product drawin

Step22:Finished product drawin

Step23:Finished product drawin

Step24:Finished product drawin
Cooking tips:1. Don't fry the Jinsha cream stuffing for too long. It's not easy to form a ball when it's scattered. Just press it with your hand to feel the state. It's almost as soft and hard as the stuffing you usually buy. 2. This mooncake skin doesn't need to wake up. It's ready to use. I'll let it go for half an hour at most. 3. Yolk solution - take an egg yolk. Remove the film from the yolk. Add a few drops of water. Be sure to brush the moon cake thinly. Too many brushes make the finished product not beautiful. 4. Each oven has a different temper. Temperature and time are for reference only. There are skills in making delicious dishes.
 Chinese Food


