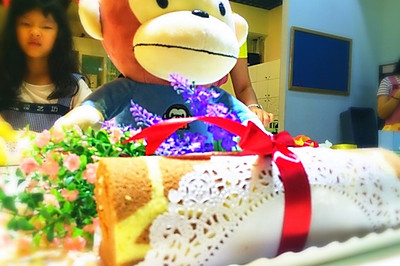
Pink Zebra Qifeng cake (zebra pattern on the surface + side + inside)
(114231 views)
First of all, you need to have a certain foundation for making Qifeng cake (because you can't solve the defoaming problem). Second, you need to be able to understand the physical characteristics (otherwise you can't understand what I'm talking about) and finally make it. Good luck
Cooking ingredients
Cooking Steps

Step1:The main body of this cake is Qifeng. The specific steps are as follows (milk and oil are mixed and emulsified, then sifted into flour. Z-word is mixed and ready to use). The main focus is on how to make zebra stripes. This picture is the state after the adjustment of yolk paste. For reference and compariso

Step2:The egg white and sugar are graded to the stage of wet foaming. Then one third of them are mixed with the yolk paste. Then they are returned to the egg white paste. The same method is used to mix evenly. When the cake paste is finished, take out about 6070g of the cake paste (depending on how many circles of zebra stripes you want to draw). It is used to mix with strawberry powder. The mixing method is the same. Otherwise, it is easy to defoaming. Remember...

Step3:Then take out the 6-inch cake mold. Put the strawberry paste into the flower mounting bag. Cut the small mouth. Draw irregular lines as shown in the picture. The more intricate, the more lifelike. Even if you are drawing a small white picture, you can also do it

Step4:After painting, spread the cake paste evenly on the bottom layer and cover it. When pasting the cake, it must be soft. Otherwise, the painted zebra pattern will be easily beaten back to its original shape

Step5:Then the second time, use strawberry cake paste from the center. Draw mosquito repellent incense in a circle and squeeze it up as shown in the figure

Step6:The third layer can be covered with cake past

Step7:Key point - layer 4. Tie the strawberry cake paste flower mounting bag into the center part at a depth of about 0.5mm. Then keep this horizontal position still. Squeeze hard on this breakthrough until the circle as shown in the figure emerges on the surface

Step8:The fifth layer. The method is the same as above. The center point. Squeeze until the primary color cake paste emerges on the surface, and the previous pink color will naturally turn out

Step9:Level 6. Ditt

Step10:Level 7. Ditt

Step11:The eighth layer. Fill the rest of the cake paste in a circle. Shake the mold lightly without leaving any space. Remove the big bubbles. Put it into the oven. Heat up and down for 150 °. After 5060 minutes, shake down. Remove the internal hot air. Buckle it back and cool it before demoulding

Step12:Cut to see the texture. If you want more texture in the interior, you can squeeze it a few more times

Step13:When it's quie

Step14:Jump out and show of
Cooking tips:There are skills in making delicious dishes.
 Chinese Food