Cranberry biscuit
(75595 views)
My daughter said she wanted to give the teacher a gift for March 8. She had better make it by herself. So she and my daughter finished the cranberry biscuit for the first time. It's not bad. So share it with you.
Cooking ingredients
Cooking Steps

Step1:All ingredients. Family photo.
Step2:Butter melts in hot water.
Step3:Add in the icing and egg mixture. No need to send.
Step4:Cranberries are a little big. You can cut them with a knife, as shown in the picture.
Step5:Add cranberries and stir well.
Step6:Put in the low gluten powder. Continue mixing.
Step7:Wear disposable gloves. Knead the flour into non stick hands. It can't be too dry. This scale should be controlled by yourself.
Step8:Make a round or square shape on the board.
Step9:Put it in plastic wrap or bag and refrigerate for about 1 hour. Notice it's frozen. It's not fresh.
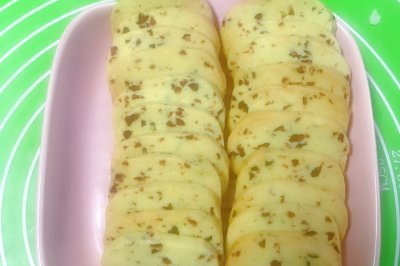
Step10:Take it out in an hour. Cut it into pieces, as shown in the picture.
Step11:It's on a baking tray ready to bake. yeah.
Step12:Preheat the oven at 180 ℃ for 5 minutes, then put it in. Change it to 160 ℃. Bake for 10 minutes at medium heat. This is the biscuit shape after 10 minutes. Take it out and watch. I'll bake it for another 5 minutes. Specific or according to their own oven to set the time Oh. Don't leave for a few minutes. It's very important to observe. You can see the color.
Step13:Well, it's out of the oven. It's already delicious. The saliva came out. ha-ha.
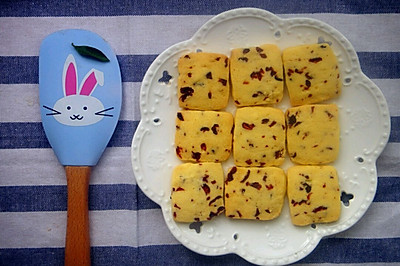
Step14:When it's cool, you can put it on a plate. Or you can put it in a biscuit bag to send it to your relatives and friends? Are you salivating.
Step15:It's very good to pack bags and send relatives and friends.
Step16:Ready to send the teacher. ha-ha.
Cooking tips:Pay attention. Be sure to observe more when baking. Just color it. Don't scorch it. There are skills in making delicious dishes.