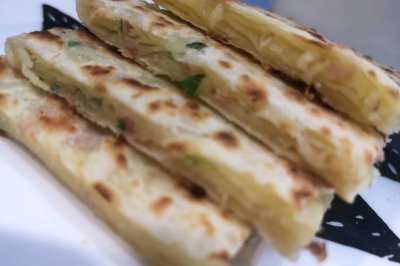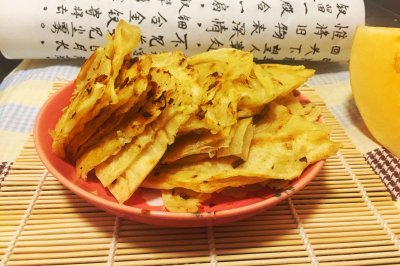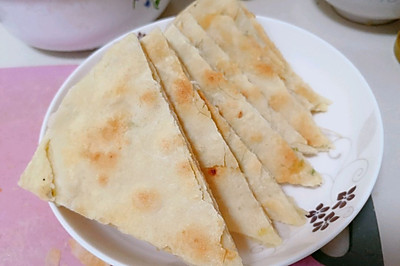
Hand grasps the scallion oil cake (outside crisp inside soft layer)
(83419 views)
After repeated experiments, we finally got the perfect proportion - the best formula. None of them. This kind of dough belongs to the semi hot method. If all the dough is hot and the dough toughness is poor, it is not good to roll into thin and large pieces. The layer of the cake is not so clear and crisp. The warm water and the flour are also soft enough. The cake will be too hard after it is cold... So use half 80 ° hot water and half cold water to make more at a time. Roll it out and wrap it up for quick freezing. Put a little oil in the pot when you want to eat it. Take out the cake from the refrigerator and put it in directly without defrosting. Burn it to the golden yellow on both sides. Push the edge of the cake from the outside to the inside with a shovel. It is helpful for layering.
Cooking ingredients
Cooking Steps

Step1:Add boiling water to flour. Stir with chopsticks. Then add about 80g cold water. The amount of water should be added according to the water absorption of the surface. After initial dough formation, knead the dough until the surface is smooth and tough. The dough is relatively soft. Divide into 23 portions and roll them freely. Flatten the dough slightly and relax for at least 30 minutes. Pay attention to cover with plastic film to prevent wind dryin

Step2:In the process of waking up, prepare the pastry material - chopped onion. Sliced ginger. Put 50g oil in the pot (under cold oil). Then put onion, ginger slices and pepper. Fry until the material turns yellow. The oil gives off fragrance. Don't fry it too hard. Don't throw the fried onion, baby. OK?. When you eat noodles, mix the noodles and put 30g flour for the pastry in a bowl that can be heated. Pour the hot oil directly ~ crackle has a kind of abnormal pleasure ~ ahaha ~ add some salt. Reserve ~ the pastry will be read

Step3:Apply oil on the console. Roll out the loose dough. Roll it out on both sides first, roll it out long, and then roll it up and down. If the dough is loose, it will become thin film soon after pulling. Roll it out into a big square. The thinner the layer, the more layers. Pay attention not to roll it ou

Step4:Evenly spread the cold butter on the rolled thin surface ~ sprinkle the chopped scallion ~ then lift the upper end of the dough and fold it inward. It's a fold, not a roll. It's like this fan. It doesn't need to be folded neatl

Step5:Folded faces are like rags. Then roll it up from one end to the other, just like a snail's shell. In the process of rolling, one side of it is moderately stretched, which can create more layers. After rolling, relax for 20 minutes ~ still remember to cover with plastic wrap.

Step6:Flatten the flabby cake embryo. Roll it out to form a pancake shape. Be careful not to flatten it too much, otherwise the layer is not good. The thickness should be moderate. Ofcourse, according to your own preferences, you can roll out the endless cake embryos. Separate them with baking paper, seal them and freeze them. If you want to eat them, you can fry them directly without defrosting.

Step7:Don't stick the oil in the pan. Turn on the stove and fry until it's golden on both sides. About 34 minutes (according to the size of your own fire

Step8:After frying, use chopsticks to pick up the pancakes from the middle and then put them into the grid. Take a picture. Then go straight u
Cooking tips:1. Add half boiled water, half cold water and half water according to the water absorption of flour. 2. The relaxation time can't be saved. The longer the first step is, the harder the surface is to relax for half an hour to two hours. Of course. It's a big day to avoid sour dough. 3. You can roll out the cake embryo with endless use. Separate it with baking paper, seal and freeze it. If you want to eat it, you can fry it directly without thawing. There are skills in making delicious dishes.
 Chinese Food


