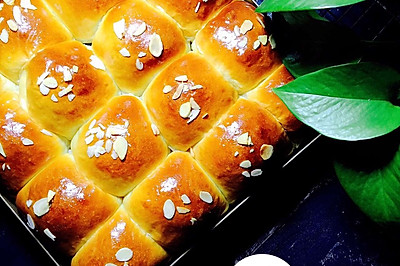
Jujube meal bag
(88093 views)
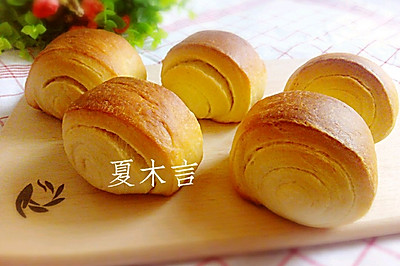
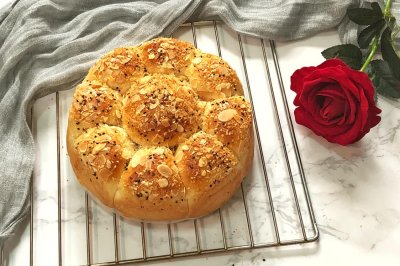
I bought ten jin of Shanxi jujube on the Internet a while ago. It's not big, but it's very sweet. It's not that dry either. Because I'm afraid that the jujube will not be good after a long time. So I tried to make some jujube paste. I didn't expect that the jujube paste is very good. Besides, it's full of sweetness without adding sugar. It's also good to make some jujube dumplings for breakfast. I haven't made bread for a while. I played dough at home yesterday. I made a plate of jujube cake. The effect is very good. Recommend decisively.
Cooking ingredients
Cooking Steps

Step1:Put the milk, egg, milk powder, high gluten flour, sugar, salt and yeast in the barrel of the bread machine in turn. Start the quick kneading procedure. My machine is a kneading procedure for 20 minutes. After that, the dough can pull out the thick film. Tear the dough into small pieces. Add olive oil. Start a quick kneading procedure (olive oil can be replaced by butter. I haven't come here To soften butter, use olive oi

Step2:The dough is fermented to twice the size in the toaster

Step3:The fermented dough is divided into nine equal sized small dough after air exhausting and kneading. Each dough is about 87g. Cover with plastic wrap and let stand for 15-20 minutes (depending on indoor temperature

Step4:Homemade date paste filling. Production method: wash the red dates and put them in the soup pot and add some water to cook them. The red dates are swollen. After stirring, remove the core. Filter out the jujube skin with a sieve. Put the filtered jujube mud into the frying pan and fry the excess water. When the consistency reaches the desired level, turn off the heat and put it in a cool plac

Step5:Exhaust the dough after standing and knead it evenly. Use a rolling pin to roll it open and wrap it with jujube paste

Step6:Wrap it up and close it down

Step7:All of them are wrapped and put in the baking tray in turn. Put them in the oven for secondary fermentation. (I use a nine inch non stick square mold

Step8:The second fermentation can use the fermentation function of the oven, or put a plate of boiled water in the lower layer, close the oven door, and ferment for about 30-50 minutes to twice the size

Step9:Heat up and down the oven. Middle and lower layers. 170 ℃ for 25 minutes

Step10:Brush a layer of honey water on the stove. The surface can be bright, but it is sticky

Step11:Buckle it out of the mold, because it doesn't touch the mold. It's very good for demoulding. If you use non stick mold, you can apply a layer of butter or olive oil first. It is also better to demould.

Step12:Before I made bread, I used to brush the whole egg liquid before baking after the second fermentation. This time, I tried to brush the honey water after baking. It's also very good. It's sweet on the surface. It's a little sticky, but it can be ignored

Step13:Break one to see the effect. The tissue is very soft. It will not harden after cooling. However, the bread needs to be put into a fresh-keeping bag to be sealed after cooling. It can't be refrigerated. If it can be eaten in three days, it can be stored at room temperature. If it can't be eaten, it can be froze

Step14:
Cooking tips:Note - the liquid content of bread is relatively large. Although the formula is ready-made, but because each person uses different flour and has different water absorption, the liquid content of the same formula will increase or decrease in different flour use. It is recommended to reserve about 10g of liquid first. After kneading other materials into dough, add the reserved liquid appropriately depending on the situation; the same is true for oven temperature and time. Each baking The temperature and time of the oven will be different. The temperature and time listed here are only displayed on my oven. As for other ovens, they need to be adjusted by themselves. There are skills in making delicious dishes.
 Chinese Food