Crispy dumpling
(88902 views)
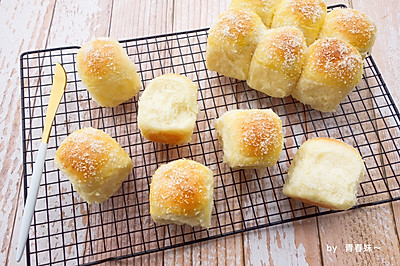
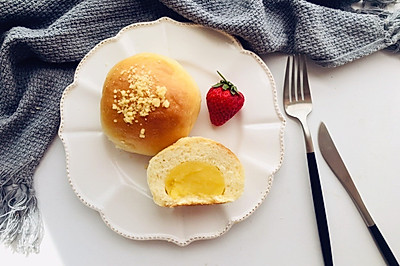
In the past, there were many crispy grains prepared for bread making, which could not be used up at all. So this time, we continued to use materials - Main dough - high gluten flour 250g, egg liquid 45g, sugar 50g, salt 3G, yeast 3G, milk 125g, butter 25g, raisin 80g, surface decoration - egg liquid right amount, crispy grain right amount
Cooking ingredients
Cooking Steps

Step1:Dry clean the grapes and soak in water for 30 minute

Step2:Knead dry water. Spar

Step3:Pour the other main dough materials except butter and raisins into the bread bucket. Put the bucket into the bread machine and fix it. Select the dough program. It includes two stages: kneading + fermentation. The time default is 1-4

Step4:Add butter softened at room temperature 15 minutes after the start of the procedur

Step5:5 minutes before the end of noodle mixing. Add raisin

Step6:After kneading, the raisins have been evenly wrapped into the dough. The program automatically enters the fermentation stage

Step7:By the end of the program. Fermentation complete

Step8:Take out the fermented dough. Mix well and exhaust

Step9:Split into 2

Step10:Relax 10 minutes after roundin

Step11:Flatten a loose doug

Step12:Round agai

Step13:Then put them in the baking tray one by one. Then put the baking tray in a warm and humid place for final fermentation

Step14:If there is no ready-made crispy grain, you can make it while the dough is fermenting. Pour the required materials into a small basin together. Rub them evenly by hand (the materials required for making crispy grain - sugar powder 15g, low gluten flour 25g, milk powder 2G and butter 20g. There are many crispy grains made with this amount. You can't use them all at once

Step15:Until it's rubbed into small granules. The crispy granules are read

Step16:Dough rises to about 1.5 times its size. Fermentation is complet

Step17:Brush the dough with egg liqui

Step18:Then spread a layer of crispy granules evenl

Step19:Put the baking tray into the middle and lower layers of the preheated oven. 180 degrees. About 25 minute

Step20:Demoulding immediately after being discharged from the furnace, airing and sealing for preservatio

Step21:Finished product drawin

Step22:Finished product drawin

Step23:Finished product drawin

Step24:Finished product drawin

Step25:Finished product drawin

Step26:Finished product drawin

Step27:Finished product drawin

Step28:Finished product drawin
Cooking tips:1. To make such a round bun, you can put it directly into the baking tray for secondary fermentation after starting to roll. When I do it, I relax first and then roll it again before putting it into the baking tray. I think the taste of such a shaped bun will be slightly better; 2. This time, I use the crispy grains that I haven't used before for decoration. I can also sprinkle sesame or almond slices as I like Do decoration; 3. In the baking process. After coloring, pay attention to cover tin paper to avoid baking paste; there are skills in making delicious dishes.
 Chinese Food


