The most popular nude cake tutorial
(72830 views)
This year's unexplained nude cake became popular. As early as 4 or 5 years ago, some foreign cake pictures had this kind of cake style. But no one had ever named it. It's simple and easy to operate. It's very suitable for new bakers. It can be done even without turntable and spatula.
Cooking ingredients
Cooking Steps

Step1:Separate the yolk from the protein; add water and oil to the yolk, stir evenly by hand, and sift in the powder. Stir the Zhi shape by hand. Do not circle it to avoid the gluten.

Step2:Add 2 drops of lemon juice to the protein. Add 45 grams of sugar in three times. Beat with the electric egg beater until it is hard to foam. Gently lift the eggbeater. It can pull out the firm little tip. (for detailed Qifeng making, you can search - 8-inch Qifeng cake; for detailed protein beating process, you can search - how to beat the protein.) preheat the oven at this time, heat it for 130 degrees and heat it for 150 degrees.

Step3:Take 1 / 3 of the protein and mix well with the cocoa yolk paste. Take another 1 / 3 and mix. Then put the mixed cocoa yolk paste into the egg white bowl. Mix well. The technique should be light and fast. Don't stir too much.

Step4:Pour it into the 6-inch mold (I made 2 6-inch eggs with 5 eggs. One cut 2 pieces. One cut 3 pieces. Because two molds are of different brands. One is larger in diameter and the other is smaller in diameter. So the thickness of two cakes is not the same.) If you use a 3-energy 6-inch mold, the formula of 2 eggs is enough. You can convert it by yourself - divide all the materials by 3 times 2

Step5:Put it in the oven and heat it for 130 degrees. Lower it for 150 degrees. Bake it for 50 minutes. After the furnace is put out, turn it upside down and let it cool before the next operation.

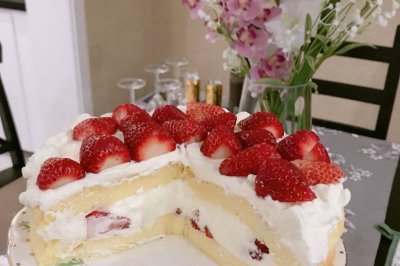
Step6:The Qifeng cake is divided into three parts

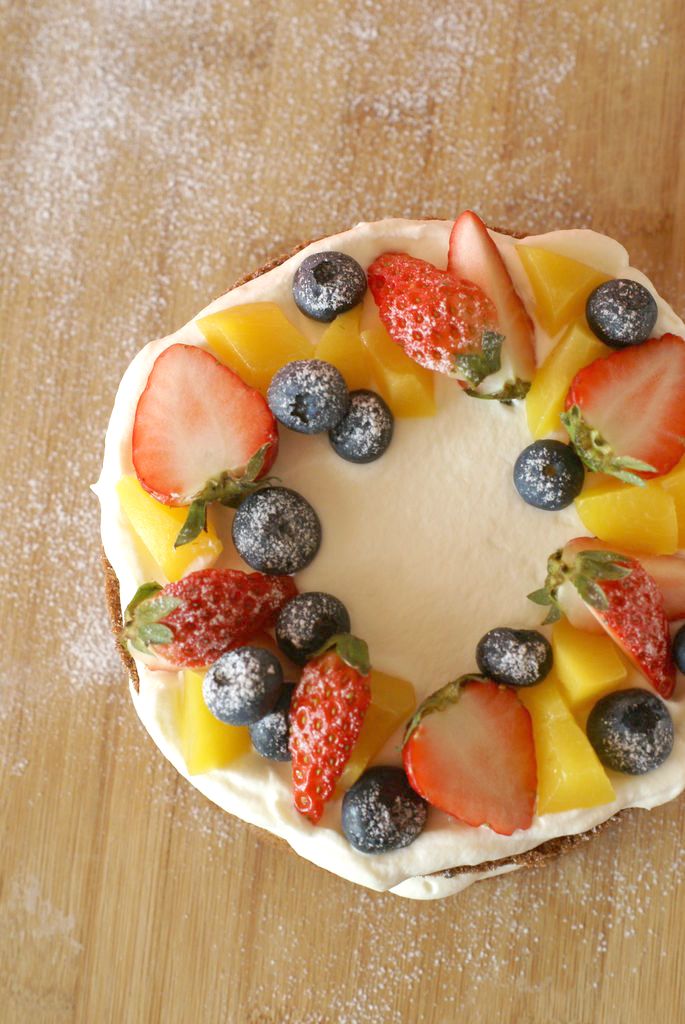
Step7:Prepare the fruit. I used strawberry. Canned yellow peach. Blueberry is also very good if it has Kiwi color.

Step8:Whipped cream with 20 grams of sugar to 7.8. It's barely flowing. Because it doesn't squeeze flowers, the cream doesn't have to be completely whipped. The whipped cream is put into the mounting bag. I use a round flower mouth. If not, you can cut a hole about 1cm in diameter in front of the mounting bag and squeeze it directly.

Step9:Cut the cake. Turn the top one upside down as the bottom. Cream o

Step10:Size the fruit in turn. When placing strawberries, try to put the white part of the strawberries inside. Don't expose it on the edge. It will look better. Or you can cut it off.

Step11:Add some light cream. This layer doesn't need to be full. But it should be noted that - make sure to squeeze a circle of cream on the outer fruit. This will make the cak

Step12:

Step13:

Step14:
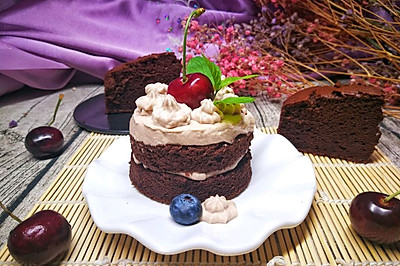
Cooking tips:* 6-inch three egg formula. The egg should be 60 grams with shell. I'm used to leaving a piece of white in the middle. I don't think it's very full. You can also insert a birthday card in the middle. You can also decorate it with fruit. If there is a cherry, it's also very nice to put it on the top with a branch. We have a cherry of 80 Jin.. Give up. The color of fruit should be separated as much as possible. It will look better when it is combined. I'm used to not leafing the strawberries at the top. It's more natural to feel green. *If you want to make 8 inches, you can use 4 egg formula. Divide all the ingredients by 3 and multiply by 4 * the light cream should be at least 200g. If the hand is loose, you'd better make 250300g for standby. If you want to make the original taste, you can use 1 / 10 of the light cream for sugar. If you want to make the original taste, you can use the cocoa powder instead of 15g of low gluten flour to make the dishes delicious.
 Chinese Food


