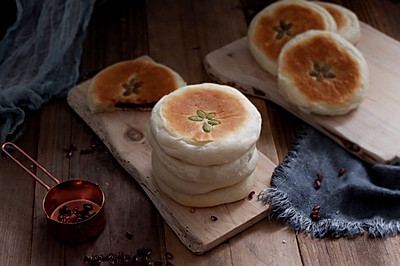
Japanese cotton sponge cake roll
(101064 views)
Cooking ingredients
Cooking Steps

Step1:The egg is divided into 1 whole egg + 4 yolks and 4 whites. Cold storage of egg whit

Step2:Heat 1 whole egg + 4 yolk water baths to hand temperature. Heat milk to hand temperature for standb

Step3:Put the salt free butter in a small pot and heat it to melt. Leave the fire immediately after boilin

Step4:Pour in low gluten flour and stir quickl

Step5:Stir evenl

Step6:Add warm milk 4.5 times. Stir evenly after each tim

Step7:Add warm 1 whole egg 4 yolk solution 4.5 times. Stir evenly after each additio

Step8:Mixed yolk paste. Let it stand for 15 minutes to cool down. I changed into an egg basin. The batter is clean

Step9:When I put the egg yolk paste, I usually clean all the tools for making the egg basin. I also spread oil paper on the baking tray (the baking tray is a 35 × 25cm gold plate with three functions). At this time, preheat the oven 170 degrees

Step10:Take out the protein in the refrigerator and add a few drops of lemon juic

Step11:Stir at high speed until blisters appear and add a third of suga

Step12:Whisk until transparent and white. Add half sugar

Step13:Beat until the cream is slightly formed, then add the last suga

Step14:Beat until it is wet and foamy. When lifting the beater, there is a hook. At this time, the condition is relatively heavy. The beater has a sense of resistance. Shake the basin. The egg white doesn't shake. I spent two minute

Step15:Let's mix the cream and the batte

Step16:Add one third of the protein cream to the yolk paste. Mix wel

Step17:Add another third of the protein cream to the yolk paste. Mix wel

Step18:Return the yolk paste to the egg cream. Mix wel

Step19:Pour batter into the baking tray. After trowelin

Step20:Knock a few times on the desktop. Blow out small bubble

Step21:Place in a 170 degree oven. Bake for 22 minutes until golden on the surface

Step22:After baking, move the baking paper to the grid frame and cool it for 5 minutes and 5 minutes, then cover the oil paper lightly to prevent the surface from drying

Step23:Because I'm adding meat floss, I don't need to wait for the cake to cool completely. If you put cream, make sure it's completely cold in the roll. Turn the cake over with the help of a net rack and tear open the baking paper (the one when baking). Use a knife to gently cut several times every 2cm to help roll it up. Cut off the cake at a 45 degree angle at the end. Form a slope for a better fi

Step24:Spread the dressing evenl

Step25:

Step26:

Step27:

Step28:
Cooking tips:The recipe of this Japanese cotton roll is super classic. The cake roll made is very soft. It tastes soft and waxy. It is not easy to crack when rolling. Moreover, the color is beautiful and appetizing. I think the best match for this cake roll is the meat floss. It doesn't need to wait for the cake roll to cool completely. It's OK when the cake embryo is still warm. It's easier and better looking. The baking tray is a Sanneng 25 * 35cm baking tray. It's OK to use 28. It's a little thicker. There are skills in making delicious dishes.
 Chinese Food
