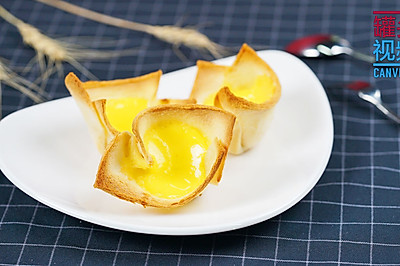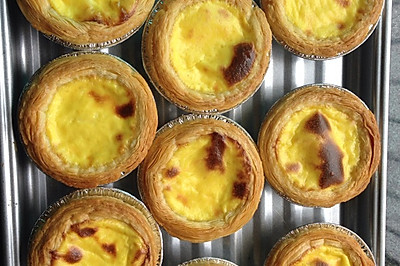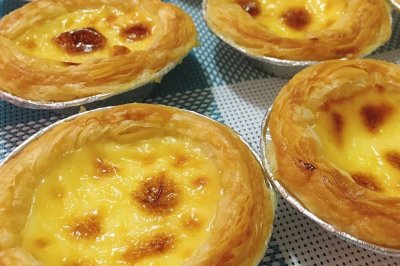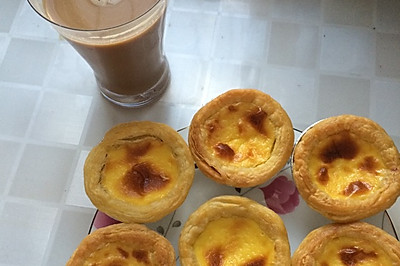
Winnie bear cheese Tarts
(101407 views)
It's a delicious cheese filling. It's fragrant when it's just out of the oven. Take a bite of the sweet filling and flow it on the tip of the tongue. It's very delicious with the crispy tarts. The marked amount can be used to make 2 plates of 12 cups of cake mould. The main ingredient is the material and dosage of tarts. The auxiliary ingredient is the inner filling. The remaining tarts and fillings can be frozen and preserved. When you want to eat, just take out and brush the egg liquid directly and bake it again. When it's hot, the filling will flow. If it is cool, it can be reheated in microwave oven for more than ten seconds. -
Cooking ingredients
Cooking Steps

Step1:Prepare all kinds of material

Step2:Cut the butter into small pieces. Soften it slightly at room temperature. Add in the sugar and mix well

Step3:Add the egg liquid. Beat it with the beater for a while until it is completely fused

Step4:Sift in the low gluten powder, knead it into a ball, and let it stand for a whil

Step5:Add the fillings in the auxiliary materials in order. Mix well. Cream cheese can be melted in warm water before operatio

Step6:Pull a small piece of tarting skin, press it into a pancake with the palm of your hand, put it into the mold, press it with your fingers around, and squeeze a slightly higher edge around the edg

Step7:Put it into the preheated oven. Heat it up to 190 ° C, and heat it down to 170 ° C. bake it for about 10 minutes. The specific time and temperature should be increased or decreased according to the actual oven temperature. The original recipe was 205 / 180 for heating up or down for 1820 minutes. However, the tarts I pressed were slightly thin. If this temperature and time were used, it would undoubtedly be burnt.

Step8:A little coloring. Take it out and let it cool. This kind of mold of the kitchen is not sticky. It can be completely demoulded with a few strokes. But take care of demoulding. Don't push too hard. The tarts are crisp and easy to fal

Step9:Put the inner stuffing into the cutting and mounting bag. Squeeze it into the tarts. Refrigerate it until it hardens

Step10:Brush a little yolk on the surfac

Step11:Use a little bit of tarts to make a semicircle. Put it in the right plac

Step12:Put it in the upper part of the oven. Heat it up to 220 degrees. Heat it down to 150 degrees. Bake for 810 minutes. Because the maximum temperature of the household oven is 230 ℃, I adjusted 255 / 150 of the original recipe properly. So the surface color is not hig

Step13:Use the melted dark chocolate to draw the cub's facial feature

Step14:Detai

Step15:Detai

Step16:Detai
Cooking tips:1. Without or without corn starch, the liquidity of the inner filling will be greater. 2. If there is a spray gun, it can be used for auxiliary coloring after being discharged from the furnace, and the surface can be burnt with scorch marks. 3. I forgot to draw eyebrows when I drew my facial features in order to seize the time to take photos when I came out of the oven. I found it after I took the photos. I made it up with a brush. There are skills in making delicious dishes.
 Chinese Food


