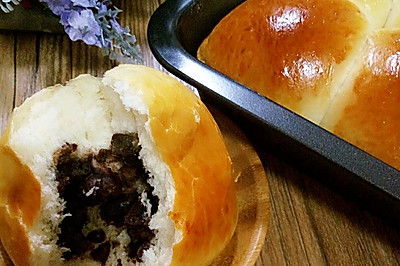
Milk flavored bun
(102527 views)A few children in my family like to eat small meal bags very much. Every time I go out, I have to buy some back. Since I came back from the oven, I also learned to make small meal bags for them. The first time I did it, I didn't expect it was very successful. On the basis of the original small meal bag, I added hot seeds. The small meal bag became extremely soft. Some little guys are scrambling for food. I'll make a small BBQ. It seems that I need another BBQ tomorrow.
Cooking ingredients
Cooking Steps

Step1:First prepare the seeds for scalding. Pour 50g boiling water into 50g high gluten flour. Mix with chopsticks until there is no dry powder. Cool for standby.

Step2:The dough is made of materials other than butter and salt. Put them in the barrel of the bread machine. Then put the cooled and scalded dough.

Step3:Press he mian key. Set the time for 20 minutes. Knead until the dough is smooth.

Step4:Add butter and salt. Knead for another 20 minutes.

Step5:Rub until you get a beautiful glove film.

Step6:Put the dough in the oven. Put a bowl of hot water beside it. Select the fermentation function for 60 minutes. The dough will be twice as large.

Step7:Fermented dough. Dip a little flour with your fingers. Click in the middle of the dough. It means that the dough is fermented if it doesn't retract easily.

Step8:After the fermented dough is exhausted, it is divided into several small dosage forms and covered with plastic film to relax for 20 minutes.

Step9:The loose dough is round. Put it in the baking tray lined with oil paper.

Step10:Put the baking tray in the oven. Put a bowl of hot water. Select the fermentation button for 60 minutes. Ferment twice to 2.5 times the size.

Step11:Brush the fermented dough with egg liquid. (you can also brush honey water as you like.)

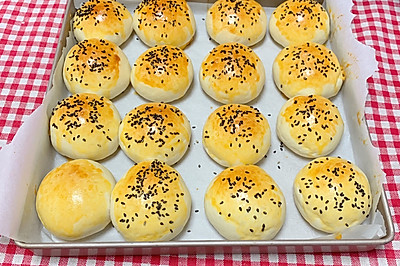
Step12:After brushing the egg liquid, sprinkle a little black sesame on the surface.

Step13:Preheat the oven for 5 minutes in advance. Place the baking tray in the middle of the oven. Bake for 20 minutes at 160 degrees.

Step14:At any time, observe the color change of the bag inside the oven. After baking to the color you are satisfied with, you can cover the baking tray with a layer of tin paper, so as not to paint too deep and ugly. I was the tin foil for the last five minutes

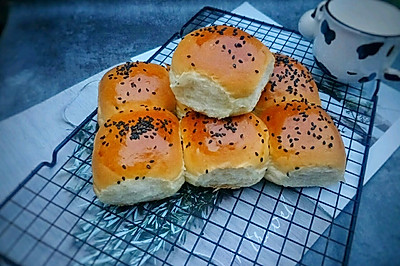
Step15:The roasted milk flavored bun looks good. The color is also attractive.

Step16:Demould the roasted small meal bag. Put it on the grill to cool and then you can eat it.

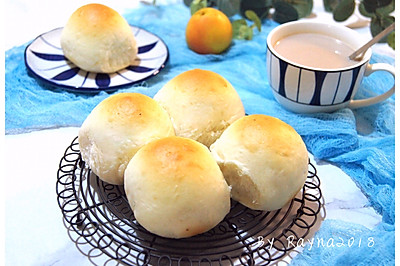
Step17:It's very soft and sweet. It's OK to put it on for three or four days. It's still very soft.

Step18:Finished product drawin

Step19:Finished product drawin

Step20:Finished product drawin

Step21:Finished product drawin

Step22:Finished product drawin

Step23:Finished product drawin

Step24:Finished product drawin

Step25:Finished product drawin

Step26:Finished product drawin

Step27:Finished product drawin

Step28:Finished product drawin

Step29:Finished product drawin

Step30:Finished product drawin
Cooking tips:The temperature of each oven is different. Please adjust the oven temperature and time according to your own. There are skills in making delicious dishes.
 Chinese Food