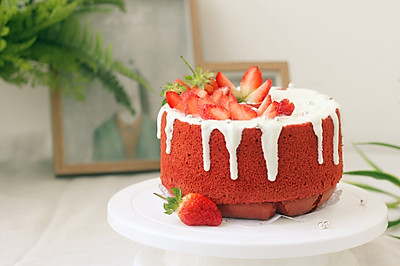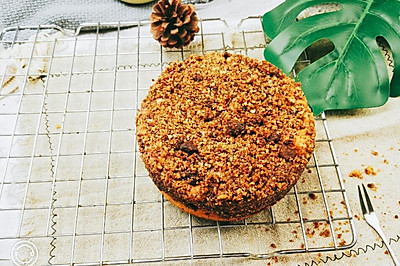
Red velvet mango cake
(103826 views)
Let's eat cream cake in a different way. You can change the fruit in the filling of a small fresh cake that suits the summer into whatever you like. But remember to keep the shape regular. In this way, the cream on the top will be smooth and beautiful. I have made 9 pieces in total. But this number is only for reference. Because the size of the squeeze will directly lead to different quantity of finished products.
Cooking ingredients
Cooking Steps

Step1:Let's make the red velvet cake first. Make it with egg method. Put vegetable oil in the bow

Step2:Pour in water. Milk can also be used in this ste

Step3:Plus 2G red velvet essence. The color I use is pink and tender. The essence of the essence is also fresh. It won't take away the smell of other materials. If not, 5g red koji flour can be used instead of low gluten flou

Step4:Stir evenly. At this time, the texture should be fully emulsified in place. There should be no oil-water separation

Step5:Sift and add low gluten flou

Step6:Z-shape mixing to no dry powde

Step7:Then add the yol

Step8:Mix well. Set asid

Step9:Next egg whit

Step10:The sugar is added in three times to pas

Step11:In the end, send it to the small hook state, not too hard. Otherwise, the cake slices baked are easy to break

Step12:Mix in two times. Add 1 / 3 of the protein cream to the red velvet egg yolk paste. Mix well

Step13:Turn the batter back to the remaining 2 / 3 of the protein crea

Step14:Turn it thoroughly. But not the wreath. If the defoaming is serious, it will flow everywhere when it is crowded later

Step15:Put the batter into the flower mounting bag. Use a round flower mouth. Start from the middle and turn around to squeeze it into the size you need. Pay attention here. It will expand when baking. Make room for expansion. Otherwise, it's not easy to put it into the box

Step16:Pay attention to a certain thickness after the paste is squeezed, but not flat. The paste uses toothpicks to draw bubbles. This is relatively flat

Step17:In the oven. Bake at 170 ℃ for about 15 minutes. Never bake too long. Otherwise, the edge will become crispy. It's not easy to ben

Step18:Let it cool down a little after it's out of the oven. It can't be put in warm temperature. It's not allowed to cool thoroughly. It's necessary to take advantage of the heat. But be careful not to burn it

Step19:When it's hot, get out of the baking tray. Put oil paper on it. I'm facing out from the bottom. The color is pink. Here, pay attention to gently bending. The cake is in the shape of U. Previously, it was said that the expansion position should be reserved for the convenience of putting it into the box for shaping. You can choose how much to squeeze according to the size of your box. The number will var

Step20:Beat cream with sugar and squeeze one at the botto

Step21:Put on the fruit. The thickness of the fruit here should be even

Step22:Then cream the fruit and decorate it. Lightly hand the cake slices with light crea

Step23:

Step24:

Step25:

Step26:
Cooking tips:There are skills in making delicious dishes.
 Chinese Food


