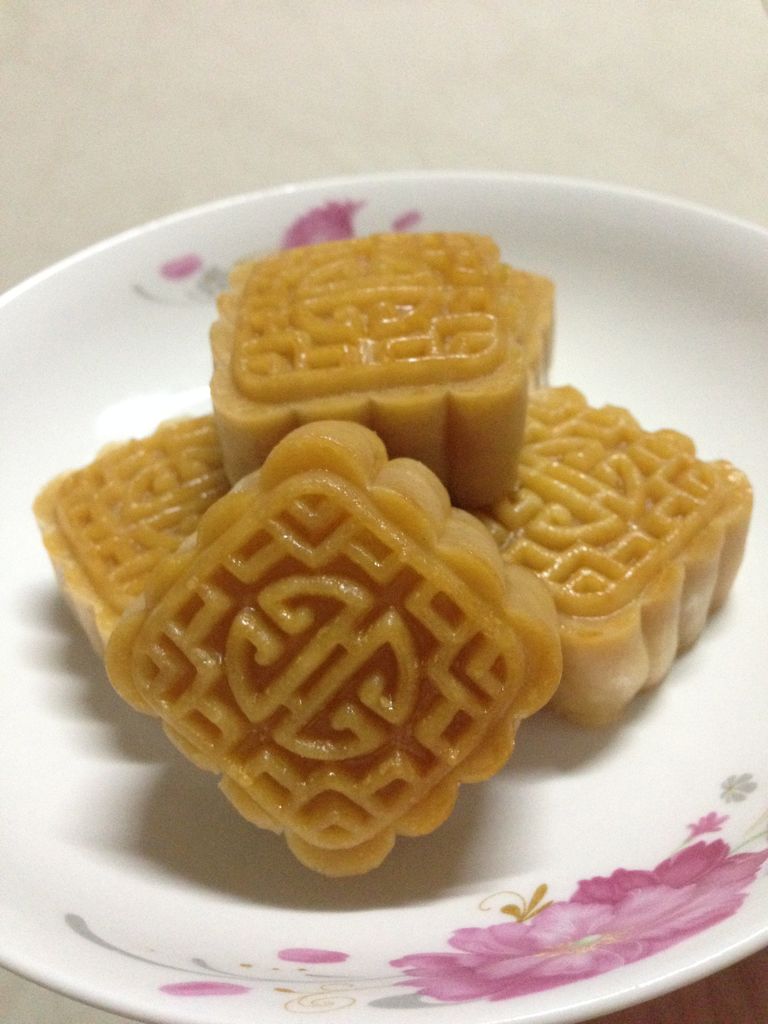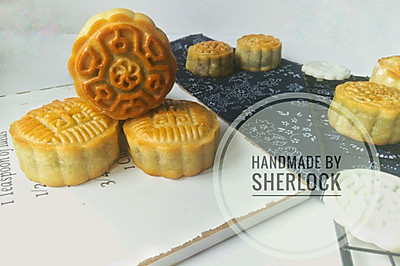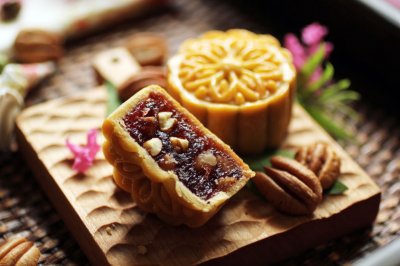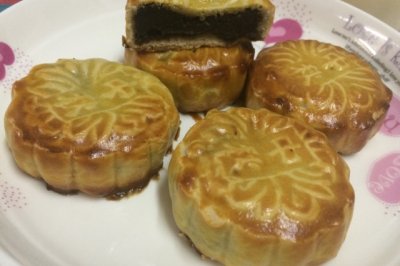
Cream moon cake
(94715 views)
Last year 's moon cake was very successful. I have been making moon cakes for 2 months. I tried several traditional fillings. The feedback from my family is very good. Syrup has been cooked ahead of time this year, in response to the upcoming Mid Autumn Festival. Although there is still a period of time before the Mid Autumn Festival, moon cakes still need to be made. Several new fillings need to be studied to meet the different needs of the family.
Cooking ingredients
Cooking Steps

Step1:First, make the cream filling. Put the eggs, milk powder, sugar and salt in the egg beating basin. Mix well first, then pour in the milk and cream.

Step2:Add the sifted flour and powder. Mix well.

Step3:Add butter. Heat in hot water and stir until the butter melts.

Step4:Steam in a small heat for about 20 minutes. After steaming, take out the cream stuffing and mix it well. Take it out and stir it every 3 minutes or so. Turn off the fire when the cream filling is thick and does not hang on the wall. Stir until the cream is smooth and smooth. Every time you stir, you must scrape up the bottom of the basin and the milk yellow stuffing around. At the beginning of mixing, you will feel that the milk yellow stuffing will form many pimples. With the mixing times, the milk yellow stuffing will gradually become smooth.

Step5:When the cream filling is a little cold, divide it into small dosage forms of 24g and rub them round for use.

Step6:Put the conversion syrup, water, oil and milk powder in the kneading basin and mix them evenly.

Step7:Add sifted flou

Step8:Mix and mix the materials. Wake up for 1 hou

Step9:Xingfa good pie crust is divided into groups according to 16g of each portion. Generally, pie crust and filling are divided into 2-8 or 3-7, or 4-6. I like to make 40g moon cakes in the proportion of 4-6.

Step10:Flatten the crust and put in the cream filling.

Step11:Use the crust to keep the cream filling. Put the dough in the tiger's mouth on your left hand. Use the big thenar part of your thumb to push the crust. In the process of pushing, turn the dough. Let the dough slowly wrap on the filling. And close the mouth.

Step12:After closing the mouth, roll the moon cake with two palms together, so that the crust can tightly cover the filling.

Step13:Sprinkle some dry flour in the moon cake mold. Shake it. Attach the flour to the mold. Then pour out the surplus flour. Dip the moon cake embryo with a little dry powder and put it into the mould.

Step14:Press the mold handle with your hand. Hold for 10 to 15 seconds and let go. Lift the mold. Slowly push the mooncake down.

Step15:Moon cake shaping complete

Step16:Make all mooncakes in tur

Step17:Sprinkle water on the surface of the moon cake embryo. Leave for 3 minutes. Preheat the oven for 5 minutes. Heat it for 140 degrees. Heat it for 160 degrees. Bake it for 5 minutes to set the pattern.

Step18:Take out the moon cake. Dip a small amount of whole egg liquid with a brush. Brush a layer of egg liquid gently on the surface of the moon cake. brus

Step19:

Step20:

Step21:

Step22:

Step23:
Cooking tips:The homemade moon cake has no preservative. The storage time should not be too long. It is recommended to refrigerate the oil in summer. It is recommended to store the oil at room temperature in autumn. It is best to eat it within 7 days after the oil return. There are skills in making delicious dishes.
 Chinese Food


