Niu Ma's class: puffs with crisp skin and Pop Watch
(162294 views)
The original intention of learning baking is to let children eat healthier and fresher food. From the initial test of NiuDao eight years ago, to an irremediable love, and now attract more friends to study together. In the baking classroom, which has been running for two years, every week many students come to share with me, discuss and study. It feels like a big family. Now, although face-to-face teaching cannot be continued due to the impact of the epidemic, online courses still continue. Puff class has always been your favorite program. Watch the dough expand in the oven. The sense of achievement comes naturally. That fragile little dough has to go through a series of trials in the oven to expand, shape and color before it can really appear in front of me. Squeeze on the homemade cold custard sauce while it's hot. The taste is perfect. Kill all the products in the shop. So. Please follow mom Niu. Let's move together...
Cooking ingredients
Cooking Steps

Step1:Prepare the raw materials of puff skin. Soften the butter in plac

Step2:Mix the butter and sugar by hand or with a scraper. Then mix in the low flour. Mix well. Do not over mix. Avoid cramping

Step3:The whole cylinder is about 4cm thick and thin. Refrigerate it for about half an hour

Step4:Prepare the puff material. Sift the low powder for us

Step5:Water, butter, sugar and salt in a non stick pot until boilin

Step6:Pour in the low powder quickly and keep stirrin

Step7:Until there is no dry powder. It will be discharged for cooling and standb

Step8:Pour the broken egg liquid in several times. Each time, pour the next egg liquid after the liquid is absorbed

Step9:Mix until smooth and delicate. Lift the scraper and hang the flag for four to five centimeters. Add the amount of egg liquid according to the actual demand. Not all are added

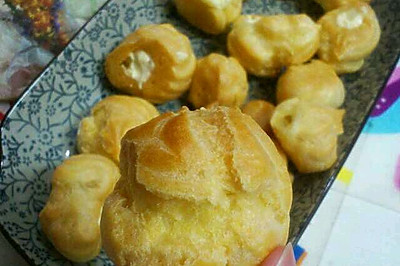
Step10:Shaping effect. Forget to take photos here. Steal students' selfie photo

Step11:Squeeze into a circle of about 4cm. Try to keep the same size. Because puffs have a large expansion. Keep the space between each one

Step12:Take out the puff skin from the refrigerator (note that the puff skin should not be too hard to freeze. It is easy to cut. If the freezing time is long, it is recommended to take it out in advance and soften it a little). Cut it into 23 mm thin slices and cover it on each puff body

Step13:Put it in the middle layer of the oven. Turn it from 210 ° 20 minutes to 180 ° 15 minutes. Do not open the oven door during the baking process. Prevent collapse

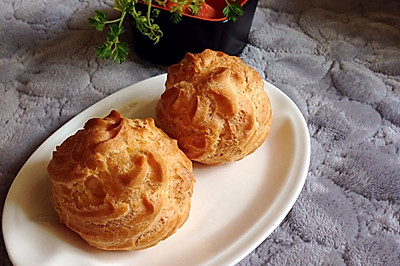
Step14:It's a feeling of happiness to see puffs puffing up in the oven

Step15:Prepare the casserole materials. This step can be done in advance. Refrigerate it. Casserole is also used for many purposes. It is always available at home.

Step16:Beat egg yolk with sugar until smoot

Step17:Mix in low flour and starc

Step18:Boiling in a milk and cream po

Step19:Part of it is poured into the yolk paste. Use the egg beater to mix it quickly

Step20:Pour the yolk back into the pan and heat until it thicken

Step21:Mix the butter while it's hot. Mix well. Put it in the flower mounting bag and refrigerate it

Step22:Puff with crisp ski

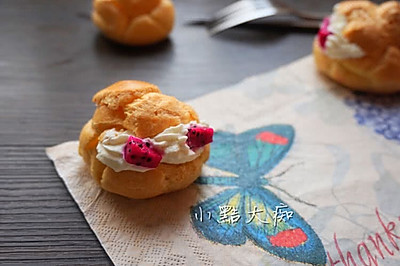
Step23:Squeeze in the custard sauce. Enjoy the perfect work.
Cooking tips:1. Blanching process is very important. Flour must be completely blanched before it can be removed. If there are flour particles, they can be removed by pressing with a scraper. If the blanching process is not successful, it will affect the absorption of egg liquid, resulting in small puff expansion. 2. The formula egg liquid needs to be added in several times. Only after each absorption can the next egg liquid be added. Finally, it is added according to the actual situation. Not all of them must be added. 3. Make enough space for puffs to squeeze into the baking tray. Otherwise, the internal moisture will not evaporate due to the adhesion of puffs. The puffs fail. Finally, I wish you all success. There are skills in making delicious dishes.
 Chinese Food